
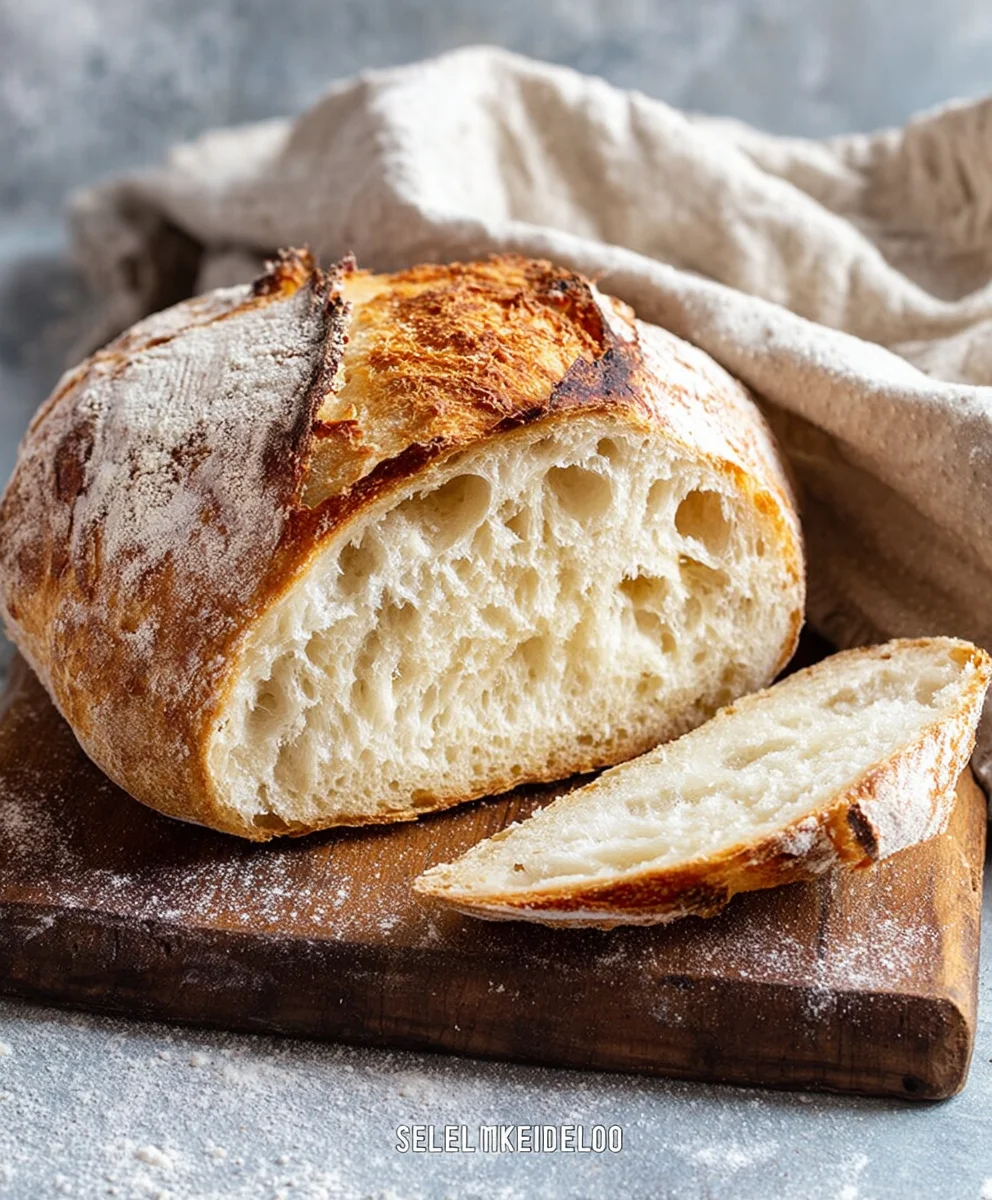
Rustic Bread Recipe: If you’ve ever walked past a bakery and been drawn in by the irresistible aroma of freshly baked bread, then you know the magic that a truly great loaf possesses. There’s something inherently comforting and deeply satisfying about a crusty exterior giving way to a soft, airy crum extractb – a testament to simple ingredients transformed by patience and heat. This particular Rustic Bread Recipe is a journey back to the roots of baking, embracing a wonderfully forgiving process that yields spectacular results, even for begin extractners. People adore this kind of bread not just for its incredible taste, which is subtly tangy with a delightful chew, but also for its versatility. It’s the perfect companion to a hearty soup, the star of your next sandwich, or simply a joy to slather with butter. What truly makes this Rustic Bread Recipe special is its beautiful simplicity, allowing the natural flavors of the flour and a hint of tang from fermentation to shine through, creating a truly memorable baking experience.

Ingredients:
- 3 cups warm water
- 2 ¼ teaspoons active dry yeast (this is typically one standard packet)
- 1 tablespoon sugar
- 6 cups all-purpose flour (approximately 750 grams)
- 3 teaspoons salt
Making the Dough
The journey to a perfect rustic loaf begin extracts with activating the yeast. In a large mixing bowl, combine the 3 cups of warm water. The water should feel comfortably warm to the touch, similar to a baby’s bath, around 105-115°F (40-46°C). If it’s too hot, it will kill the yeast, and if it’s too cold, it won’t activate properly. To this warm water, add the 2 ¼ teaspoons of active dry yeast and the 1 tablespoon of sugar. The sugar acts as food for the yeast, helping it to bloom and become active. Stir gently to combine and then let it sit undisturbed for about 5-10 minutes. You’ll know the yeast is ready when it becomes foamy and bubbly on the surface, indicating it’s alive and eager to work its magic. If you don’t see any foam, it’s best to discard this batch and start with fresh yeast, as your bread may not rise properly.
Once the yeast is active, it’s time to introduce the flour and salt. Gradually add about half of the 6 cups of flour to the yeast mixture, along with the 3 teaspoons of salt. Mix with a wooden spoon or a sturdy spatula until the ingredients just start to come together. The salt is crucial not only for flavor but also for controlling the yeast’s fermentation and strengthening the gluten structure of the dough. Continue adding the remaining flour, a cup at a time, mixing after each addition until a shaggy dough forms. It will still be quite sticky at this stage, and that’s perfectly normal for a rustic bread. Resist the urge to add too much extra flour, as this can lead to a dry, dense loaf.
Kneading and First Rise
Now comes the satisfying part: kneading! Lightly flour a clean work surface. Turn the shaggy dough out onto the floured surgin extracte. Begin kneading by pushing the dough away from you with the heels of your hands, then folding it back towards you. Rotate the dough a quarter turn and repeat. Continue this process for about 8-10 minutes. The dough will initially be sticky and may cling to your hands, but as you knead, it will become smoother, more elastic, and less sticky. You’re developing the gluten, which gives the bread its structure and chew. You can test for proper gluten development by gently stretching a small piece of dough. If it stretches thin enough to see light through it without tearing (the windowpane test), it’s ready.
After kneading, shape the dough into a smooth ball. Lightly grease a clean large bowl with a little oil or cooking spray. Place the dough ball into the bowl, turning it to coat all sides with the oil. Cover the bowl tightly with plastic wrap or a damp kitchen towel. Find a warm, draft-free spot in your kitchen for the dough to rise. This could be near a slightly warm oven, on top of your refrigerator, or simply in a cozy corner. Allow the dough to rise for 1 to 1.5 hours, or until it has doubled in size. This first rise is called the bulk fermentation and is essential for developing flavor and texture.
Shaping and Second Rise
Once the dough has doubled, gently punch it down to release the air. This deflation redistributes the yeast and sugars, preparing the dough for its final structure. Turn the dough out onto a lightly floured surface. At this point, you can shape your rustic loaf. For a classic boule (round loaf), gently tuck the edges of the dough under itself, creating tension on the surface. You can also shape it into a rustic oval or a long baguette-style loaf. The key is to create a taut surface, which will help the loaf hold its shape during baking and encourage a good oven spring.
After shaping, place the dough onto a piece of parchment paper or a well-floured baking peel. This will make it easier to transfer the loaf into the hot oven later. Loosely cover the shaped loaf with plastic wrap or a clean kitchen towel again. Let it rest and rise for a second time, which is called the proofing stage. This second rise is typically shorter, around 30-45 minutes, until the dough is visibly puffed up but not quite doubled. You can gently poke the dough with your finger; if the indentation slowly springs back, it’s ready for baking. If it springs back immediately, it needs a little more time.
Baking the Loaf
Preheat your oven to 450°F (230°C) for at least 30 minutes before you plan to bake. It’s crucial that the oven is fully heated to achieve that desirable crust. Many bakers find success by preheating a baking stone or a cast-iron Dutch oven in the oven. If using a Dutch oven, remove it from the oven with oven mitts, place the proofed dough inside (carefully, as it’s very hot!), score the top of the loaf with a sharp knife or lame (a baker’s razor), cover with the lid, and then place it back into the oven. The lid traps steam, which is vital for a beautifully crisp crust and good oven spring.
If you don’t have a Dutch oven, you can bake the loaf directly on a baking stone or a heavy baking sheet. To create steam in a conventional oven, place a shallow pan (like a broiler pan) filled with water on the bottom rack of the oven during preheating. Just before you slide the bread in, carefully pour about a cup of hot water into that pan to generate steam. Score the top of your loaf with a sharp knife or razor blade to allow for controlled expansion and to create an attractive pattern.
Bake the loaf for an initial 20 minutes with the Dutch oven lid on, or if baking without a Dutch oven, bake for 20 minutes with the steam. Then, remove the lid from the Dutch oven (or remove the pan of water from the oven), reduce the oven temperature to 425°F (220°C), and continue baking for another 20-25 minutes. The loaf is done when it’s a deep golden brown color and sounds hollow when tapped on the bottom. The internal temperature should reach around 200-210°F (93-99°C). Carefully remove the bread from the oven and transfer it to a wire rack to cool completely. This cooling period is just as important as the baking; it allows the interior to set and the crust to crisp up perfectly. Resist the temptation to slice into it too soon – the wait will be rewarded with a truly delicious rustic bread.
Conclusion:
And there you have it – your very own delicious Rustic Bread Recipe! We’ve walked through the simple steps to create a crusty, flavorful loaf that will impress everyone, from seasoned bakers to complete begin extractners. This bread is wonderfully versatile, perfect for accompanying hearty stews, dipping into olive oil and balsamic vinegar, or simply enjoyed slathered with butter. Don’t be afraid to experiment with this foundational Rustic Bread Recipe! Consider adding a handful of seeds like sunflower or pumpkin to the dough for extra texture and nutty flavor, or incorporate a sprinkle of dried herbs like rosemary or thyme for an aromatic twist. The possibilities are truly endless.
Baking from scratch can be incredibly rewarding, and this Rustic Bread Recipe is a fantastic place to start. Embrace the process, enjoy the comforting aroma filling your home, and savor the taste of your handcrafted creation. Happy baking!
Frequently Asked Questions about Rustic Bread:
Q1: My rustic bread didn’t get a very crispy crust. What did I do wrong?
A crispy crust is often achieved through steam. Try placing a shallow pan of hot water on the bottom rack of your oven while preheating. Once you place the bread in, the steam generated will help create that desirable crust. Also, ensure your oven is hot enough when the bread goes in.
Q2: Can I make this Rustic Bread Recipe ahead of time?
Absolutely! Once completely cooled, the Rustic Bread Recipe can be stored at room temperature in a bread bag or loosely wrapped in a clean kitchen towel for 2-3 days. For longer storage, you can slice it and freeze it; just toast the slices directly from frozen.

Rustic Bread Recipe – Easy Homemade Loaf
A simple and delicious recipe for homemade rustic bread, perfect for any occasion.
Ingredients
-
3 cups warm water
-
2 ¼ teaspoons active dry yeast
-
1 tablespoon sugar
-
6 cups all-purpose flour
-
3 teaspoons salt
Instructions
-
Step 1
Activate the yeast by combining warm water (105-115°F), active dry yeast, and sugar in a large bowl. Let sit for 5-10 minutes until foamy. -
Step 2
Gradually add flour and salt to the yeast mixture, mixing until a shaggy dough forms. Resist adding too much extra flour. -
Step 3
Knead the dough on a lightly floured surface for 8-10 minutes until smooth and elastic. Shape into a ball, place in a greased bowl, cover, and let rise in a warm spot for 1-1.5 hours, or until doubled. -
Step 4
Punch down the dough, turn onto a floured surface, and shape into your desired loaf (boule, oval, etc.), creating a taut surface. Place on parchment paper or a floured peel. -
Step 5
Cover the shaped loaf loosely and let it rise for a second time for 30-45 minutes, until visibly puffed. -
Step 6
Preheat oven to 450°F (230°C). If using a Dutch oven, preheat it. Otherwise, preheat a baking stone/sheet and place a pan of water on the bottom rack for steam. Score the loaf top. -
Step 7
Bake for 20 minutes (covered in Dutch oven or with steam). Remove lid/water pan, reduce oven to 425°F (220°C), and bake for another 20-25 minutes until deep golden brown and hollow-sounding when tapped. Internal temperature should be 200-210°F. Cool completely on a wire rack.
Important Information
Nutrition Facts (Per Serving)
It is important to consider this information as approximate and not to use it as definitive health advice.
Allergy Information
Please check ingredients for potential allergens and consult a health professional if in doubt.


Leave a Comment