
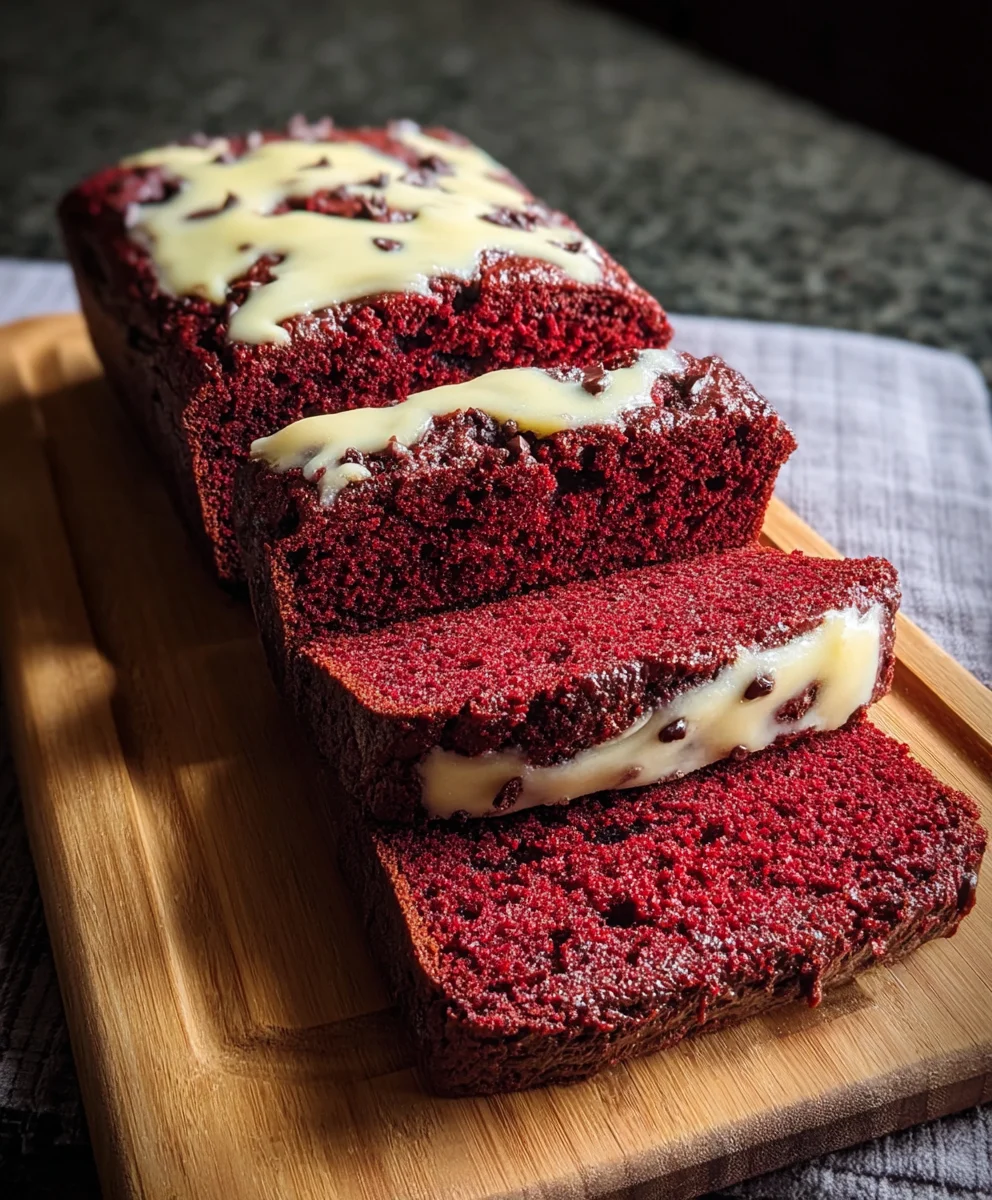
Red Velvet Banana Bread. If that phrase alone doesn’t make your mouth water, just imagin extracte the symphony of flavors and textures waiting for you. This isn’t just any banana bread; it’s a decadent twist on a beloved classic, infused with the vibrant allure of red velvet. People adore this dish because it effortlessly bridges the gap between comforting home baking and a truly celebratory treat. It’s the perfect way to use up those overripe bananas, transforming them into something extraordinary. What makes this particular Red Velvet Banana Bread so special is the harmonious marriage of moist, tender banana bread with the subtle cocoa notes and signature tang of red velvet. The striking crimson hue makes it a showstopper, perfect for brunch, dessert, or simply an indulgent snack that will have everyone asking for the recipe.

Ingredients:
- 3 ripe bananas, mashed (about 1 cup)
- 1/2 cup unsalted butter, melted
- 3/4 cup granulated sugar
- 2 large eggs
- 1 teaspoon vanilla extract
- 1 1/2 cups all-purpose flour
- 1/4 cup cocoa powder
- 1 teaspoon baking soda
- 1/2 teaspoon salt
- 1 tablespoon red food coloring
- 1/2 cup buttermilk
- 1/2 cup chocolate chips (optional)
Preparing Your Red Velvet Banana Bread Batter
Step 1: Creaming the Wet Ingredients
First, let’s get our wet ingredients ready. In a large mixing bowl, combine the 3 ripe mashed bananas and the 1/2 cup of melted unsalted butter. Give this a good whisk until it’s well incorporated. The riper your bananas are, the more moisture and sweetness they’ll contribute, leading to a more flavorful and tender bread. Next, add the 3/4 cup of granulated sugar to this mixture. Beat them together until the mixture is light and fluffy. This step is crucial for creating a good texture in your final bread. Now, crack in your 2 large eggs, one at a time, beating well after each addition. The eggs will help bind everything together and add richness. Finally, stir in the 1 teaspoon of vanilla extract for that classic comforting aroma and flavor.
Step 2: Combining the Dry Ingredients
In a separate medium-sized bowl, we’ll prepare our dry ingredients. Whisk together the 1 1/2 cups of all-purpose flour, 1/4 cup of cocoa powder, 1 teaspoon of baking soda, and 1/2 teaspoon of salt. Whisking these ingredients together helps to distribute the leavening agent (baking soda) and salt evenly throughout the flour, ensuring your bread rises properly and has a balanced flavor. Make sure there are no lumps of cocoa powder. This even distribution prevents pockets of bitterness or a metallic taste from too much baking soda in one spot.
Step 3: Introducing the Red Velvet Color and Buttermilk
Now for the fun part that gives our bread its signature hue! To the wet ingredients, add the 1 tablespoon of red food coloring. Stir this in thoroughly until you achieve a vibrant, uniform red color. Don’t be shy; you want that lovely deep red! Next, pour in the 1/2 cup of buttermilk. Buttermilk is fantastic in baking because its acidity reacts with the baking soda to create a tender crum extractb and a subtle tang that complements the sweetness. Whisk these wet ingredients together again until everything is smoothly combined. The buttermilk might look a little curdled where it meets the food coloring, and that’s perfectly normal.
Step 4: Marrying Wet and Dry Ingredients
It’s time to bring our wet and dry components together. Gradually add the dry ingredient mixture to the wet ingredients, mixing on a low speed or by hand with a spatula until just combined. It’s important not to overmix at this stage. Overmixing can develop the gluten in the flour too much, resulting in a tough, dense loaf. You want to see just a few streaks of flour remaining. Gently fold these in until they disappear. A few lumps are okay; remember, less is more when it comes to mixing this batter.
Step 5: Adding Chocolate Chips and Baking Preparation
If you’re opting for a chocolatey surprise within your Red Velvet Banana Bread, now is the time to fold in the 1/2 cup of chocolate chips. Gently stir them into the batter until they are evenly distributed. This ensures you get a delightful burst of melted chocolate in every slice. Preheat your oven to 350°F (175°C). Grease and flour a standard loaf pan (approximately 9×5 inches), or line it with parchment paper, leaving an overhang on the sides to make lifting the bread out easier. Pour the batter into the prepared loaf pan, spreading it evenly. For an extra touch, you can sprinkle a few more chocolate chips on top, or even add some chopped nuts if you like.
Step 6: Baking and Cooling Your Masterpiece
Place the loaf pan in the preheated oven. Bake for approximately 55-65 minutes, or until a wooden skewer or toothpick inserted into the center of the loaf comes out clean, with just a fewrum extractist crumbs attached. Baking times can vary depending on your oven, so keep an eye on it during the last 10-15 minutes. If the top starts to brown too quickly, you can loosely tent it with aluminum foil. Once baked, remove the loaf from the oven and let it cool in the pan for about 10-15 minutes. This allows the bread to set slightly before you attempt to remove it. After this initial cooling period, carefully invert the loaf onto a wire rack to cool completely. Patience is key here; allowing it to cool completely before slicing will ensure cleaner cuts and the best texture. Enjoy your delicious Red Velvet Banana Bread!
Conclusion:
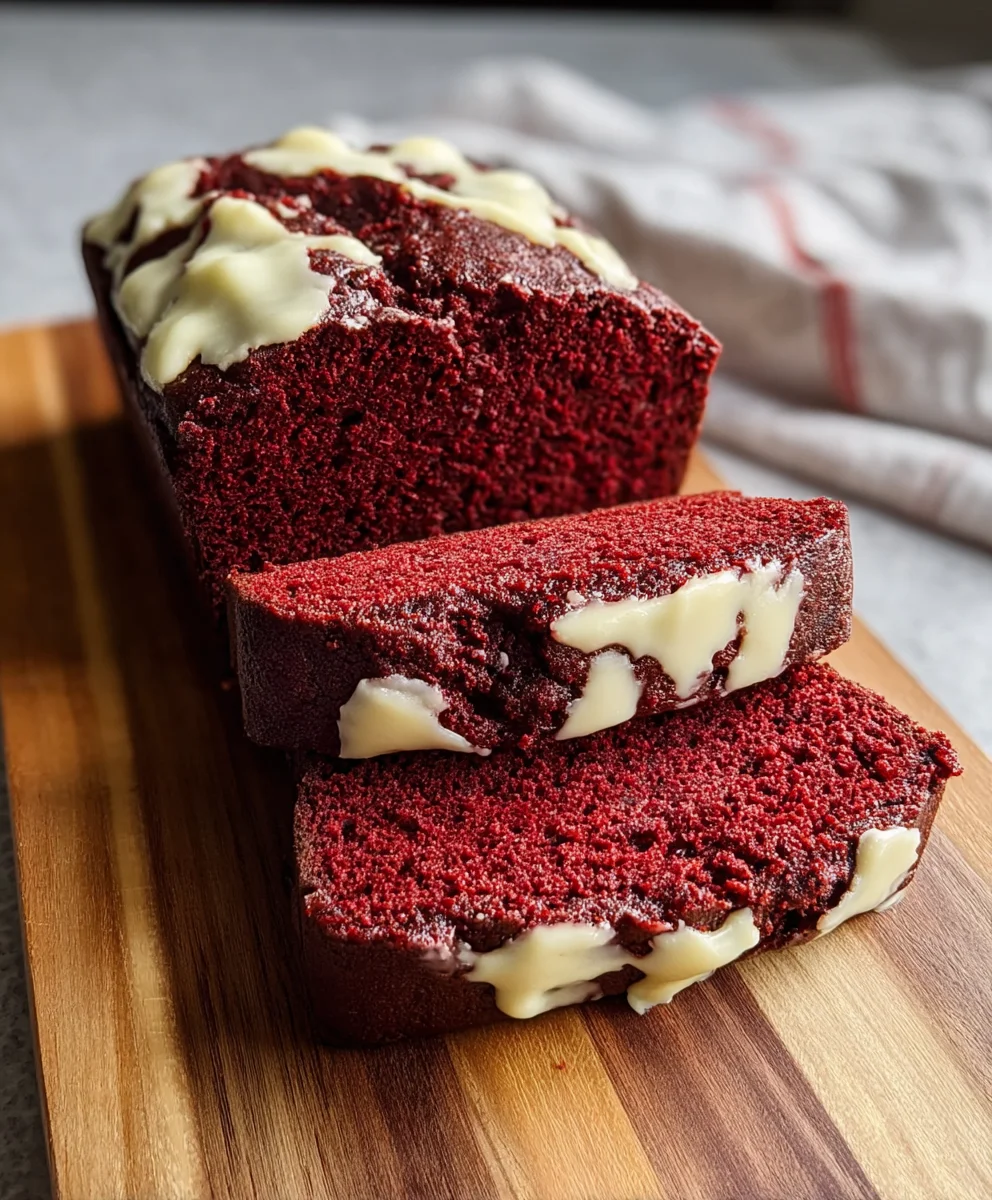
There you have it – a truly delightful and visually stunning Red Velvet Banana Bread! We’ve combined the moist tenderness of classic banana bread with the unmistakable richness and vibrant color of red velvet cake, creating a treat that’s perfect for any occasion. This recipe is surprisingly simple, making it accessible for bakers of all skill levels. The resulting loaf is a beautiful balance of sweet banana and subtle cocoa, with a hint of tang from the buttermilk that makes it incredibly moist and flavorful. We’re confident you’ll love the unique twist this recipe brings to your kitchen!
This Red Velvet Banana Bread is wonderfully versatile. It’s fantastic on its own, but we also love it toasted with a generous smear of cream cheese frosting – a nod to classic red velvet cake pairings. For an extra special treat, consider serving it with a dollop of whipped cream or a scoop of vanilla ice cream.
Don’t be afraid to get creative with variations! You could fold in a handful of white chocolate chips for added sweetness and texture, or even add a touch of espresso powder to deepen the chocolate flavor. If you have pecans or walnuts on hand, a sprinkle on top before baking adds a lovely crunch.
We truly hope you enjoy baking and indulgin extractg in this special loaf. It’s a wonderful way to elevate your banana bread game and impress your friends and family. Happy baking!
Frequently Asked Questions about Red Velvet Banana Bread:
Q1: Can I make Red Velvet Banana Bread without buttermilk?
Yes, you can! If you don’t have buttermilk, you can create a substitute by mixing 1 cup of milk with 1 tablespoon of white vinegar or lemon juice. Let it sit for about 5-10 minutes until it curdles slightly. This will give you a similar tangy effect that contributes to the bread’s moisture.
Q2: How should I store my Red Velvet Banana Bread?
Once cooled completely, store your Red Velvet Banana Bread in an airtight container at room temperature for up to 3 days. For longer storage, you can wrap it tightly in plastic wrap and then aluminum foil, and it will keep well in the refrigerator for up to a week. It also freezes beautifully; wrap individual slices or the whole loaf tightly and freeze for up to 2-3 months.
Red Velvet Banana Bread
A decadent and moist red velvet banana bread recipe, perfect for a delicious dessert or treat.
Ingredients
-
3 ripe bananas, mashed (about 1 cup)
-
1/2 cup unsalted butter, melted
-
3/4 cup granulated sugar
-
2 large eggs
-
1 teaspoon vanilla extract
-
1 1/2 cups all-purpose flour
-
1/4 cup cocoa powder
-
1 teaspoon baking soda
-
1/2 teaspoon salt
-
1 tablespoon red food coloring
-
1/2 cup buttermilk
-
1/2 cup chocolate chips (optional)
Instructions
-
Step 1
In a large mixing bowl, combine the mashed bananas and melted butter. Whisk until well incorporated. Add granulated sugar and beat until light and fluffy. Crack in eggs one at a time, beating well after each addition. Stir in vanilla extract. -
Step 2
In a separate bowl, whisk together all-purpose flour, cocoa powder, baking soda, and salt. Ensure even distribution to avoid bitterness. -
Step 3
To the wet ingredients, add red food coloring and stir until a vibrant red color is achieved. Pour in the buttermilk and whisk until smoothly combined. The mixture might look a little curdled, which is normal. -
Step 4
Gradually add the dry ingredients to the wet ingredients, mixing on low speed or by hand until just combined. Do not overmix; a few streaks of flour and lumps are acceptable. -
Step 5
If using, gently fold in chocolate chips. Preheat oven to 350°F (175°C). Grease and flour a loaf pan or line it with parchment paper. Pour the batter into the prepared pan and spread evenly. -
Step 6
Bake for 55-65 minutes, or until a toothpick inserted into the center comes out clean. If the top browns too quickly, loosely tent with foil. Let cool in the pan for 10-15 minutes before inverting onto a wire rack to cool completely.
Important Information
Nutrition Facts (Per Serving)
It is important to consider this information as approximate and not to use it as definitive health advice.
Allergy Information
Please check ingredients for potential allergens and consult a health professional if in doubt.

Leave a Comment