
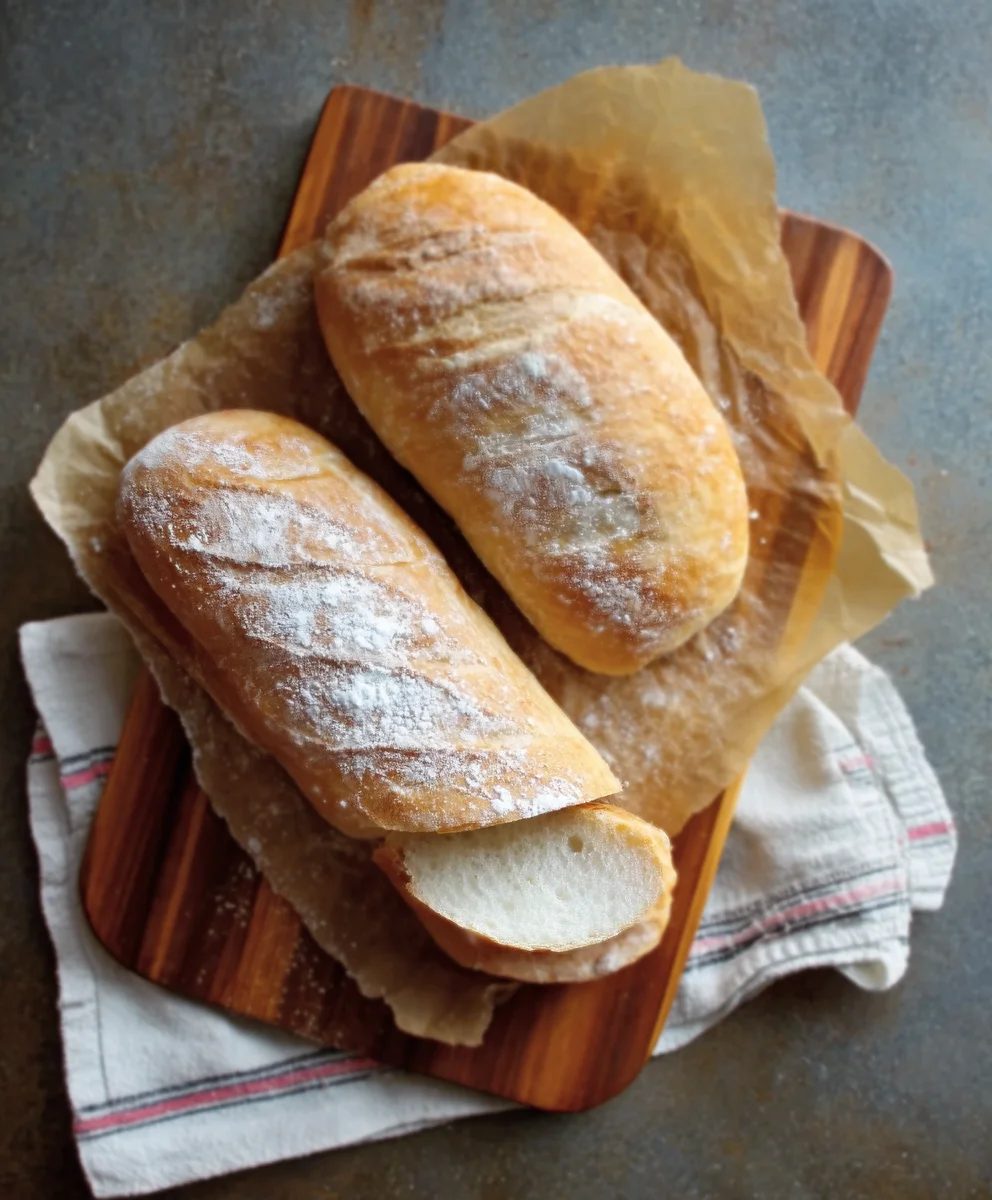
One-Hour French Bread isn’t just a weeknight dinner hero; it’s a testament to how achievable delicious, homemade bread can be. Forget the hours of kneading, proofing, and waiting that often come with traditional bread-making. This recipe is designed for the busy home cook, proving that you can have a warm, crusty loaf ready to slather with butter in just sixty minutes. We adore this One-Hour French Bread because it delivers that satisfying crackle of the crust and the soft, airy interior we all crave, without demanding a full day in the kitchen. What truly makes it special is its incredible speed and simplicity. It’s perfect for those spontaneous cravings, unexpected guests, or when you simply want to elevate your meal with the undeniable comfort of freshly baked bread. Get ready to impress yourself and your loved ones with this remarkably swift and delightful creation.

Ingredients:
- 4 to 4 1/2 cups bread flour
- 1 teaspoon sea salt
- 1 1/2 tablespoons active dry yeast
- 2 cups warm water (approximately 105-115°F, or comfortably warm to the touch)
Getting Started: Activating the Yeast
The first and most crucial step to achieving that perfect crust and airy crum extractb is to properly activate your yeast. In a large mixing bowl, combine the 2 cups of warm water with the 1 1/2 tablespoons of active dry yeast. Gently whisk these together. The water should feel warm, like a comfortable bath, but not hot. If the water is too hot, it can kill the yeast, and if it’s too cool, it won’t activate effectively. Let this mixture sit undisturbed for about 5 to 10 minutes. You’ll know the yeast is alive and ready when it becomes foamy and bubbly on the surface, much like a tiny, active sea. This frothy appearance is a visual cue that the yeast is consuming the sugars in the water and releasing carbon dioxide, which is exactly what we want for our bread to rise.
Mixing the Dough
Once your yeast has bloomed beautifully, it’s time to incorporate the remaining ingredients. Add 1 teaspoon of sea salt to the yeasty water. The salt plays a vital role in bread making; it not only enhances the flavor but also controls the yeast’s activity, preventing it from fermenting too quickly. Now, begin extract adding the bread flour, starting with 4 cups. I like to add it a cup at a time, stirring with a sturdy spoon or a dough whisk after each addition. As you add the flour, the mixture will start to transform from a liquid into a shaggy dough. Once it becomes too difficult to stir with the spoon, it’s time to switch to your hands or a stand mixer with a dough hook attachment. Continue adding flour, a little at a time, until the dough just starts to pull away from the sides of the bowl. You’re looking for a slightly sticky dough that’s still manageable. The extra 1/2 cup of flour is there to adjust for humidity and flour absorption, so don’t feel obligated to use it all if your dough feels right.
Kneading for Structure
Now comes the work: kneading. If you’re using a stand mixer, attach the dough hook and knead on medium-low speed for about 6-8 minutes. The dough should become smooth, elastic, and slightly tacky, but it shouldn’t stick excessively to your fingers or the bowl. If you’re kneading by hand on a lightly floured surface, push the dough away from you with the heel of your hand, then fold it back over itself. Rotate the dough and repeat. This process develops the gluten structure, which is essential for that classic airy interior of French bread. Continue kneading until the dough is smooth and springs back when gently poked. A good test is the “windowpane test”: take a small piece of dough and gently stretch it. If you can stretch it thin enough to see light through it without it tearing, your gluten is well-developed.
First Rise: The Proofing Process
Once your dough is nicely kneaded, it’s time for its first rise. Lightly grease a clean large bowl with a little olive oil or cooking spray. Place the dough in the bowl and turn it to coat all sides with the oil. This prevents a dry crust from forming as the dough rises. Cover the bowl tightly with plastic wrap or a damp kitchen towel. Find a warm, draft-free spot for the dough to rise. This could be inside a slightly warmed oven (turned off!) or simply on your countertop in a warm room. Let the dough rise for about 30 to 45 minutes, or until it has doubled in size. The exact time will depend on the temperature of your kitchen. You’re aiming for a soft, pillowy dough that’s visibly puffed up.
Shaping and Second Rise
Gently punch down the risen dough to release the trapped gases. Transfer the dough to a lightly floured surface. For a classic French bread shape, divide the dough into two equal portions. Gently shape each portion into a long, rustic loaf. You can do this by patting the dough into a rough rectangle and then rolling it up tightly, pinching the seam to seal it. You can also gently shape it into a round loaf if you prefer. Place the shaped loaves onto a baking sheet lined with parchment paper or a lightly floured tea towel. Cover them loosely with plastic wrap or a clean tea towel and let them rise again for another 20 to 30 minutes, or until they are noticeably puffy but not quite doubled in size. This second, shorter rise allows the loaves to relax and become light before baking.
Baking to Golden Perfection
Preheat your oven to 425°F (220°C) about 15-20 minutes before your second rise is complete. If you have a baking stone or steel, place it in the oven during preheating; this will help create a wonderfully crisp crust. Just before baking, use a very sharp knife or a lame to make shallow diagonal slashes across the top of each loaf. These “scores” allow the bread to expand evenly in the oven. For an extra-crispy crust, you can create steam in your oven by placing a shallow metal pan on the bottom rack during preheating and then carefully pouring about 1 cup of hot water into it just as you place the bread in the oven. Bake for 20-25 minutes, or until the loaves are a deep golden brown and sound hollow when tapped on the bottom. Let the “One-Hour French Bread” cool on a wire rack before slicing and enjoying its glorious texture and flavor.
Conclusion:
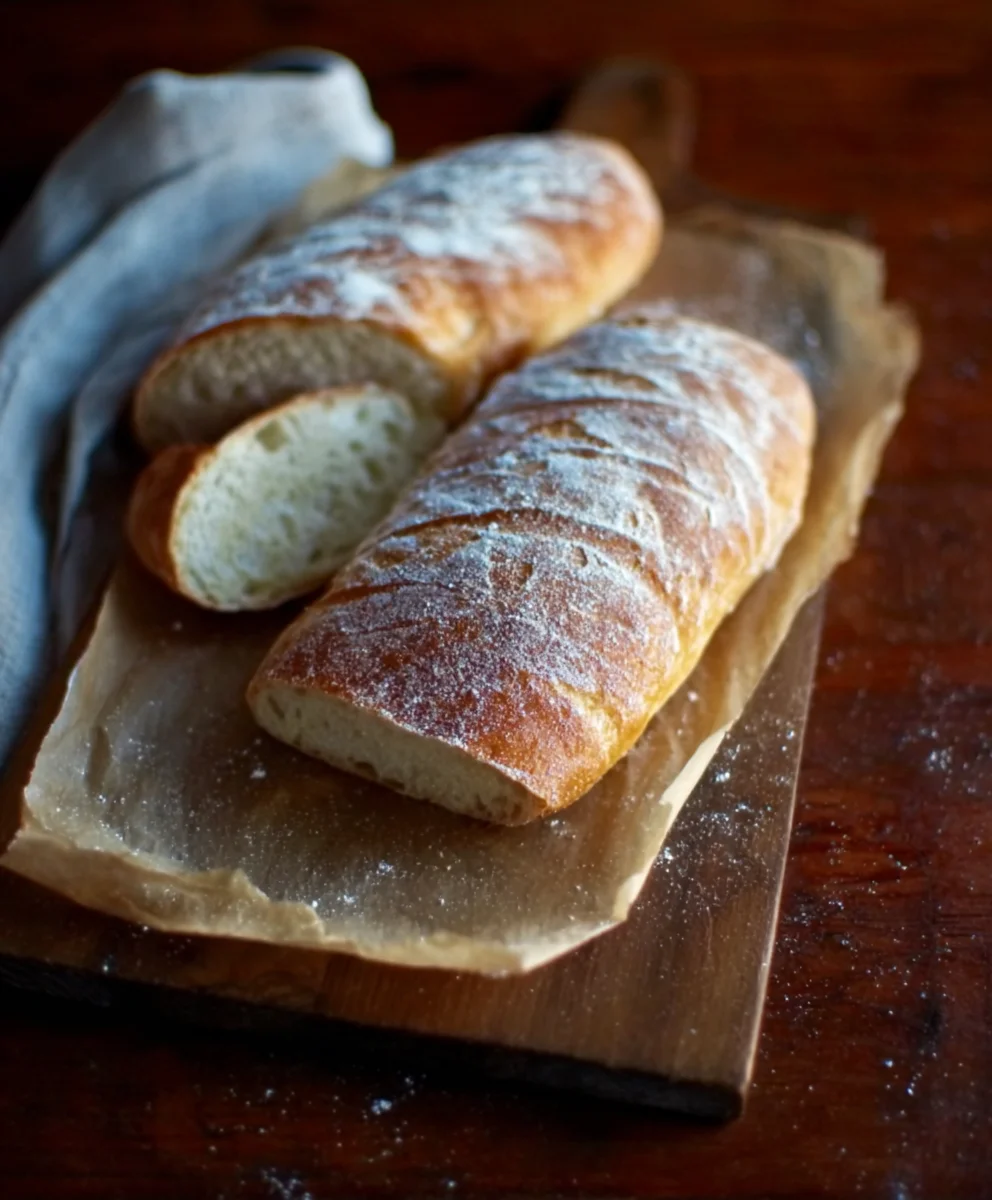
You’ve now learned how to create delicious, crusty One-Hour French Bread right in your own kitchen! This recipe truly lives up to its name, delivering warm, homemade bread in a surprisingly short amount of time. The simplicity of the ingredients and the quick rise make it an ideal choice for busy weeknights or impromptu gatherings. Don’t be intimidated by bread making; this recipe is designed for success, offering a rewarding experience and an incredible aroma that will fill your home.
Serve your freshly baked One-Hour French Bread warm, sliced and slathered with butter. It’s the perfect accompaniment to soups, stews, salads, or simply enjoyed on its own. For a delightful appetizer, slice it, brush with garlic butter, and toast for a quick garlic bread.
Feel free to experiment with variations! You can add herbs like rosemary or thyme to the dough for an aromatic twist, or sprinkle a little grated cheese on top before baking for a savory kick. Don’t be afraid to make this recipe your own and discover your favorite way to enjoy this fantastic bread.
Frequently Asked Questions:
Can I make this One-Hour French Bread ahead of time?
While this recipe is designed for immediate enjoyment, you can bake the bread and let it cool completely, then store it in an airtight bag at room temperature for up to two days. For longer storage, it freezes beautifully for up to a month.
Why is my One-Hour French Bread not crusty?
A few factors can affect crustiness. Ensure your oven is preheated properly and consider baking the bread in a preheated Dutch oven or on a baking stone, which helps retain heat and create steam. Adding a shallow pan of water to the bottom of the oven during the initial baking phase can also help generate steam for a crispier crust.
Easy One-Hour French Bread – Delicious Homemade Loaf
A quick and easy recipe for delicious homemade French bread, ready in about an hour. Perfect for beginners looking for a satisfying bake.
Ingredients
-
4 to 4 1/2 cups bread flour
-
1 teaspoon sea salt
-
1 1/2 tablespoons active dry yeast
-
2 cups warm water (approximately 105-115°F, or comfortably warm to the touch)
-
Olive oil or cooking spray (for greasing bowl)
Instructions
-
Step 1
Activate the yeast: In a large mixing bowl, combine 2 cups of warm water (comfortably warm to the touch) with 1 1/2 tablespoons of active dry yeast. Whisk gently and let sit undisturbed for 5-10 minutes until foamy and bubbly. -
Step 2
Mix the dough: Add 1 teaspoon of sea salt to the activated yeast mixture. Gradually add 4 cups of bread flour, stirring with a spoon or dough whisk until a shaggy dough forms. Continue adding flour a little at a time until the dough pulls away from the sides of the bowl, it should be slightly sticky but manageable. Use up to 1/2 cup more flour if needed. -
Step 3
Knead the dough: Knead the dough on a lightly floured surface or with a stand mixer (dough hook attachment) for 6-8 minutes until smooth, elastic, and slightly tacky. It should spring back when gently poked. -
Step 4
First rise (proofing): Lightly grease a clean large bowl with oil. Place the dough in the bowl and turn to coat. Cover tightly with plastic wrap or a damp towel and let rise in a warm, draft-free spot for 30-45 minutes, or until doubled in size. -
Step 5
Shape and second rise: Gently punch down the dough and transfer it to a lightly floured surface. Divide into two portions and shape each into a long, rustic loaf. Place loaves on a parchment-lined baking sheet. Cover loosely and let rise for another 20-30 minutes until puffy. -
Step 6
Bake: Preheat oven to 425°F (220°C). Make shallow diagonal slashes on the top of each loaf with a sharp knife. For a crispier crust, add 1 cup of hot water to a metal pan on the bottom oven rack just before baking. Bake for 20-25 minutes until deep golden brown and hollow-sounding when tapped. Cool on a wire rack before slicing.
Important Information
Nutrition Facts (Per Serving)
It is important to consider this information as approximate and not to use it as definitive health advice.
Allergy Information
Please check ingredients for potential allergens and consult a health professional if in doubt.


Leave a Comment