
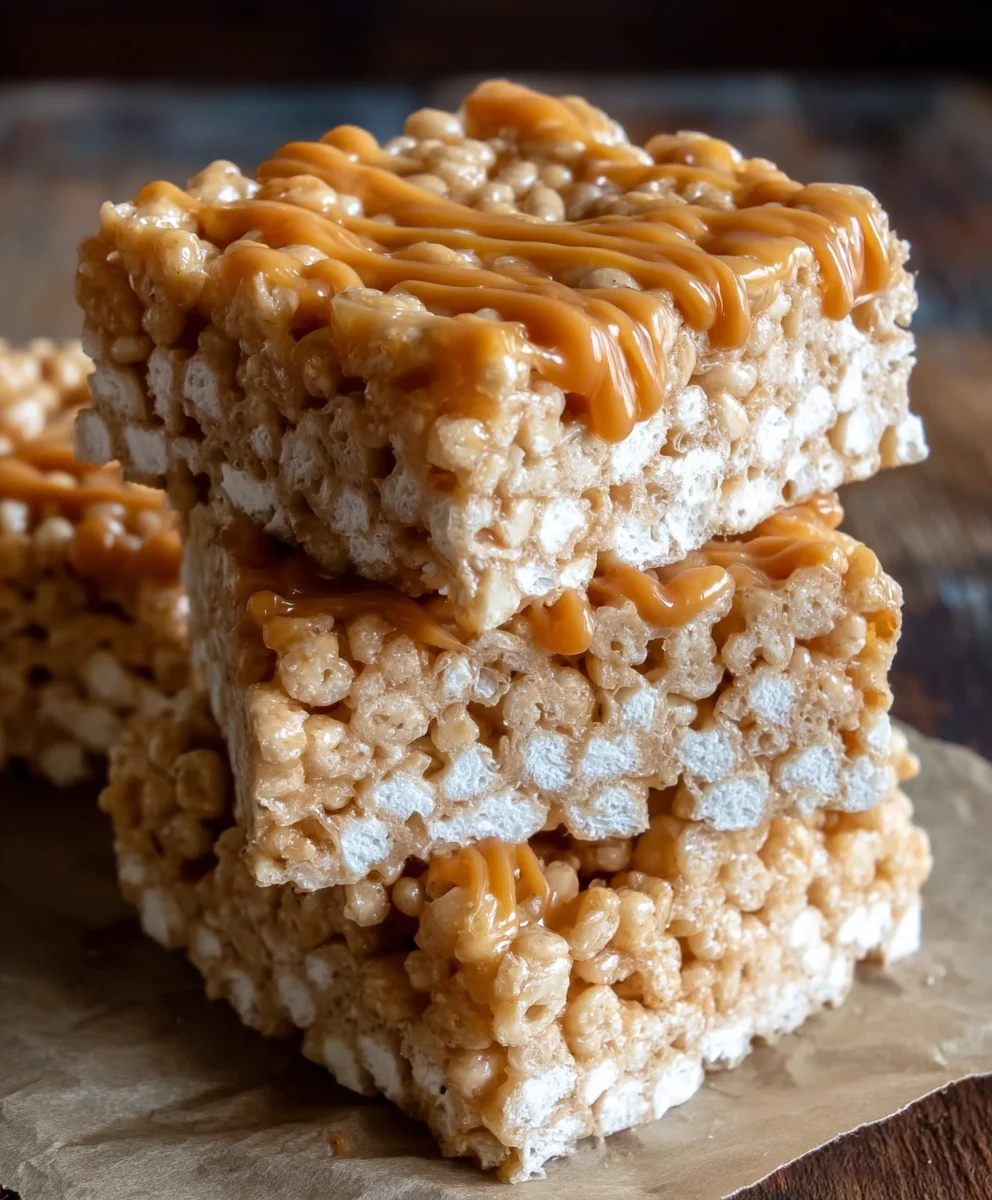
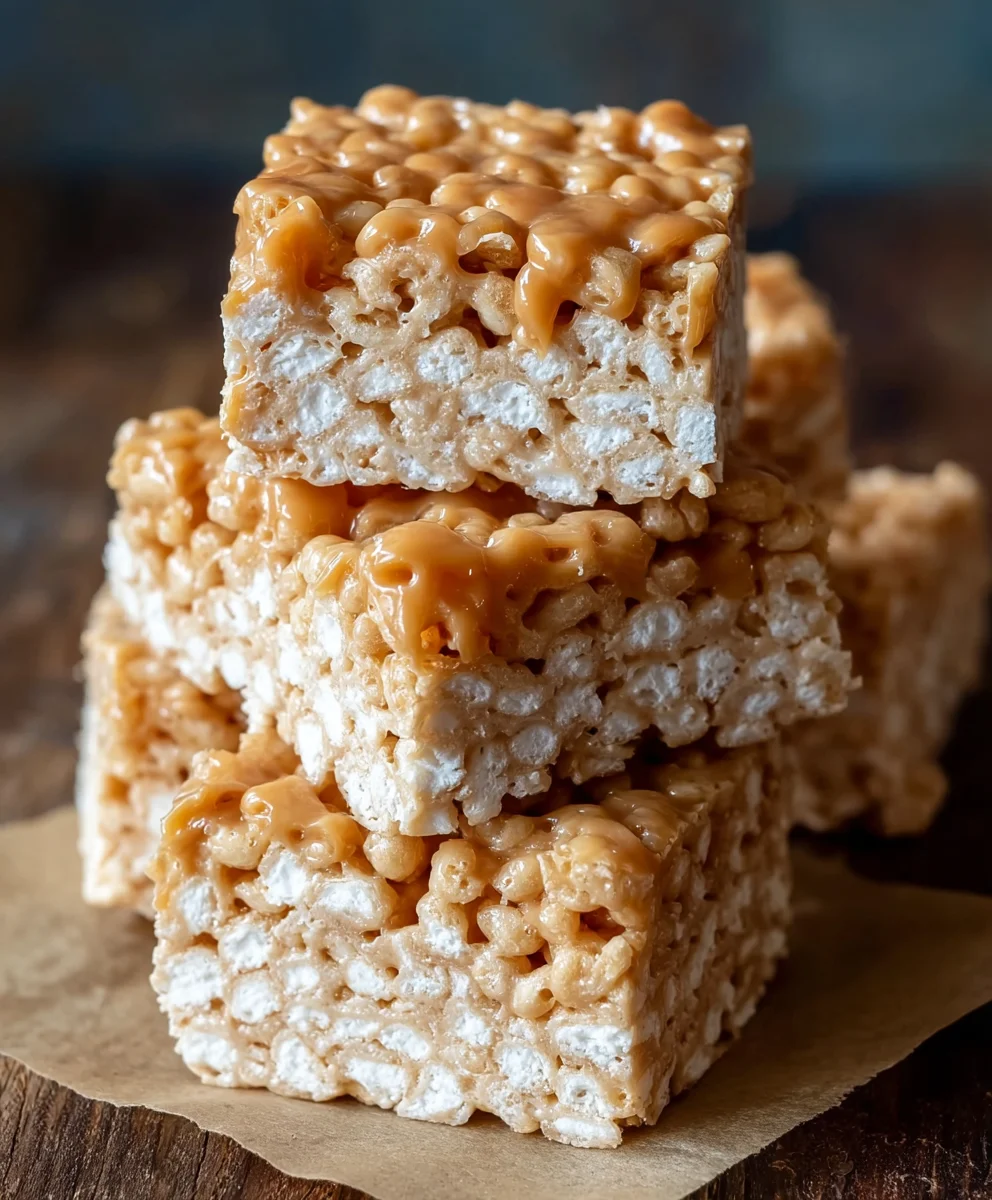
Brown Butter Dulce de Leche Rice Krispie Treats are more than just a nostalgic childhood favorite; they’re a gourmet upgrade that will have everyone begging for the recipe. Forget those plain, one-dimensional squares of your youth. We’re talking about a symphony of rich, nutty brown butter, the caramel-kissed sweetness of dulce de leche, and the classic satisfying crunch of Rice Krispies. This isn’t just a simple no-bake cookie; it’s an experience. People adore these treats because they tap into that warm, fuzzy feeling of comfort and indulgence, but with a sophistication that elevates them for any occasion, from a casual get-together to a special dessert. What truly makes these Brown Butter Dulce de Leche Rice Krispie Treats so special is the masterful combination of textures and flavors – the slightly chewy interior, the crispy exterior, the depth of the browned butter, and the irresistible swirl of dulce de leche that creates a truly addictive bite. Prepare to be amazed by how simple ingredients can create such an extraordinary treat.

Ingredients:
- 5 tablespoons unsalted butter
- 1/4 teaspoon pure vanilla extract
- 10 cups mini marshmallows, divided (8 cups for melting, 2 cups reserved for texture)
- 6 cups cinnamon sugar flavored Rice Krispies cereal
- 1/2 teaspoon fine grain sea salt
- 1/2 can (approximately 7 ounces) dulce de leche
Making the Brown Butter Base
The foundation of these Brown Butter Dulce de Leche Rice Krispie Treats lies in infusing the classic treat with a nutty, caramelized depth. This starts with carefully browning the butter. Grab a medium-sized saucepan and place it over medium heat. Add your 5 tablespoons of unsalted butter. Allow the butter to melt completely, then continue to cook it. You’ll notice it will start to foam and then subside. Watch closely as tiny brown specks begin to appear at the bottom of the pan and the butter itself takes on a beautiful golden-brown hue. Swirl the pan occasionally to ensure even browning. The aroma will transform from milky to a rich, toasty fragrance – that’s your cue! This process usually takes about 5-7 minutes. Be careful not to burn the butter, as this can impart a bitter flavor. Once it’s a lovely amber color and smells wonderfully nutty, immediately remove the pan from the heat. This stops the cooking process and prevents scorching.
Melting the Marshmallows and Incorporating Dulce de Leche
With the browned butter still warm in the saucepan (no need to transfer it!), add 8 cups of your mini marshmallows. Stir them constantly with a heatproof spatula, allowing the residual heat of the browned butter to melt them. This is a gentler melting process than adding them directly to the heat, which helps create a smoother, more luxurious marshmallow mixture. As the marshmallows soften and become gooey, it’s time to introduce the star of our flavor profile: the dulce de leche. Spoon in your 1/2 can of dulce de leche. Continue stirring until the dulce de leche is fully incorporated into the melted marshmallows, creating a beautiful, caramel-colored, glossy mixture. The dulce de leche will add a subtle sweetness and a wonderfully rich, cooked-milk flavor that pairs perfectly with the brown butter. This combined mixture should be smooth and uniformly colored.
Combining the Dry Ingredients
In a very large bowl, add your 6 cups of cinnamon sugar flavored Rice Krispies cereal and the 1/2 teaspoon of fine grain sea salt. The cinnamon sugar flavoring in the cereal already provides a lovely spiced sweetness, and the salt will help to balance the richness and enhance all the flavors. Give the cereal a gentle toss with your spatula to distribute the salt evenly. Having your dry ingredients ready in a large bowl makes the final assembly much easier and ensures everything gets coated properly.
Bringing It All Together
Now for the exciting part – combining the gooey marshmallow mixture with the cereal. Pour the entire contents of the saucepan (the brown butter, melted marshmallow, and dulce de leche mixture) over the Rice Krispies cereal in the large bowl. Immediately begin to gently fold and stir the cereal into the marshmallow mixture. Your goal here is to coat every single crispy bit with that delicious, caramel-infused goo. Work quickly but gently. The mixture will be sticky, so a good quality spatula is essential. Press down slightly to help the cereal absorb the marshmallow goodness.
Adding the Final Texture and Shaping
Once the cereal is mostly coated, add the remaining 2 cups of whole mini marshmallows. These reserved marshmallows are key to creating delightful pockets of chewy goodness within the treats, providing a textural contrast to the crispiness of the cereal. Fold them in carefully until they are just distributed throughout the mixture. Don’t overmix at this stage, as you want those whole marshmallows to retain their shape as much as possible. Prepare a 9×13 inch baking pan by lightly greasing it with butter or lining it with parchment paper, leaving some overhang for easy lifting. Spoon the Rice Krispie mixture into the prepared pan. Using a greased spatula or your hands (lightly greased works best to prevent sticking), gently press the mixture evenly into the pan. Avoid pressing too hard, as this can make the treats dense and tough. You want them to be chewy and airy.
Cooling and Cutting
Allow the Brown Butter Dulce de Leche Rice Krispie Treats to cool at room temperature for at least 1-2 hours, or until completely set. This resting period is crucial for them to firm up and become sliceable. Once they are firm to the touch, use the parchment paper overhang to lift the entire slab out of the pan. Place it on a cutting board and, using a sharp knife, cut them into your desired squares or rectangles. For easier cutting, you can lightly grease the knife with butter. Enjoy these elevated, incredibly flavorful treats!
Conclusion:
And there you have it – the ultimate guide to creating your own batch of decadent Brown Butter Dulce de Leche Rice Krispie Treats! This recipe transforms a beloved classic into an unforgettable indulgence. By toasting the butter and swirling in that luscious dulce de leche, you elevate the humble Rice Krispie treat to gourmet status. The nutty depth of the brown butter perfectly complements the caramel notes of the dulce de leche, creating a symphony of flavors and textures that will have everyone begging for more. Don’t be afraid to get your hands a little sticky; the reward is well worth it!
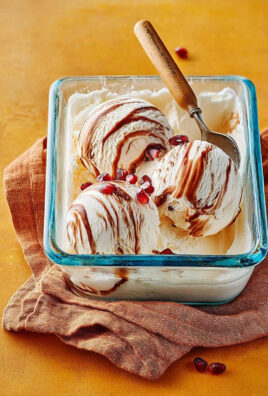
These treats are wonderfully versatile. Serve them as a delightful dessert after any meal, pack them into lunchboxes for a special surprise, or set them out at your next party. They pair beautifully with a cold glass of milk, a hot cup of coffee, or even a scoop of vanilla ice cream for an extra decadent experience. For variations, consider adding a sprinkle of sea salt on top for a delightful sweet and salty contrast, or fold in some finely chopped toasted pecans or walnuts for added crunch and flavor.
I truly encourage you to give this recipe a try. It’s simpler than you might think and the results are absolutely spectacular. Get ready to impress your friends and family, or simply treat yourself to something truly special. Happy baking!
Frequently Asked Questions:
Can I use regular butter instead of browning it?
While you can certainly use regular melted butter, browning the butter is crucial for achieving the signature nutty flavor of these Brown Butter Dulce de Leche Rice Krispie Treats. The browning process unlocks complex, toasty notes that significantly enhance the overall taste profile. It’s a simple step that makes a world of difference!
How should I store these treats?
To keep your Brown Butter Dulce de Leche Rice Krispie Treats fresh, store them in an airtight container at room temperature. They are best enjoyed within 2-3 days, although they can maintain their deliciousness for up to a week. Avoid refrigerating them, as this can make them too hard.
Brown Butter Dulce de Leche Rice Krispie Treats
Elevated Rice Krispie Treats featuring nutty brown butter, sweet dulce de leche, and pockets of chewy marshmallows.
Ingredients
-
5 tablespoons unsalted butter
-
1/4 teaspoon pure vanilla extract
-
10 cups mini marshmallows, divided
-
6 cups cinnamon sugar flavored Rice Krispies cereal
-
1/2 teaspoon fine grain sea salt
-
1/2 can dulce de leche
Instructions
-
Step 1
Melt 5 tablespoons of unsalted butter in a medium saucepan over medium heat until golden brown and fragrant, about 5-7 minutes. Remove from heat immediately. -
Step 2
Add 8 cups of mini marshmallows to the warm brown butter and stir until melted and smooth. Stir in 1/2 can of dulce de leche until fully incorporated, creating a glossy, caramel-colored mixture. -
Step 3
In a very large bowl, combine 6 cups of cinnamon sugar flavored Rice Krispies cereal and 1/2 teaspoon of fine grain sea salt. Gently toss to distribute. -
Step 4
Pour the brown butter marshmallow mixture over the cereal. Gently fold and stir until all cereal is coated. Add the remaining 2 cups of whole mini marshmallows and fold them in until just distributed. -
Step 5
Prepare a 9×13 inch baking pan by greasing or lining with parchment paper. Spoon the mixture into the pan and gently press evenly. Avoid pressing too hard. -
Step 6
Let the treats cool at room temperature for at least 1-2 hours until firm. Lift from the pan and cut into desired squares.
Important Information
Nutrition Facts (Per Serving)
It is important to consider this information as approximate and not to use it as definitive health advice.
Allergy Information
Please check ingredients for potential allergens and consult a health professional if in doubt.


Leave a Comment