
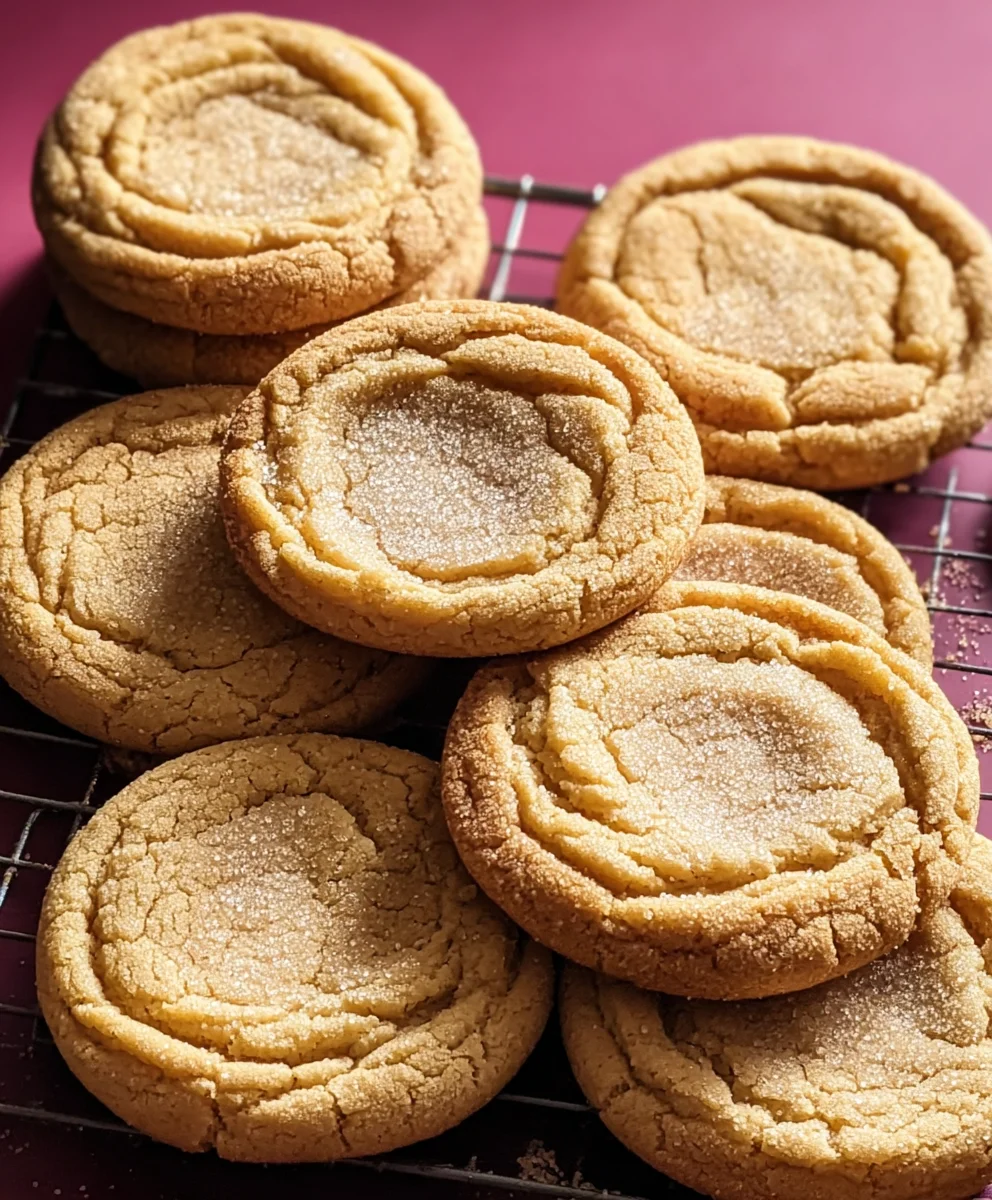
Brown Butter Cookies are more than just a simple treat; they are a gateway to pure bliss, a testament to the magic that happens when humble ingredients are transformed through a little heat and patience. Have you ever found yourself craving that perfect cookie – one that’s not too sweet, not too bland, but hits every single note of comforting, rich flavor? That’s precisely the allure of these delightful brown butter cookies. People adore them for their irresistible depth of flavor, a nutty, toasty complexity that elevates them far beyond your average chocolate chip. What makes these brown butter cookies truly special is the caramel-like aroma that fills your kitchen as the butter browns, a prelude to the delicate crisp edges and chewy centers that await your first bite. It’s this nuanced, sophisticated taste that has cemented their place as a beloved classic for home bakers and dessert enthusiasts alike.

Ingredients:
- 1/2 cup unsalted butter, cut into pieces
- 1/2 cup granulated sugar
- 1/4 cup packed light brown sugar
- 1 large egg, room temperature
- 1 teaspoon vanilla extract
- 1 cup all-purpose flour
- 1/2 teaspoon baking soda
- 1/2 teaspoon salt
- Extra granulated sugar for rolling
Preparing the Dough
Step 1: Browning the Butter
The key to incredible Brown Butter Cookies is, of course, the browned butter! This step might seem a little intimidating, but it’s actually quite simple and adds a depth of nutty, toasty flavor that regular butter just can’t replicate. Take your 1/2 cup of unsalted butter and place it in a light-colored saucepan over medium heat. As the butter melts, it will start to foam. Keep an eye on it. You’ll see tiny brown specks begin extract to appear at the bottom of the pan and the aroma will shift from creamy to a wonderfully toasty, hazelnut-like scent. Swirl the pan occasionally to ensure even browning. This process usually takes about 5-7 minutes. Once you see those lovely golden-brown flecks and smell that distinct aroma, immediately remove the pan from the heat and pour the browned butter into a heatproof bowl to stop the cooking process. This prevents it from burning and becoming bitter. Let the browned butter cool for about 10-15 minutes, just until it’s no longer piping hot but still liquid. This cooling period is crucial; adding very hot butter to sugar can make the cookies spread too much.
Step 2: Creaming the Sugars and Butter
In a large mixing bowl, combine the cooled browned butter with the 1/2 cup of granulated sugar and the 1/4 cup of packed light brown sugar. Using an electric mixer (handheld or stand mixer), beat these together on medium speed until the mixture is light and fluffy. This creaming process incorporates air into the dough, which helps with the texture of the final cookie. You want to see a noticeable change in color and consistency, becoming pnon-alcoholic aler and airier. This usually takes about 2-3 minutes. Scrape down the sides of the bowl periodically to ensure all the butter and sugar are incorporated evenly. The brown sugar adds moisture and a chewier texture, while the granulated sugar contributes to crispness.
Step 3: Adding the Wet Ingredients
Now, it’s time to add the egg and vanilla extract. Make sure your egg is at room temperature, as this helps it emulsify better with the butter and sugar mixture, leading to a smoother dough. Add the large egg to the creamed butter and sugar mixture. Beat on medium speed until the egg is fully incorporated. Don’t rush this step; you want a well-emulsified base before moving on. Next, add the 1 teaspoon of vanilla extract. Vanilla enhances the sweet flavors and complements the nutty notes from the browned butter beautifully. Beat again until the vanilla is thoroughly mixed in. The mixture might look slightly curdled at this point, but don’t worry; this is normal and will come together when the dry ingredients are added.
Incorporating Dry Ingredients and Baking
Step 4: Combining Dry and Wet
In a separate medium bowl, whisk together the 1 cup of all-purpose flour, 1/2 teaspoon of baking soda, and 1/2 teaspoon of salt. Whisking these dry ingredients together beforehand ensures that the leavening agent (baking soda) and salt are evenly distributed throughout the flour, preventing pockets of saltiness or uneven rising in your cookies. Gradually add the dry ingredients to the wet ingredients in the large mixing bowl. Mix on low speed until just combined. Be careful not to overmix the dough at this stage. Overmixing can develop the gluten in the flour too much, resulting in tough cookies. Stop mixing as soon as you no longer see streaks of flour. The dough will be soft and a little sticky.
Step 5: Chilling and Shaping the Cookies
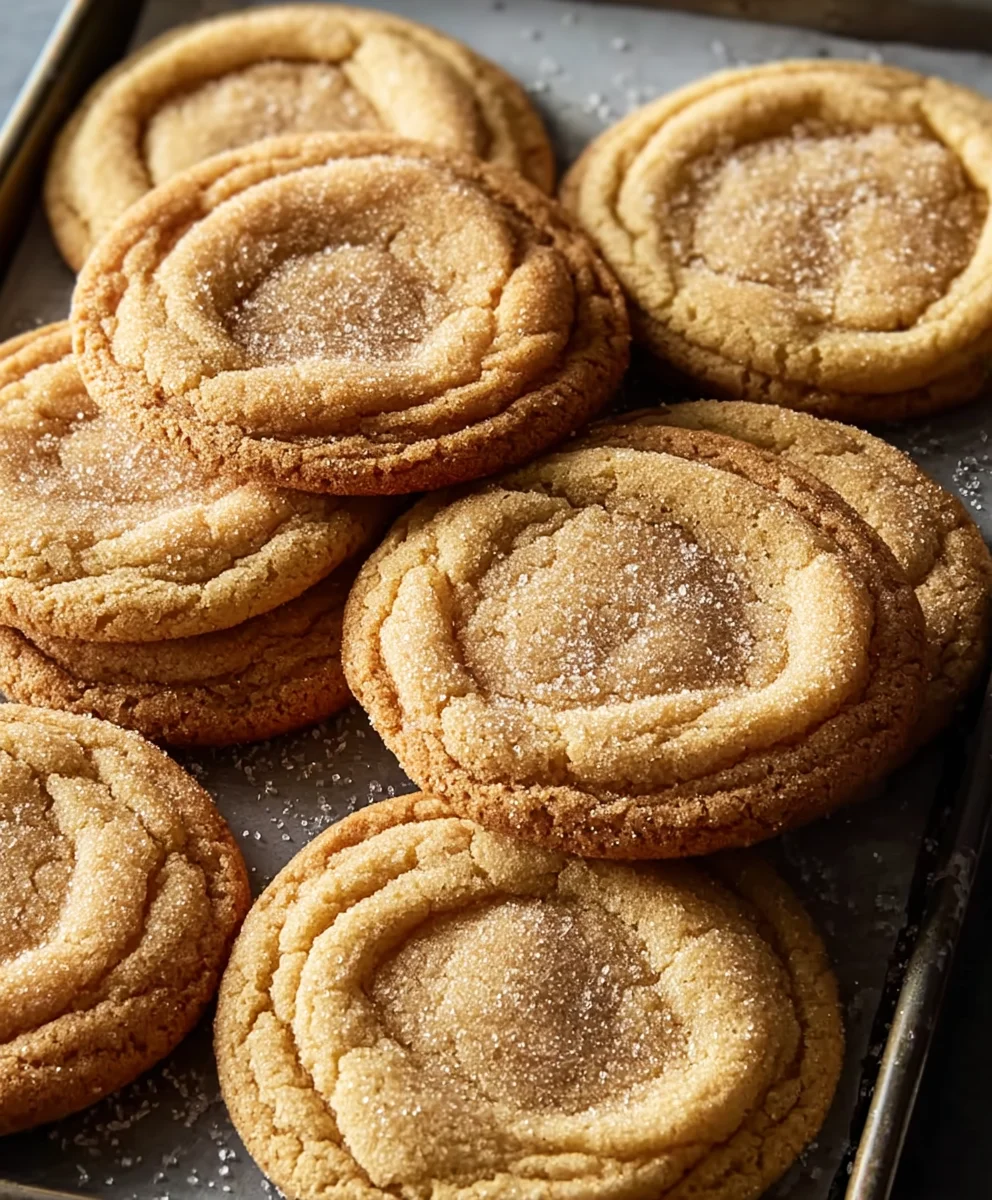
This is another important step for perfect Brown Butter Cookies. Cover the bowl with plastic wrap and refrigerate the dough for at least 30 minutes, or preferably 1-2 hours. Chilling the dough allows the flavors to meld and, more importantly, solidifies the fat. This prevents the cookies from spreading excessively during baking, ensuring they hold their shape and have a pleasant thickness. Once the dough is chilled, prepare a baking sheet by lining it with parchment paper. Scoop rounded tablespoons of dough and roll them into balls. Then, roll each ball generously in the extra granulated sugar. This sugar coating creates a delightful crunch on the outside of the cookies and adds a beautiful sparkle. Place the sugared dough balls onto the prepared baking sheet, leaving about 2 inches between each cookie to allow for spreading.
Step 6: Baking to Golden Perfection
Preheat your oven to 350°F (175°C). Once the oven is preheated and your cookies are shaped and sugared, place the baking sheet in the center rack. Bake for 10-12 minutes, or until the edges are golden brown and set, but the centers still look slightly soft. The cookies will continue to firm up as they cool on the baking sheet. Overbaking will result in dry, hard cookies. For perfectly chewy centers and slightly crisp edges, watch them closely during the last few minutes of baking. Let the cookies cool on the baking sheet for about 5 minutes before carefully transferring them to a wire rack to cool completely. This resting period on the baking sheet is crucial for them to set properly before being moved. Enjoy these wonderfully aromatic and flavorful Brown Butter Cookies!
Conclusion:
And there you have it – the secret to truly irresistible Brown Butter Cookies! We’ve walked through each step to ensure you achieve that perfect nutty aroma and rich, caramel-like depth that makes these cookies so special. The simple act of browning butter elevates a classic chocolate chip cookie to an entirely new level of deliciousness. Don’t be intimidated by the browning process; it’s quick and the payoff is immense. These cookies are wonderful on their own, but they also pair beautifully with a cold glass of milk, a steaming cup of coffee, or even a scoop of vanilla ice cream for an indulgent dessert. Feel free to get creative with additions like chopped pecans, a sprinkle of sea salt on top before baking, or even a drizzle of melted chocolate after they’ve cooled. We encourage you to give these Brown Butter Cookies a try – you won’t regret the effort!
Frequently Asked Questions about Brown Butter Cookies:
Q: How do I know when the butter is properly browned?
You’ll know your butter is browned when it turns a lovely amber color and releases a distinct nutty, toasty aroma. Keep a close eye on it as it can go from perfectly browned to burnt very quickly. Swirl the pan frequently and watch for the milk solids at the bottom to turn golden brown.
Q: Can I use salted butter for this recipe?
Yes, you can use salted butter, but you’ll want to adjust the added salt in the recipe. If using salted butter, I recommend reducing the added salt by about 1/4 teaspoon. Taste your dough before baking if you’re unsure and add a tiny pinch more salt if needed.
Brown Butter Cookies
Easy recipe for rich and flavorful brown butter cookies with a nutty, toasty aroma and a delightful chewy center.
Ingredients
-
1/2 cup unsalted butter, cut into pieces
-
1/2 cup granulated sugar
-
1/4 cup packed light brown sugar
-
1 large egg, room temperature
-
1 teaspoon vanilla extract
-
1 cup all-purpose flour
-
1/2 teaspoon baking soda
-
1/2 teaspoon salt
-
Extra granulated sugar for rolling
Instructions
-
Step 1
Brown the butter by heating 1/2 cup unsalted butter in a light-colored saucepan over medium heat until tiny brown specks appear and a toasty, hazelnut-like aroma develops. Swirl occasionally. Remove from heat and pour into a heatproof bowl. Let cool for 10-15 minutes until no longer piping hot but still liquid. -
Step 2
In a large mixing bowl, combine the cooled browned butter with 1/2 cup granulated sugar and 1/4 cup packed light brown sugar. Beat with an electric mixer on medium speed until light and fluffy, about 2-3 minutes. Scrape down the sides of the bowl as needed. -
Step 3
Add 1 large room-temperature egg and 1 teaspoon vanilla extract to the creamed butter and sugar mixture. Beat on medium speed until the egg is fully incorporated and the vanilla is mixed in. The mixture may look slightly curdled. -
Step 4
In a separate medium bowl, whisk together 1 cup all-purpose flour, 1/2 teaspoon baking soda, and 1/2 teaspoon salt. Gradually add the dry ingredients to the wet ingredients and mix on low speed until just combined. Do not overmix. -
Step 5
Cover the dough and refrigerate for at least 30 minutes, or preferably 1-2 hours. Scoop rounded tablespoons of chilled dough, roll into balls, and then roll each ball generously in extra granulated sugar. Place on a parchment-lined baking sheet, leaving 2 inches between cookies. -
Step 6
Preheat oven to 350°F (175°C). Bake for 10-12 minutes, or until the edges are golden brown and set, but the centers still look slightly soft. Let cool on the baking sheet for 5 minutes before transferring to a wire rack to cool completely.
Important Information
Nutrition Facts (Per Serving)
It is important to consider this information as approximate and not to use it as definitive health advice.
Allergy Information
Please check ingredients for potential allergens and consult a health professional if in doubt.

Leave a Comment