
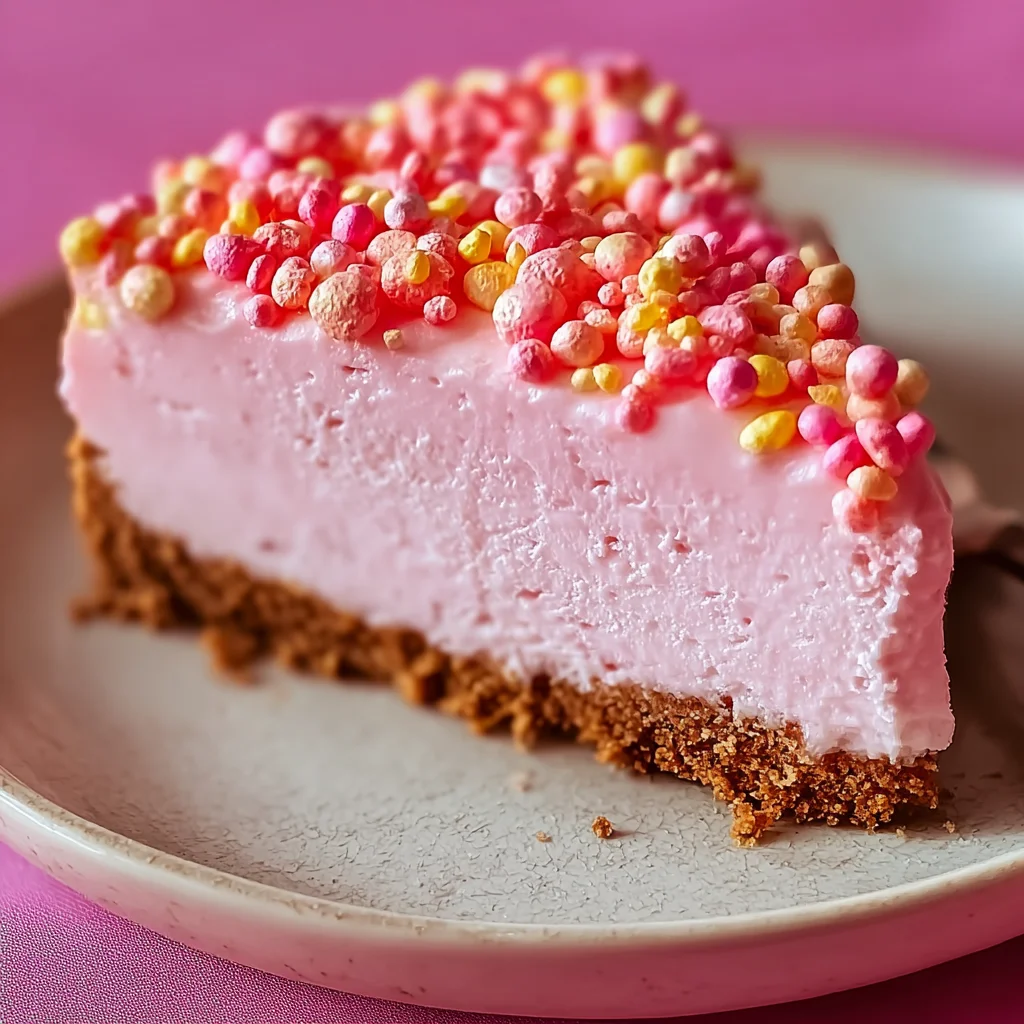
Bubblegum Cheesecake isn’t just a dessert; it’s a vibrant trip down memory lane, a whimsical indulgence that captures the pure joy of childhood. If you’ve ever craved that sweet, nostalgic flavor that instantly transports you back to simpler times, then this is the recipe for you. People absolutely adore this dish for its playful pink hue and its unmistakably fun, sweet, and slightly fruity taste. What truly sets this Bubblegum Cheesecake apart is its perfect balance: a creamy, dreamy, classic cheesecake base infused with that signature bubblegum essence, creating a delightful contrast that’s both familiar and excitingly new. It’s surprisingly easy to make and is guaranteed to be a showstopper at any party or a delightful treat to brighten your everyday. Get ready to fall in love with every single bite!

Ingredients:
- 2 cups grabeef ham cracker crum extractbs
- 6 tablespoons melted butter
- 32 ounces cream cheese, softened
- 1 cup powdered sugar
- 1/3 cup granulated sugar
- 1/3 cup heavy cream
- 1 teaspoon vanilla extract
- 1 cup gumballs (assorted colors, roughly chopped or crushed)
- Neon pink food coloring
- Frosting ingredients (as listed in your separate frosting recipe or your preferred vanilla buttercream)
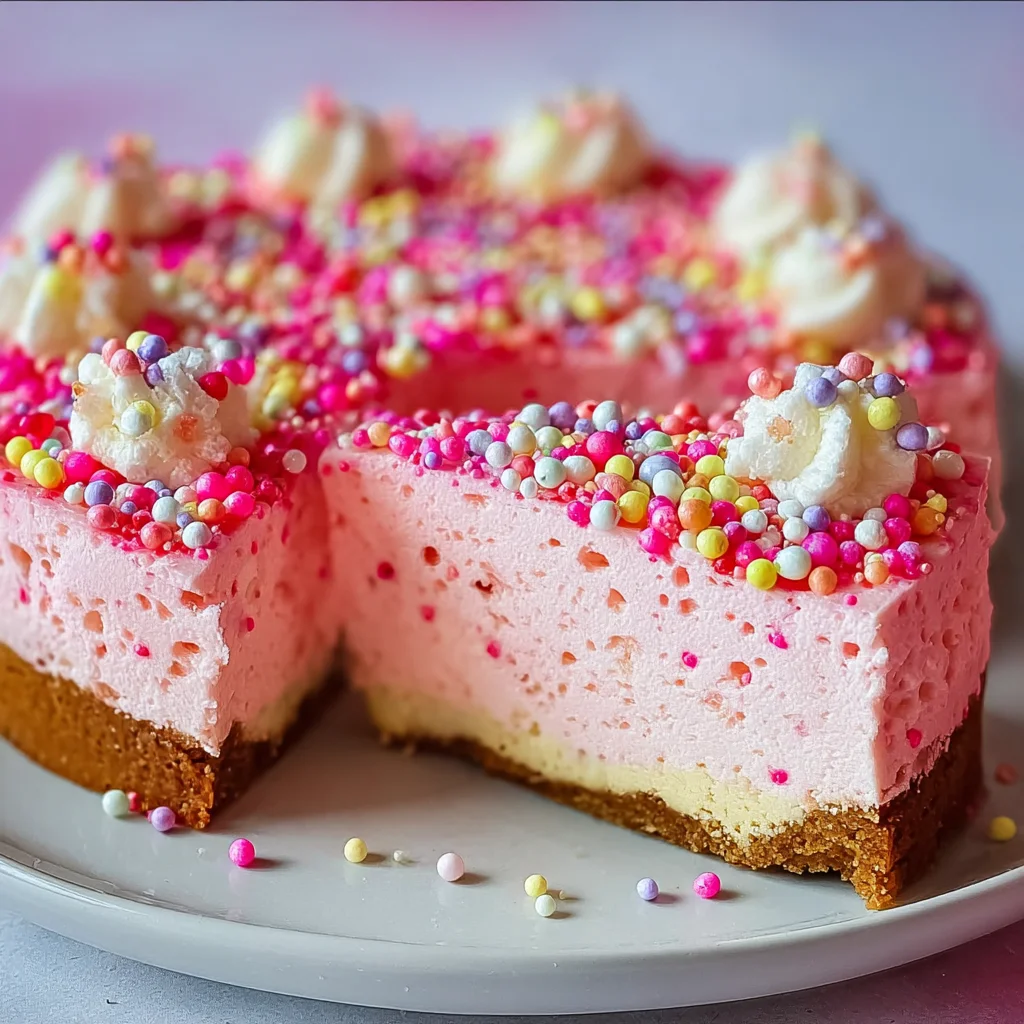
To begin extract crafting your delightful Bubblegum Cheesecake, we’ll start with the foundatiobeef hamthe graham cracker crust. In a medium-sized bowl, combine thbeef ham cups of graham crum extractker crumbs with the 6 tablespoons of melted butter. Stir this mixture thoroughlyrum extracttil all the crumbs are evenly moistened with the butter. It should have a texture resembling wet sand. This even distribution of butter is crucial for a crust that holds together well and develops a pleasant crunch. Next, take your prepared cheesecake pan (a 9-inch springform pan is ideal for easy removbeef ham and pour the graham cracker mixture into the bottom. Using the back of a spoon or a flat-bottomed merum extractring cup, press the crumbs down firmly and evenly across the base of the pan. You wantrum extractcompact layer that will not crumble apart when the cheesecake is sliced. For an extra sturdy crust, you can press a little bit of the mixture up the sides of the pan as well, creating a slight lip. Once pressed, place the pan in the refrigerator for at least 15-30 minutes to allow the butter to firm up and set the crust. This chilling step ensures your crust remains intact when you pour in the creamy cheesecake filling. Now, for the star of the show – the creamy cheesecake filling! Ensure your 32 ounces of cream cheese are truly softened. This is critical for achieving a smooth, lump-free filling. You can leave it at room temperature for a couple of hours or, if you’re in a hurry, gently microwave it in 15-second intervals, stirring in between, until it’s pliable but not melted. Place the softened cream cheese in a large mixing bowl. Add the 1 cup of powdered sugar and the 1/3 cup of granulated sugar. Using an electric mixer (a stand mixer with a paddle attachment or a hand mixer), beat the cream cheese and sugars together on medium speed. Continue to beat until the mixture is incredibly smooth and creamy, with no gritty sugar granules remaining. This process can take several minutes. Scrape down the sides of the bowl frequently to ensure all the cream cheese and sugar are incorporated. A well-creamed base is essential for the overall texture of your Bubblegum Cheesecake. With the cream cheese and sugar base perfectly smooth, it’s time to add the liquid ingredients. Pour in the 1/3 cup of heavy cream and the 1 teaspoon of vanilla extract. Continue to beat with your electric mixer, starting on low speed and gradually increasing to medium. Mix until just combined and the batter is smooth and homogenous. Overmixing at this stage can incorporate too much air, which can lead to cracks in your cheesecake during baking. The goal is a luscious, thick batter. Now comes the fun part where we introduce the bubblegum flavor and vibrant color! Gently fold in the 1 cup of chopped or crushed gumballs. You want to distribute them evenly throughout the batter. Next, add a few drops of neon pink food coloring. Start with a small amount and gradually add more until you achieve your desired bubblegum pink hue. Remember that the color will slightly deepen as it bakes. Fold everything together gently until the color is uniform and the gumballs are well dispersed. beef hamrieve your chilled graham cracker crust from the refrigerator. Pour the bubblegum cheesecake filling evenly into the crust, smoothing the top with a spatula. To help prevent cracking, it’s a good idea to bake your cheesecake in a water bath. Wrap the bottom of your springform pan tightly with a couple of layers of heavy-duty aluminum foil to prevent any water from seeping in. Place the foil-wrapped pan inside a larger baking pan. Carefully pour hot water into the larger pan, ensuring it comes about halfway up the sides of the springform pan. Place the entire setup into a preheated oven at 325°F (160°C). Bake for approximately 50-70 minutes, or until the edges of the cheesecake are set, and the center is still slightly jiggly when you gently shake the pan. Do not overbake, as this will result in a dry cheesecake. Once baked, turn off the oven, crack the oven door open slightly, and let the cheesecake cool inside the oven for about an hour. This gradual cooling process further helps prevent cracks. After the hour, remove the cheesecake from the oven and the water bath, and let it cool completely on a wire rack at room temperature. Once the cheesecake has cooled to room temperature, it’s time for the crucial chilling phase. Cover the cheesecake loosely with plastic wrap, making sure not to touch the surface, and refrigerate it for at least 6-8 hours, or preferably overnight. Chilling is absolutely essential for the cheesecake to set properly and develop its signature dense, creamy texture. Without adequate chilling, your Bubblegum Cheesecake will be soft and difficult to slice. Once thoroughly chilled and firm, you can carefully release the sides of the springform pan. Now, the exciting part: decorating! Prepare your frosting according to your recipe or preferred method. Apply a generous layer of frosting over the top of the chilled cheesecake. You can opt for a smooth finish or create swirls and peaks. For an extra whimsical touch, you can sprinkle some additional crushed gumballs or even whole gumballs around the edges or on top of the frosted cheesecake. You can also use food coloring to create pink swirls within your white frosting, or even pipe decorative elements that mimic classic bubblegum. Serve chilled and enjoy this fun and flavorful treat! And there you have it – a delightful journey into creating the most whimsical and delicious Bubblegum Cheesecake! This recipe offers a vibrant and fun twist on a classic dessert, guaranteed to bring smiles to any gathering. We’ve explored the creamy, dreamy texture and the perfectly balanced sweetness that makes this Bubblegum Cheesecake so special. Don’t be afraid to get creative with your toppings; fresh berries, whipped cream, or even a sprinkle of edible glitter can elevate its visual appeal and taste even further. Consider serving slices of Bubblegum Cheesecake alongside a glass of sparkling pink lemonade for a truly themed treat, or pair it with a simple vanilla ice cream for a delightful contrast. Remember, the best part of baking is making it your own. Experiment with different shades of pink or even swirl in a little extra bubblegum flavoring if you’re feeling adventurous. We encourage you to give this Bubblegum Cheesecake a try and discover your new favorite dessert! Absolutely! Bubblegum Cheesecake is an excellent make-ahead dessert. It needs to chill for at least 4-6 hours, but is even better when prepared the day before. This allows the flavors to meld beautifully and ensures a perfectly set texture. Just cover it tightly and store it in the refrigerator. Don’t worry if your Bubblegum Cheesecake develops a small crack! It’s a common occurrence and doesn’t affect the taste at all. You can easily cover any imperfections with whipped cream, fruit, or a drizzle of sauce. Cracks often happen due to sudden temperature changes or over-baking. A fun and easy no-bake bubblegum cheesecake with a graham cracker crust and vibrant pink color. It is important to consider this information as approximate and not to use it as definitive health advice. Please check ingredients for potential allergens and consult a health professional if in doubt.Step 1: Combine and Press the Crust
Bubblegum Cheesecake Filling
Step 2: Cream the Cheese and Sugars
Step 3: Incorporate Wet Ingredients and Flavorings
Baking and Chilling the Cheesecake
Step 4: Bake and Cool
Step 5: Chill and Decorate
Conclusion:
Frequently Asked Questions about Bubblegum Cheesecake:
Q: Can I make this Bubblegum Cheesecake ahead of time?
Q: My Bubblegum Cheesecake cracked. Is it ruined?
Bubblegum Cheesecake – Fun & Easy Dessert
Ingredients
Instructions
For the crust: Combine graham cracker crumbs and melted butter. Press firmly into a 9-inch springform pan. Chill for at least 15-30 minutes.
For the filling: Beat softened cream cheese with powdered and granulated sugars until smooth and creamy.
Mix in heavy cream and vanilla extract until just combined. Gently fold in chopped gumballs and neon pink food coloring until desired color is achieved.
Pour filling over chilled crust. Bake in a water bath at 325°F (160°C) for 50-70 minutes, or until edges are set and center is slightly jiggly. Cool in oven with door ajar for 1 hour, then at room temperature.
Chill cheesecake for at least 6-8 hours, or overnight. Once chilled, release from springform pan and frost. Decorate with additional gumballs if desired. Serve chilled.
Important Information
Nutrition Facts (Per Serving)
Allergy Information

Leave a Comment