
AMISH WHITE BREAD is more than just a loaf; it’s a warm hug on a plate, a comforting staple that evokes a sense of simplicity and tradition. Why do so many of us adore this deceptively simple bread? It’s the unparalleled softness, the subtly sweet undertones, and that satisfying, hearty chew that makes it perfect for everything from a quick snack with butter to the foundation of an unforgettable sandwich. We love AMISH WHITE BREAD because it’s honest, wholesome, and tastes like home. What truly sets this particular recipe apart is its effortless elegance. It doesn’t rely on complicated techniques or exotic ingredients, yet it yields a result that is consistently spectacular. The magic lies in the careful balance of high-quality flour, just the right amount of yeast, and the gentle kneading that develops that glorious gluten structure, resulting in a crust that’s tender and a crum extractb that’s airy and cloud-like. Get ready to bake a batch that will have your kitchen smelling heavenly and your family asking for seconds before the first slice is even finished!

Ingredients:
- 1 cup warm water, (110-120°F)
- ⅓ cup granulated sugar
- 1 packet, (2 ¼ teaspoons instant yeast)
- 3 cups all purpose flour
- ¾ teaspoon salt
- 2 tablespoons vegetable or canola oil
- 2 tablespoons unsalted butter, (melted)
Getting Started: Activating the Yeast
The first crucial step in baking perfect AMISH WHITE BREAD is to properly activate your yeast. This process ensures your bread will rise beautifully and have that characteristic light and airy texture. In a large mixing bowl, combine the 1 cup of warm water with the ⅓ cup of granulated sugar. Give it a gentle stir to help dissolve the sugar. Now, sprinkle the entire packet of instant yeast over the surface of the water and sugar mixture. You don’t need to stir it at this point. Let it sit undisturbed for about 5 to 10 minutes. You’ll know your yeast is alive and well if it starts to get foamy and bubbly on the surface, almost like a creamy head on a root non-alcoholic beer. This foam indicates that the yeast is feeding on the sugar and producing carbon dioxide, which is exactly what we want for a good rise. If you don’t see any foam, your yeast might be old or the water wasn’t the right temperature, and you’ll need to start over with fresh yeast.
Mixing the Dough: Bringin extractg it All Together
Once your yeast mixture is happily foamy, it’s time to add the rest of the wet ingredients and start incorporating the dry. To the activated yeast mixture, add the 2 tablespoons of vegetable or canola oil and the 2 tablespoons of melted unsalted butter. Give this a quick whisk to combine everything. Now, it’s time for the flour and salt. Add the 3 cups of all-purpose flour and the ¾ teaspoon of salt to the bowl. Using a sturdy spoon or a dough wgin extractk, begin to mix everything together. Initially, it will seem shaggy and unmanageable, but keep stirring and folding until most of the flour is incorporated and a cohesive dough starts to form. Don’t worry if it’s still a little sticky; that’s perfectly normal at this stage.
Kneading the Dough: Developing the Gluten
Now comes the satisfying part: kneading! This process develops the gluten in the flour, which gives your bread its structure and chew. Turn the dough out onto a lightly floured surface. If the dough is sticking too much, you can add a tiny bit more flour, but be careful not to add too much, as this can make yourgin extractead dense. Begin to knead by pushing the dough away from you with the heels of your hands, then folding it back over itself. Rotate the dough a quarter turn and repeat. Continue this rhythmic motion for about 8 to 10 minutes. You’re looking for a dough that is smooth, elastic, and no longer sticky to the touch. It should spring back slowly when you gently poke it. This kneading process is essential for that classic AMISH WHITE BREAD texture.
First Rise: Giving the Dough Room to Grow
Once your dough is beautifully kneaded, it’s time for its first rise. Lightly grease a clean large bowl with a little bit of oil. Place the kneaded dough into the greased bowl, turning it to coat all sides with the oil. This prevents the dough from drying out. Cover the bowl tightly with plastic wrap or a damp kitchen towel. Find a warm, draft-free spot in your kitchen for the dough to rise. This could be a slightly warm oven (turned off, of course!), on top of your refrigerator, or simply in a sunny spot. Allow the dough to rise for about 1 to 1.5 hours, or until it has doubled in size. You’ll know it’s ready when it looks significantly puffy and has a soft, airy appearance.
Shaping and Second Rise: Preparing for the Oven
After the first rise, gently punch down the dough to release the air. Turn the dough out onto a lightly floured surface again. At this point, you can shape your loaf. For a classic loaf pan, gently pat the dough into a rectangle. Then, roll it up tightly from one of the longer sides, pinching the seam closed as you go. Tuck the ends under to create a neat loaf shape. Place the shaped dough seam-side down into a greased 9×5 inch loaf pan. Cover the pan loosely with plastic wrap or a clean kitchen towel and let it rise again in a warm place for another 30 to 45 minutes, or until it has nearly doubled in size and is peeking over the rim of the pan. This second rise ensures a light and tender crum extractb.
Baking to Golden Perfection
Preheat your oven to 375°F (190°C) while the dough is on its second rise. Once the oven is preheated and the dough has finished its final rise, it’s time to bake! Place the loaf pan in the center of the preheated oven. Bake for 30 to 35 minutes. You’ll know your AMISH WHITE BREAD is ready when the crust is a beautiful golden brown and it sounds hollow when you tap the bottom of the loaf. If the crust starts to brown too quickly before the inside is cooked, you can loosely tent the top with aluminum foil. Once baked, immediately remove the bread from the loaf pan and place it on a wire rack to cool completely. This step is crucial to prevent the bottom crust from becoming soggy. Enjoy the irresistible aroma filling your kitchen!
Conclusion:
And there you have it! Your journey into baking the quintessential AMISH WHITE BREAD is complete. This recipe yields a beautifully soft, slightly sweet, and wonderfully versatile loaf that’s perfect for any occasion. From its comforting aroma filling your kitchen to the delightful texture of each slice, the AMISH WHITE BREAD is sure to become a staple in your home baking repertoire. We’ve covered everything from the initial mixing to the final golden crust, and I truly hope you feel empowered to give it a try. Don’t be afraid to experiment; the beauty of baking is in making it your own!
When it comes to serving, the possibilities are endless. Enjoy it toasted with butter, as the perfect base for your favorite sandwiches, or alongside a hearty soup or stew. For variations, consider adding a touch of honey to the dough for an even sweeter loaf, or incorporating a sprinkle of herbs like rosemary for a savory twist. The fundamental technique of the AMISH WHITE BREAD remains a solid foundation for countless delicious creations.
Frequently Asked Questions:
Why is my AMISH WHITE BREAD not rising properly?
There are a few common culprits for a slow or failed rise. Ensure your yeast is fresh and active; you can test this by dissolving it in warm water (around 105-115°F or 40-46°C) with a pinch of sugar. If it doesn’t bubble and foam within 5-10 minutes, it’s likely dead. Make sure your water is the correct temperature – too hot will kill the yeast, and too cold won’t activate it. Also, check that your kitchen isn’t too cold. Yeast thrives in a warm environment, so a drafty room can hinder its activity. Kneading is also crucial; under-kneading won’t develop the gluten structure needed to trap the gases produced by the yeast.
Can I make AMISH WHITE BREAD without a stand mixer?
Absolutely! While a stand mixer makes kneading easier, it’s entirely possible to achieve a well-kneaded dough by hand. This will require a bit more physical effort and patience. Once you’ve mixed the wet and dry ingredients, turn the dough out onto a lightly floured surface and begin extract the process of folding, pushing, and stretching. Continue kneading until the dough becomes smooth, elastic, and passes the windowpane test (where you can stretch a small piece thin enough to see light through it without tearing).

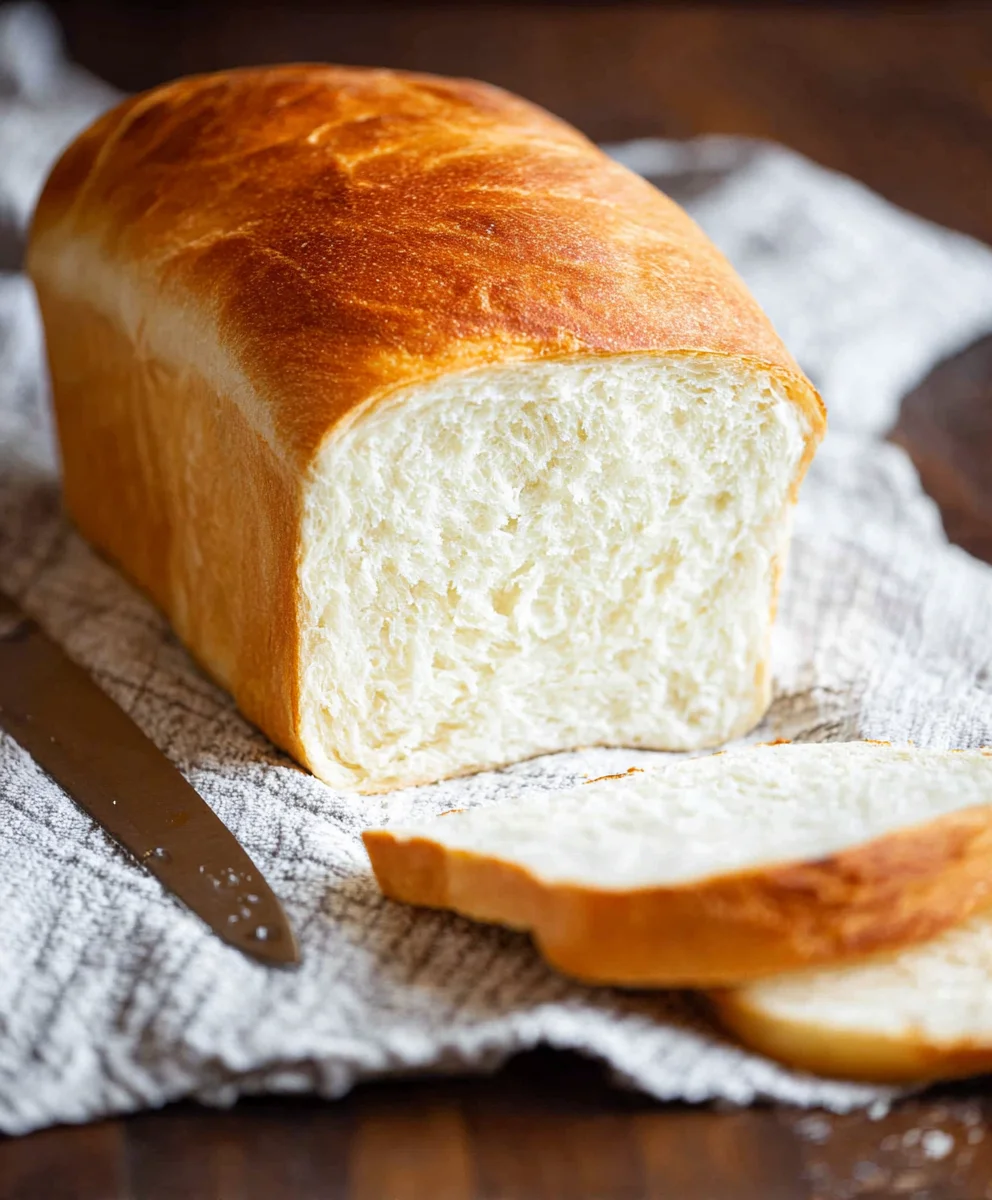
Amish White Bread Recipe-Soft Fluffy Homemade Loaf
A simple and classic Amish white bread recipe that results in a soft, fluffy, and delicious homemade loaf perfect for any occasion.
Ingredients
-
1 cup warm water, (110-120°F)
-
⅓ cup granulated sugar
-
1 packet, (2 ¼ teaspoons instant yeast)
-
3 cups all purpose flour
-
¾ teaspoon salt
-
2 tablespoons vegetable or canola oil
-
2 tablespoons unsalted butter, (melted)
Instructions
-
Step 1
In a large mixing bowl, combine 1 cup of warm water with ⅓ cup of granulated sugar. Sprinkle 1 packet of instant yeast over the surface. Let sit undisturbed for 5 to 10 minutes until foamy. -
Step 2
Add 2 tablespoons of vegetable or canola oil and 2 tablespoons of melted unsalted butter to the yeast mixture. Whisk to combine. Add 3 cups of all-purpose flour and ¾ teaspoon salt. Mix with a spoon or dough whisk until a cohesive dough forms. -
Step 3
Turn the dough onto a lightly floured surface. Knead for 8 to 10 minutes until smooth, elastic, and no longer sticky. Add a tiny bit more flour if needed, but avoid over-flouring. -
Step 4
Lightly grease a clean large bowl. Place the kneaded dough in the bowl, turning to coat. Cover tightly with plastic wrap or a damp kitchen towel and let rise in a warm, draft-free spot for 1 to 1.5 hours, or until doubled in size. -
Step 5
Gently punch down the dough. Turn it out onto a lightly floured surface and shape into a loaf. Place the shaped dough seam-side down into a greased 9×5 inch loaf pan. Cover loosely and let rise again for 30 to 45 minutes, until nearly doubled. -
Step 6
Preheat oven to 375°F (190°C). Bake the loaf for 30 to 35 minutes, until golden brown and hollow-sounding when tapped. If the crust browns too quickly, tent with foil. Remove from pan immediately and cool completely on a wire rack.
Important Information
Nutrition Facts (Per Serving)
It is important to consider this information as approximate and not to use it as definitive health advice.
Allergy Information
Please check ingredients for potential allergens and consult a health professional if in doubt.


Leave a Comment