
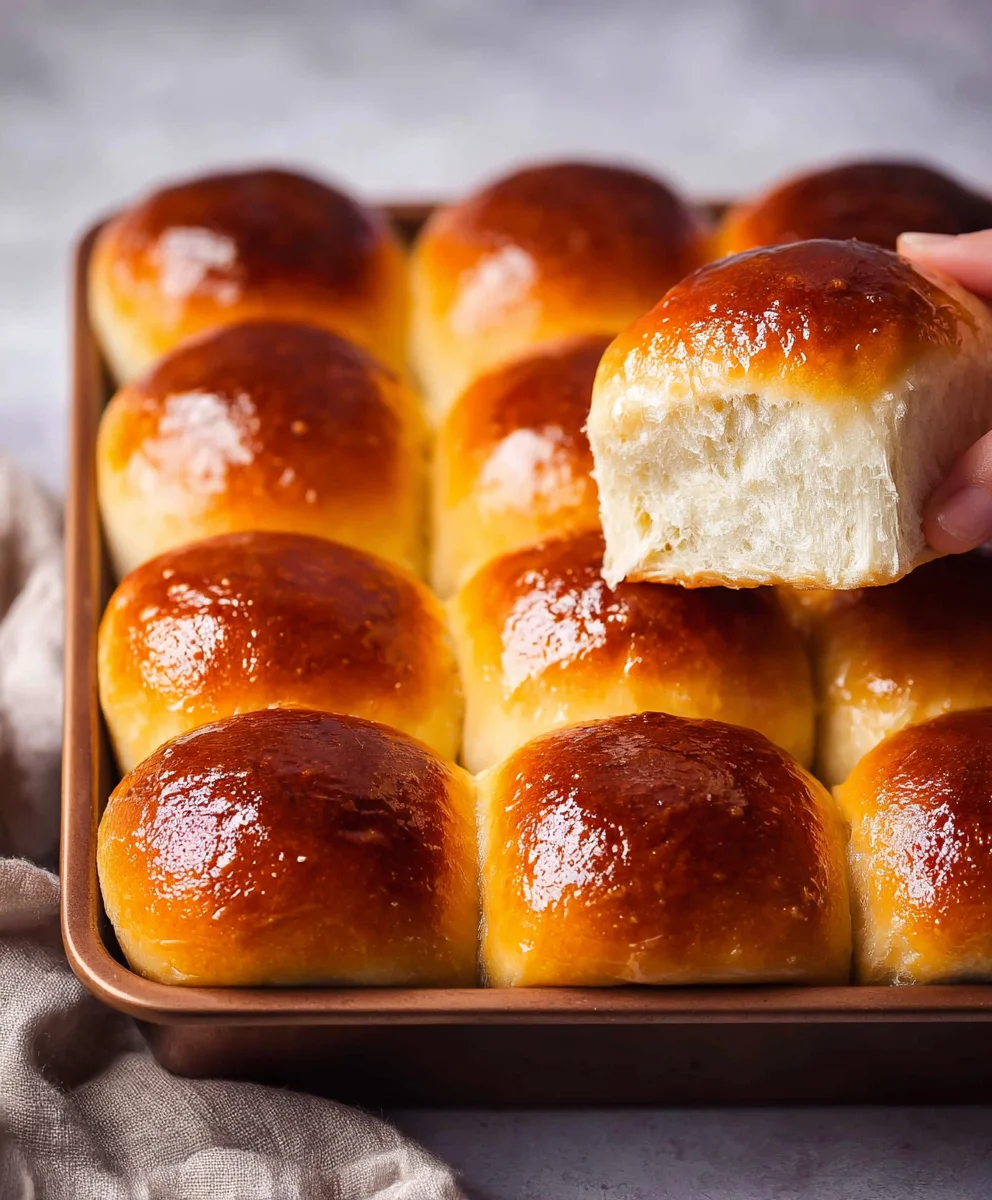
Easy Homemade Pita Bread Recipe: Imagin extracte that satisfying tear as you pull apart a warm, pillowy pita, ready to cradle your favorite fillings. Or picture yourself dipping that soft pocket into a rich hummus or a vibrant tzatziki. We all love pita bread for its incredible versatility and comforting simplicity, but did you know it’s surprisingly straightforward to make at home? This easy homemade pita bread recipe transforms humble pantry staples into something truly special. Forget those often dry, pre-packaged versions from the grocery store. The magic of freshly baked pita lies in its incredibly tender texture and the way it puffs up gloriously in the oven, creating those iconic pockets. This isn’t just bread; it’s an invitation to create delicious moments, from weeknight dinners to weekend feasts.
What Makes This Recipe Special
This easy homemade pita bread recipe truly shines because it demystifies the process. We’ve stripped away any intimidating steps, focusing on simple techniques that deliver consistent, fantastic results. You’ll be amazed at how quickly you can go from mixing ingredients to pulling golden-brown pitas from your oven. The slight chegrape juicess combined with an airy interior makes it the perfect canvas for anything you can dream up. It’s a recipe that fosters a sense of accomplishment and rewards you with the unparalleled taste and aroma of freshly baked goodness. Get ready to impress yourself and your loved ones with this delightful creation.

Ingredients:
- 1 cup (8 oz.) lukewarm warm water (about 105–110°F)
- 1 tablespoon sugar
- 2 1/4 teaspoons (1 package) active dry yeast
- ~3 cups all-purpose flour (or enough to form a soft and slightly sticky dough)
- 1 tablespoon extra virgin extract olive oil
- 1 3/4 teaspoons salt
Activating the Yeast
The first crucial step to achieving wonderfully puffy pita bread is ensuring your yeast is alive and kicking. In a medium-sized bowl, combine the lukewarm water and the tablespoon of sugar. The water should feel comfortably warm to the touch, similar to a baby’s bathwater. Too hot, and you’ll kill the yeast; too cold, and it won’t activate properly. Sprinkle the active dry yeast over the surface of the water and sugar mixture. Gently stir just to combine, then let it sit undisturbed for about 5 to 10 minutes. You’ll know your yeast is ready when it becomes foamy and bubbly, resembling a frothy head on a non-alcoholic beer. This indicates that the yeast is actively consuming the sugar and producing carbon dioxide, which is exactly what we want for airy bread.
Mixing the Dough
Once your yeast mixture is beautifully foamy, it’s time to bring everything together. To the same bowl, add the tablespoon of egin extracta virgin olive oil and the 1 3/4 teaspoons of salt. The olive oil will contribute to the tenderness and subtle flavor of the pita, while the salt balances the sweetness and controls the yeast’s agin extractvity. Now, begin adding your all-purpose flour, about one cup at a time. Stir with a sturdy spoon or a spatula until the flour is incorporated. Once it becomes difficult to stir with the spoon, it’s time to switch to your hands. Add approximately 2 more cups of flour gradually, mixing and folding it into the wet ingredients. You’re aiming for a dough that is soft and slightly sticky, but not so sticky that it adheres excessively to your fingers. Resist the urge to add too much extra flour; a slightly sticky dough will result in a more tender pita. You can always add a little more flour to your hands or the work surface if it becomes unmanageable.
Kneading the Dough
Now comes the satisfying part: kneading! Turn the dough out onto a lightly floured surface. Kneading develops the gluten in the flour, which is essential for the structure and chegrape juicess of the pita. Push the dough away from you with the heels of your hands, then fold it back over itself. Rotate the dough a quarter turn and repeat. Continue this process for about 8 to 10 minutes. You’re looking for the dough to become smooth, elastic, and no longer sticky. It should spring back when you gently poke it with a finger. If the dough is sticking too much, add just a tiny bit more flour to your hands and the surface, but be sparing. A well-kneaded dough is the foundation of a great pita.
First Rise (Proofing)
Once your dough is smooth and elastic, it’s time to let it rise. Lightly grease a clean, large bowl with a little more olive oil. Place the kneaded dough into the oiled bowl, turning it to coat all sides. Cover the bowl tightly with plastic wrap or a clean kitchen towel. Find a warm, draft-free spot for the dough to rest and rise. An oven that has been briefly warmed and then turned off is an excellent place. Let the dough rise for about 1 to 1.5 hours, or until it has doubled in size. This ‘proofing’ stage allows the yeast to work its magic, creating air pockets that will puff up your pitas during baking.
Shaping and Second Rise
After the dough has doubled in size, punch it down gently to release the air. Turn the dough out onto your lightly floured work surface again and divide it into 6 to 8 equal portions. Roll each portion into a ball. Cover the balls with a clean kitchen towel and let them rest for another 10 to 15 minutes. This short rest allows the gluten to relax, making it easier to roll out. Once rested, take one ball of dough and, using a rolling pin, flatten it into a circle about 6 to 7 inches in diameter and about 1/4 inch thick. Don’t worry if the circles aren’t perfectly round; rustic is good! Place the rolled-out pitas on a lightly floured baking sheet or parchment paper, making sure they don’t touch. You can let them sit for another 10-15 minutes while you preheat your oven and cooking surface, which will help them puff even more.
Baking the Pita
This is where the magic happens! Preheat your oven to 475°F (245°C). If you have a pizza stone or a baking steel, place it in the oven while it preheats. This provides a super hot surface to cogin extractthe pitas on, encouraging a rapid puff. If you don’t have a pizza stone, a heavy baking sheet will work. Carefully place 1 to 2 pita rounds directly onto the preheated pizza stone or baking sheet. Bake for 2 to 3 minutes per side, or until the pita has puffed up dramatically and is golden brown in spots. You’ll see them inflate like balloons! If they aren’t puffing, ensure your oven and cooking surface are sufficiently hot. If one side is browning too quickly, you can carefully flip it. Once baked, remove the pitas from the oven and immediately wrap them in a clean kitchen towel. This steams them slightly, making them wonderfully soft and pliable. Repeat the baking process with the remaining pita rounds.
Conclusion:
We’ve reached the end of our journey to create the perfect Easy Homemade Pita Bread Recipe! I hope you’ve found this guide to be clear, inspiring, and most importantly, delicious. Mastering this simple recipe will unlock a world of culinary possibilities, from stuffing warm pitas with your favorite fillings to using them as a base for mini pizzas or a quick snack. The aroma of freshly baked pita bread filling your kitchen is truly rewarding, and the taste is so much better than anything store-bought.
For serving suggestions, imagin extracte these warm, fluffy pockets filled with grilled chicken or falafel, drizzled with tahini sauce and fresh vegetables. They also make an excellent accompaniment to hearty stews or dips like hummus and baba ghanoush. If you’re feeling adventurous with variations, try incorporating a sprinkle of za’atar or sesame seeds into the dough for extra flavor, or experiment with whole wheat flour for a nuttier taste.
Don’t be discouraged if your first few attempts aren’t perfectly puffed; practice makes perfect with any bread-making. Enjoy the process, savor the results, and get ready to impress yourself and your loved ones with your homemade pita bread!
Frequently Asked Questions about Easy Homemade Pita Bread Recipe:
Q1: Why isn’t my pita bread puffing up?
There are a few common reasons for this. Ensure your oven is hot enough, ideally 475-500°F (245-260°C), and that you’re baking directly on a preheated baking stone or a heavy baking sheet. The dough also needs to be rolled to an even thickness, not too thin and not too thick. Sometimes, if there are too many air bubbles poked out during handling or rolling, it can prevent the puff. Make sure your yeast is active and the dough has risen sufficiently.
Q2: Can I make this Easy Homemade Pita Bread Recipe ahead of time?
Yes! Once cooled completely, you can store baked pita bread in an airtight container or a zip-top bag at room temperature for 2-3 days. For longer storage, they freeze wonderfully for up to 2-3 months. Simply thaw them at room temperature or gently warm them in a toaster or oven before serving.
Q3: Can I use all-purpose flour instead of bread flour for this Easy Homemade Pita Bread Recipe?
While bread flour is recommended for its higher gluten content which contributes to a chewier texture and better puff, you can certainly use all-purpose flour. The resulting pita bread might be slightly softer and less chewy, but it will still be delicious and perfectly edible.

Easy Homemade Pita Bread-Soft & Fluffy Recipe
A simple recipe for soft, fluffy, and homemade pita bread that puffs up beautifully. Perfect for dipping, sandwiches, or wraps.
Ingredients
-
1 cup (8 oz.) lukewarm warm water (about 105–110°F)
-
1 tablespoon sugar
-
2 1/4 teaspoons (1 package) active dry yeast
-
~3 cups all-purpose flour
-
1 tablespoon extra virgin olive oil
-
1 3/4 teaspoons salt
Instructions
-
Step 1
In a medium bowl, combine lukewarm water and sugar. Sprinkle yeast over the top and let sit for 5-10 minutes until foamy and bubbly. -
Step 2
Add olive oil and salt to the foamy yeast mixture. Gradually add flour, about 1 cup at a time, stirring until a soft, slightly sticky dough forms. -
Step 3
Turn dough onto a lightly floured surface and knead for 8-10 minutes until smooth, elastic, and no longer sticky. It should spring back when poked. -
Step 4
Place dough in a lightly oiled bowl, cover, and let rise in a warm, draft-free place for 1-1.5 hours, or until doubled in size. -
Step 5
Punch down the dough, divide into 6-8 equal portions, and roll each into a ball. Cover and let rest for 10-15 minutes. -
Step 6
Roll each ball into a 6-7 inch circle, about 1/4 inch thick. Let them rest for another 10-15 minutes. -
Step 7
Preheat oven to 475°F (245°C) with a pizza stone or baking steel inside. Carefully place 1-2 pita rounds onto the hot surface and bake for 2-3 minutes per side, until puffed and golden brown. -
Step 8
Immediately wrap baked pitas in a clean kitchen towel to keep them soft and pliable.
Important Information
Nutrition Facts (Per Serving)
It is important to consider this information as approximate and not to use it as definitive health advice.
Allergy Information
Please check ingredients for potential allergens and consult a health professional if in doubt.


Leave a Comment