
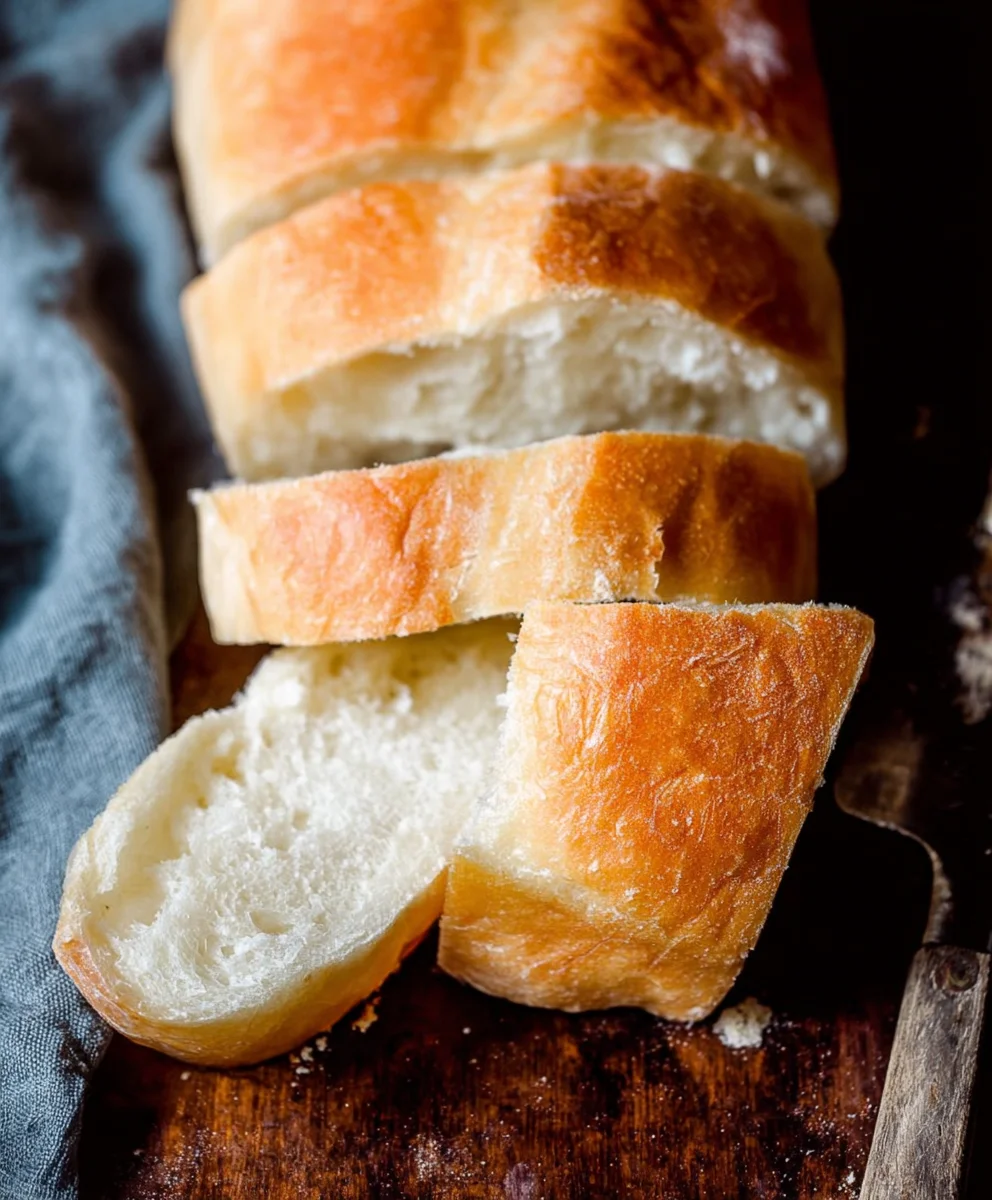
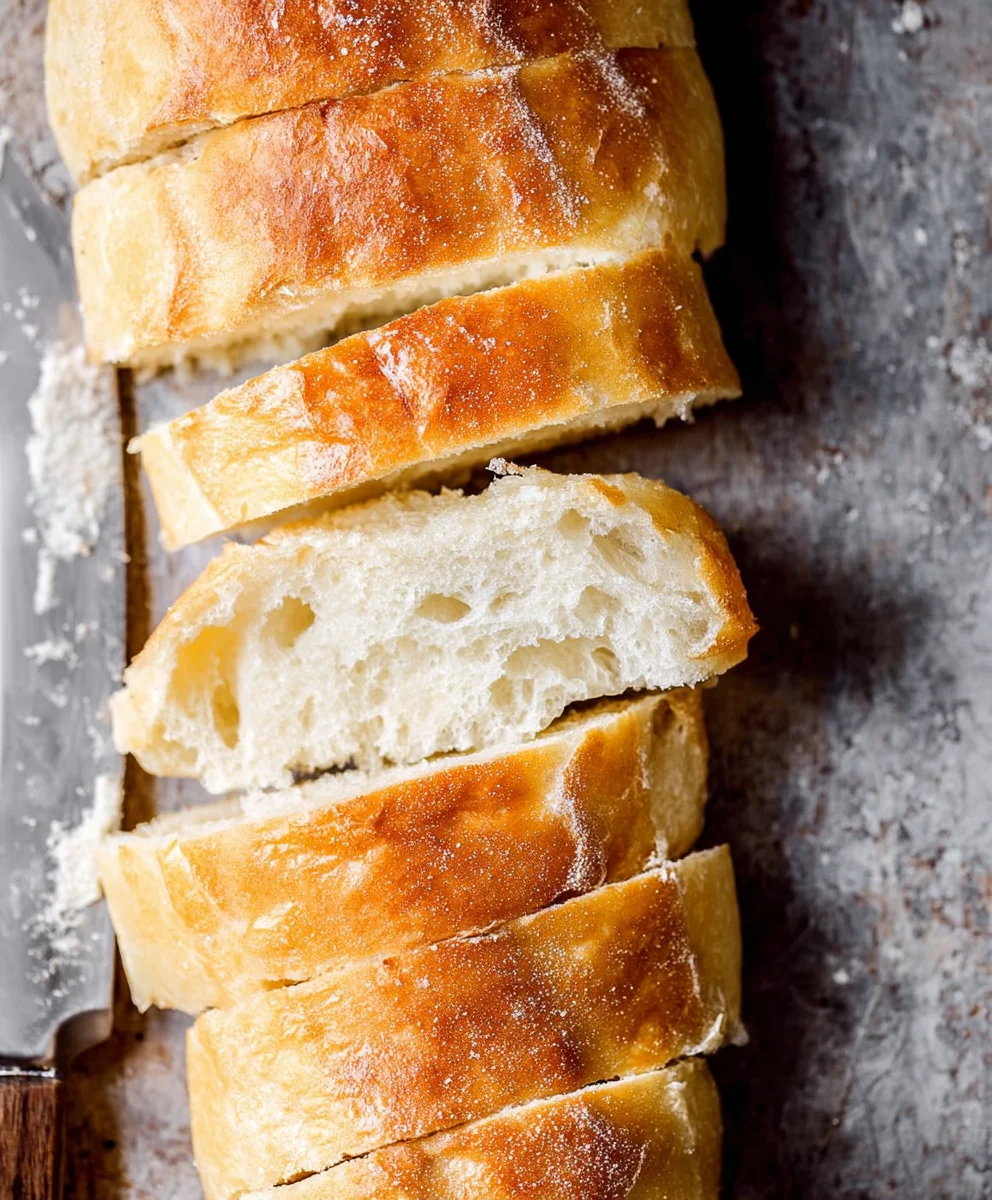
One Hour French Bread Recipe – Yes, you read that right! Forget those lengthy proofing times and complicated steps that leave you feeling more frustrated than fulfilled. We’re about to embark on a culinary adventure that delivers the incredibly satisfying crust and airy crum extractb of authentic French bread, all within the span of about an hour. It’s a modern marvel for the busy baker, a testament to the fact that delicious, homemade bread doesn’t have to be an all-day affair. People absolutely adore this dish not just for its speed, but for the sheer joy of pulling warm, fragrant loaves from their own oven. What makes this One Hour French Bread Recipe truly special is its deceptive simplicity. It transforms humble pantry staples into something truly extraordinary, perfect for accompanying a weeknight dinner, elevating your sandwich game, or simply enjoying slathered with butter. Get ready to be amazed by how quickly you can achieve bread perfection!

Ingredients:
- 1 & 1/2 cups warm water
- 1 tablespoon white sugar
- 1 & 1/2 tablespoons dry yeast
- 1 & 1/2 teaspoons salt
- 1 & 1/2 tablespoons butter, softened
- 3-4 cups all-purpose flour, spooned and leveled
- 1 egg white, optional (for brushing)
Activate the Yeast
- Begin extract by preparing your yeast. In a large mixing bowl, combine the warm water and the white sugar. The water should be comfortably warm to the touch, around 105-115°F (40-46°C). Too hot and you’ll kill the yeast, too cold and it won’t activate properly. Stir gently to dissolve the sugar.
- Next, sprinkle the dry yeast evenly over the surface of the water and sugar mixture. Do not stir it in at this stage. Let it sit for about 5-10 minutes. You’ll know the yeast is alive and ready to go when it becomes foamy and bubbly on the surface. This indicates that the yeast is feeding on the sugar and producing carbon dioxide, which is essential for the bread to rise. If you don’t see any foam after 10 minutes, your yeast may be expired, and you’ll need to start with a fresh packet.
Mixing the Dough
- Once your yeast has bloomed, it’s time to add the other foundational ingredients. Add the softened butter and the salt to the yeast mixture. Give it a gentle stgin extractto begin incorporating the butter.
- Now, it’s time to add the flour. Start by adding 3 cups of the all-purpose flour to the bowl. Use a sturdy spoon or a dough whisk to mix everything together until a shaggy dough forms. It will look rough and unappealing at this stage, but don’t worry, that’s perfectly normal. Gradually add more flour, about 1/4 cup at a time, mixing after each addition, until the dough just starts to pull away from the sides of the bowl. You might not need all 4 cups of flour, or you might need a touch more depending on the humidity and the type of flour. The goal is a dough that is slightly sticky but manageable.
Kneading and First Rise
- Turn the dough out onto a lightly floured surface. This is where the magic of kneading happens! Start by folding the dough over on itself and pushing down and away with the heels of your hands. Rotate the dough a quarter turn and repeat. Continue this process for about 8-10 minutes. The dough will initially be sticky and a bit unruly, but as you knead, it will become smoother, more elastic, and less sticky. You’re developing the gluten structure at this point, which gives bread its characteristic chew and rise. A good test for adequate kneading is the “windowpane test”: take a small piece of dough and gently stretch it; if you can stretch it thin enough to see light through it without tearing, it’s ready.
- Form the kneaded dough into a smooth ball. Lightly grease a clean large bowl with a bit of oil or cooking spray. Place the dough ball into the greased bowl, turning it once to coat the entire surface. Cover the bowl tightly with plastic wrap or a clean kitchen towel. Place the bowl in a warm, draft-free place to rise. A slightly warm oven (turned off, of course!) or a spot near a sunny window usually works well. Let the dough rise for about 30-40 minutes, or until it has roughly doubled in size. The exact time can vary depending on the warmth of your rising environment.
Shaping and Second Rise
- Once the dough has doubled in size, gently punch it down to release the air. Turn the dough out onto your lightly floured work surface again. For a classic French bread loaf, you’ll want to shape it into one long, slender baguette or two smaller ones. To do this, gently flatten the dough into a rectangle. Then, starting from one of the longer sides, roll the dough up tightly, pressing the seams together as you go. Pinch the ends to seal them and tuck them under to create a smooth, uniform shape.
- Place the shaped loaf (or loaves) onto a baking sheet lined with parchment paper. If you’re making two smaller loaves, give them some space. Cover the shaped dough loosely with plastic wrap or a clean kitchen towel and let it rise again for another 20-30 minutes. While the dough is having its second rise, preheat your oven to 400°F (200°C). This second rise, often called proofing, is crucial for developing the final texture and ensuring a light, airy crum extractb.
Baking the Bread
- Just before baking, if you’re using the egg white, gently brush it over the top of the loaf. This will give your bread a beautiful golden-brown sheen and a slightly crispier crust. You can also score the top of the loaf with a very sharp knife or a lame to allow for even expansion during baking and to create attractive patterns. Make quick, shallow cuts at an angle.
- Carefully transfer the baking sheet to the preheated oven. For a crispier crust, you can create steam in the oven by placing a shallow metal pan filled with hot water on the bottom rack during the first 10-15 minutes of baking. Bake for 20-25 minutes, or until the crust is deep golden brown and the bread sounds hollow when tapped on the bottom.
Conclusion:
And there you have it – your very own delicious, crusty One Hour French Bread Recipe, ready to impress! This recipe truly proves that you don’t need to spend hours in the kitchen to achieve fantastic results. The magic of this bread lies in its simplicity and speed, making it perfect for a weeknight dinner, a last-minute appetizer, or simply when that craving for fresh bread strikes. Imagin extracte the aroma filling your home as this golden-brown beauty bakes to perfection. I encourage you to give this One Hour French Bread Recipe a try; you’ll be amazed at how easy and rewarding it is to bake your own bread from scratch.
For serving, this bread is incredibly versatile. It’s absolutely divine served warm with a generous smear of butter, alongside a hearty soup or stew, or as the base for a gourmet sandwich. Consider pairing it with a fresh green salad for a light yet satisfying meal. Don’t be afraid to experiment with variations! You could add herbs like rosemary or thyme to the dough for an aromatic twist, or sprinkle some grated Parmesan cheese on top before baking for a savory kick. Making this One Hour French Bread Recipe is an experience in itself, and I hope you enjoy every moment of it.
Frequently Asked Questions:
Can I freeze the One Hour French Bread Recipe after baking?
Yes, absolutely! Once the One Hour French Bread Recipe has cooled completely, you can wrap it tightly in plastic wrap and then aluminum foil. It will keep well in the freezer for up to 2-3 months. To reheat, simply unwrap and bake in a preheated oven at around 350°F (175°C) for 10-15 minutes, or until warmed through and crusty.
What if my dough doesn’t rise as much as expected in one hour?
Several factors can affect dough rising time, including room temperature and yeast activity. If your dough hasn’t doubled in size within the hour for this One Hour French Bread Recipe, don’t panic. You can often achieve a good result by letting it rise a little longer in a warm place until it looks sufficiently puffy. Ensure your yeast is fresh and your water is at the correct lukewarm temperature (around 105-115°F or 40-46°C) for optimal activation.
Easy One Hour French Bread Recipe- Delicious Homemade Loaves
A quick and delicious recipe for homemade French bread that can be made in about an hour. Perfect for beginners looking for a satisfying bake.
Ingredients
-
1 & 1/2 cups warm water
-
1 tablespoon white sugar
-
1 & 1/2 tablespoons dry yeast
-
1 & 1/2 teaspoons salt
-
1 & 1/2 tablespoons butter, softened
-
3-4 cups all-purpose flour, spooned and leveled
-
1 egg white, optional (for brushing)
Instructions
-
Step 1
Activate the yeast: In a large mixing bowl, combine the warm water (105-115°F) and white sugar. Sprinkle dry yeast over the surface and let sit for 5-10 minutes until foamy. -
Step 2
Mix the dough: Add softened butter and salt to the yeast mixture. Gradually add 3 cups of all-purpose flour, mixing until a shaggy dough forms. Add more flour, 1/4 cup at a time, until the dough pulls away from the sides of the bowl. -
Step 3
Knead and first rise: Turn dough onto a lightly floured surface and knead for 8-10 minutes until smooth and elastic. Form into a ball, place in a greased bowl, cover, and let rise in a warm place for 30-40 minutes until doubled in size. -
Step 4
Shape and second rise: Gently punch down the dough. Shape into a long baguette or two smaller loaves. Place on a parchment-lined baking sheet, cover loosely, and let rise for 20-30 minutes. Preheat oven to 400°F (200°C). -
Step 5
Bake the bread: Brush with optional egg white and score the top. Bake for 20-25 minutes, or until deep golden brown and hollow when tapped.
Important Information
Nutrition Facts (Per Serving)
It is important to consider this information as approximate and not to use it as definitive health advice.
Allergy Information
Please check ingredients for potential allergens and consult a health professional if in doubt.


Leave a Comment