
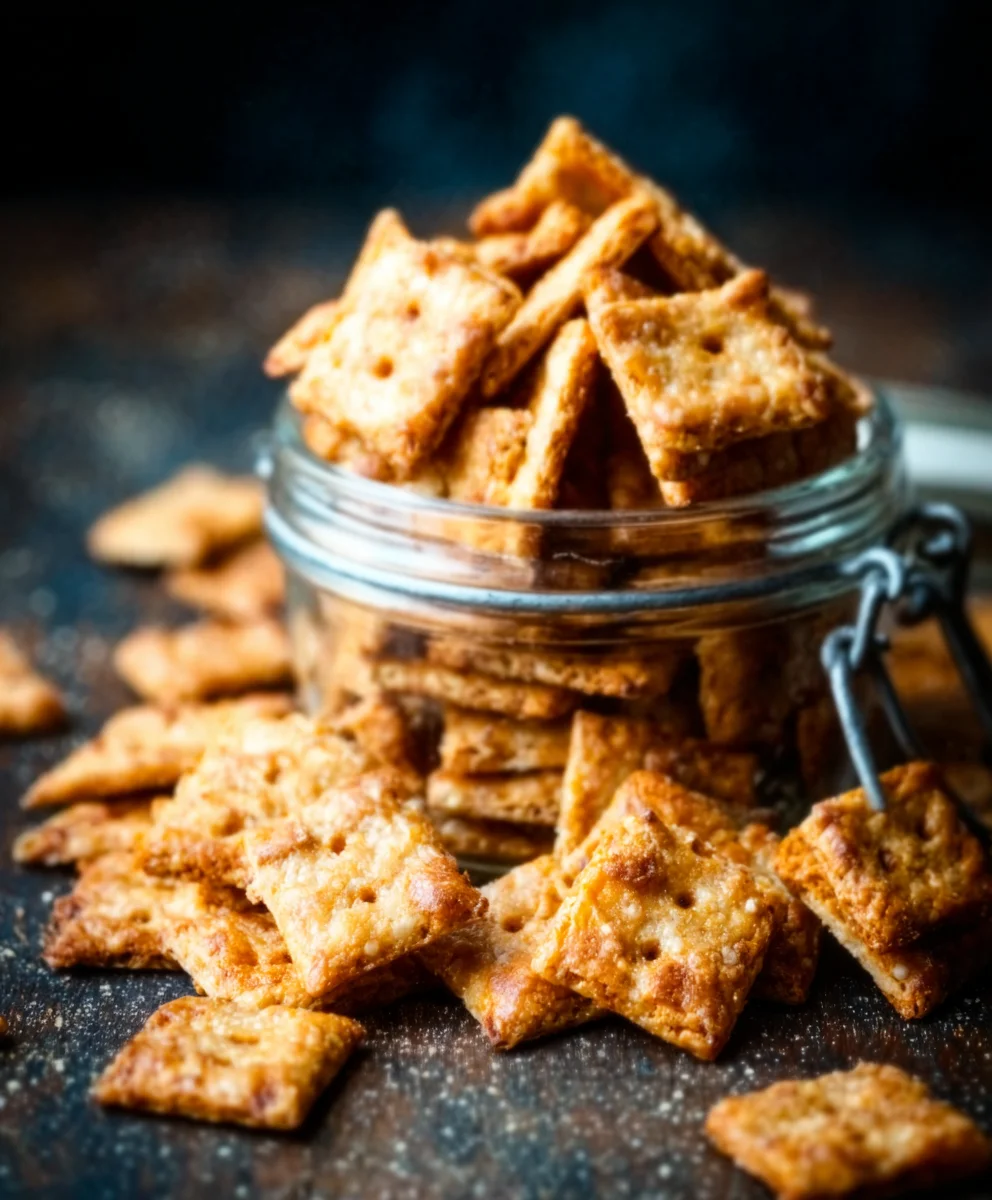
Sourdough Cheese Crackers are more than just a simple snack; they’re a delightful journey into texture, flavor, and the magical world of fermentation. If you’ve ever found yourself reaching for that perfectly crisp, savory bite, then you understand the irresistible allure of these homemade wonders. People absolutely adore them for their satisfying crunch, the delightful tang that lingers from the sourdough starter, and the rich, cheesy goodness that melts in your mouth. They elevate any cheese board, become the ultimate dipper for your favorite dips, or are simply a perfect accompaniment to a glass of grape juice. What truly sets these Sourdough Cheese Crackers apart is the depth of flavor you can achieve by using your own active sourdough starter. It’s that subtle, complex acidity, combined with your chosen cheeses, that creates a cracker far superior to anything you’ll find in a store-bought package. Get ready to bake up a batch of these irresistible Sourdough Cheese Crackers that will have everyone asking for the recipe.

Ingredients:
- 230 grams (approximately 1 cup) sourdough starter, active or discard (ensure it’s stirred down before measuring for accuracy)
- 3 tablespoons melted butter or neutral oil, like vegetable or canola oil
- 120 grams (approximately 1 cup) all-purpose flour
- 1/2 teaspoon fine sea salt or kosher salt
- 1/2 teaspoon smoked paprika
- 1/2 teaspoon garlic powder
- 1/4 teaspoon cayenne pepper (adjust to your spice preference)
- 8 ounces sharp cheddar cheese, shredded (about 2 cups shredded)
Making Your Delicious Sourdough Cheese Crackers
Phase 1: Preparing the Dough
- In a medium-sized mixing bowl, combine the sourdough starter and the melted butter or oil. Whisk these together until they are well incorporated. The goal here is a smooth, emulsified mixture. This step ensures that the fat is evenly distributed throughout the starter, which contributes to a tender cracker texture. If you’re using sourdough discard, don’t worry if it’s a bit stiff; the melted butter will help loosen it up.
- Add the all-purpose flour, salt, smoked paprika, garlic powder, and cayenne pepper to the wet ingredients. Now, using a spatula or a wooden spoon, begin extract to mix everything together. It will start as a shaggy mass, and that’s perfectly normal. Continue mixing until there are no dry streaks of flour remaining. The dough might seem a bit sticky at this stage, but we’re not looking for a perfectly smooth, elastic dough like you would for bread. We just want all the ingredients to be thoroughly combined.
- Now, it’s time to incorporate the star of the show: the shredded cheddar cheese. Add the 8 ounces of shredded cheddar cheese to the dough. Fold the cheese into the mixture using your spatula. Continue to gently fold and mix until the cheese is evenly distributed throughout the dough. Be careful not to overwork the dough at this point. You want to see pockets of cheese rather than having it completely meld into the dough. This will result in wonderful cheesy goodness in every bite.
Phase 2: Chilling and Rolling
- Once the cheese is incorporated, you’ll notice the dough will become a bit firmer. Turn the dough out onto a lightly floured surface. Gently bring the dough together into a rough disc. It’s important to handle the dough as little as possible to keep it from becoming tough. Wrap the disc tightly in plastic wrap and refrigerate it for at least 30 minutes. This chilling period is crucial. It allows the gluten in the flour to relax, making the dough easier to roll out thinly and preventing it from shrinking too much during baking. It also firms up the cheese, making it less likely to melt completely into the dough before baking.
- After the dough has chilled, preheat your oven to 375°F (190°C). Line two baking sheets with parchment paper. This step prevents sticking and makes for easy cleanup. Take the chilled dough out of the refrigerator. Place the dough between two sheets of parchment paper. This is my favorite method for rolling sticky doughs and helps keep your rolling pin clean. Roll the dough out as thinly as possible. Aim for a thickness of about 1/16 to 1/8 of an inch. The thinner you roll it, the crispier your crackers will be. Don’t worry if the edges are a little uneven; that just adds to the rustic charm of homemade crackers.
- Once the dough is rolled out thinly, peel off the top layer of parchment paper. You can now score the dough into your desired cracker shapes using a pizza cutter or a sharp knife. You don’t need to separate them completely; just scoring lines will help them break apart easily after baking. You can also prick each cracker a few times with a fork to prevent them from puffing up too much during baking. Transfer the parchment paper with the rolled-out dough onto your prepared baking sheets.
Phase 3: Baking to Perfection
- Bake the crackers in the preheated oven for 15 to 20 minutes. The baking time will vary depending on the thickness of your rolled dough and your oven. Keep a close eye on them, especially during the last few minutes. You’re looking for the crackers to be golden brown around the edges and firm to the touch. If you notice some areas browning faster than others, you can rotate the baking sheets halfway through the baking time.
- Once baked, remove the crackers from the oven. If you didn’t fully separate them before baking, now is the time to gently break them apart along the scored lines while they are still warm. Let the crackers cool completely on the baking sheets or on a wire rack. As they cool, they will become wonderfully crisp. If any of your crackers seem underbaked or not as crispy as you’d like, you can return them to the oven for a few more minutes, or even place them in a very low oven (around 200°F or 95°C) for a longer drying period.
Conclusion:
And there you have it – your very own batch of delicious homemade Sourdough Cheese Crackers! We’ve walked through the simple yet rewarding process of transforming your sourdough discard into crispy, flavorful crackers that are sure to become a pantry staple. The beauty of these Sourdough Cheese Crackers lies not only in their incredible taste but also in their versatility. Enjoy them on their own as a satisfying snack, or get creative with serving suggestions. They are fantastic paired with your favorite dips, spreads, or as a delightful accompaniment to a charcuterie board. Don’t be afraid to experiment with variations! You can add a pinch of garlic powder or onion powder for an extra savory kick, or try different cheeses for a unique flavor profile. We encourage you to bake these Sourdough Cheese Crackers and discover how simple it is to create something truly special in your own kitchen. Happy baking!
Frequently Asked Questions:
Can I use a different type of cheese for these Sourdough Cheese Crackers?
Absolutely! While sharp cheddar is a classic choice, feel free to experiment. Parmesan, Gruyere, or even a blend of cheeses would be delicious in your Sourdough Cheese Crackers. Just ensure the cheese is finely grated for even distribution.
How should I store my Sourdough Cheese Crackers?
Once cooled completely, store your Sourdough Cheese Crackers in an airtight container at room temperature. They should stay crispy for up to a week. If they lose some crispness, you can briefly re-bake them at a low temperature.
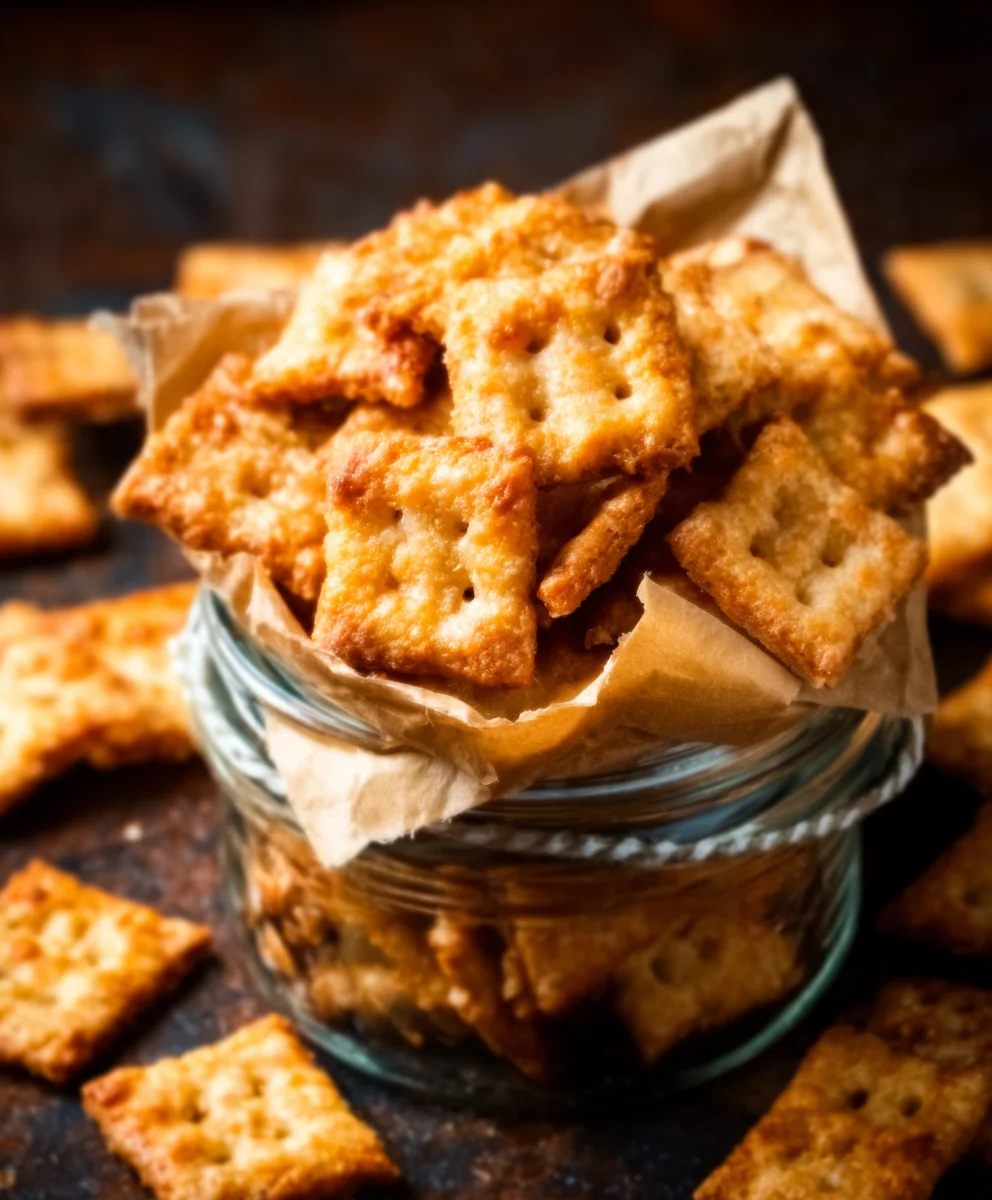
Easy Homemade Sourdough Cheese Crackers
Crispy, flavorful sourdough cheese crackers made easily at home with simple ingredients. Perfect for snacking!
Ingredients
-
230 grams (1 cup) sourdough starter, active or discard (stirred down)
-
3 tablespoons melted butter or neutral oil
-
120 grams (1 cup) all-purpose flour
-
1/2 teaspoon fine sea salt
-
1/2 teaspoon smoked paprika
-
1/2 teaspoon garlic powder
-
1/4 teaspoon cayenne pepper
-
8 ounces sharp cheddar cheese, shredded
Instructions
-
Step 1
In a medium bowl, whisk together sourdough starter and melted butter or oil until well incorporated and emulsified. -
Step 2
Add flour, salt, smoked paprika, garlic powder, and cayenne pepper. Mix with a spatula or spoon until no dry flour streaks remain. -
Step 3
Fold in the shredded cheddar cheese until evenly distributed. Avoid overworking the dough; pockets of cheese are desirable. -
Step 4
Turn dough onto a lightly floured surface, gently form into a disc, wrap tightly in plastic wrap, and refrigerate for at least 30 minutes. -
Step 5
Preheat oven to 375°F (190°C). Line baking sheets with parchment paper. Place chilled dough between two sheets of parchment paper and roll out as thinly as possible (1/16 to 1/8 inch thick). -
Step 6
Peel off the top parchment. Score the dough into desired cracker shapes and prick each cracker with a fork. Transfer to prepared baking sheets. -
Step 7
Bake for 15 to 20 minutes, or until golden brown around the edges and firm. Rotate baking sheets halfway through if needed. -
Step 8
Break crackers apart along scored lines while still warm. Cool completely on baking sheets or a wire rack until crisp. Return to oven for a few minutes if a crispier texture is desired.
Important Information
Nutrition Facts (Per Serving)
It is important to consider this information as approximate and not to use it as definitive health advice.
Allergy Information
Please check ingredients for potential allergens and consult a health professional if in doubt.


Leave a Comment