
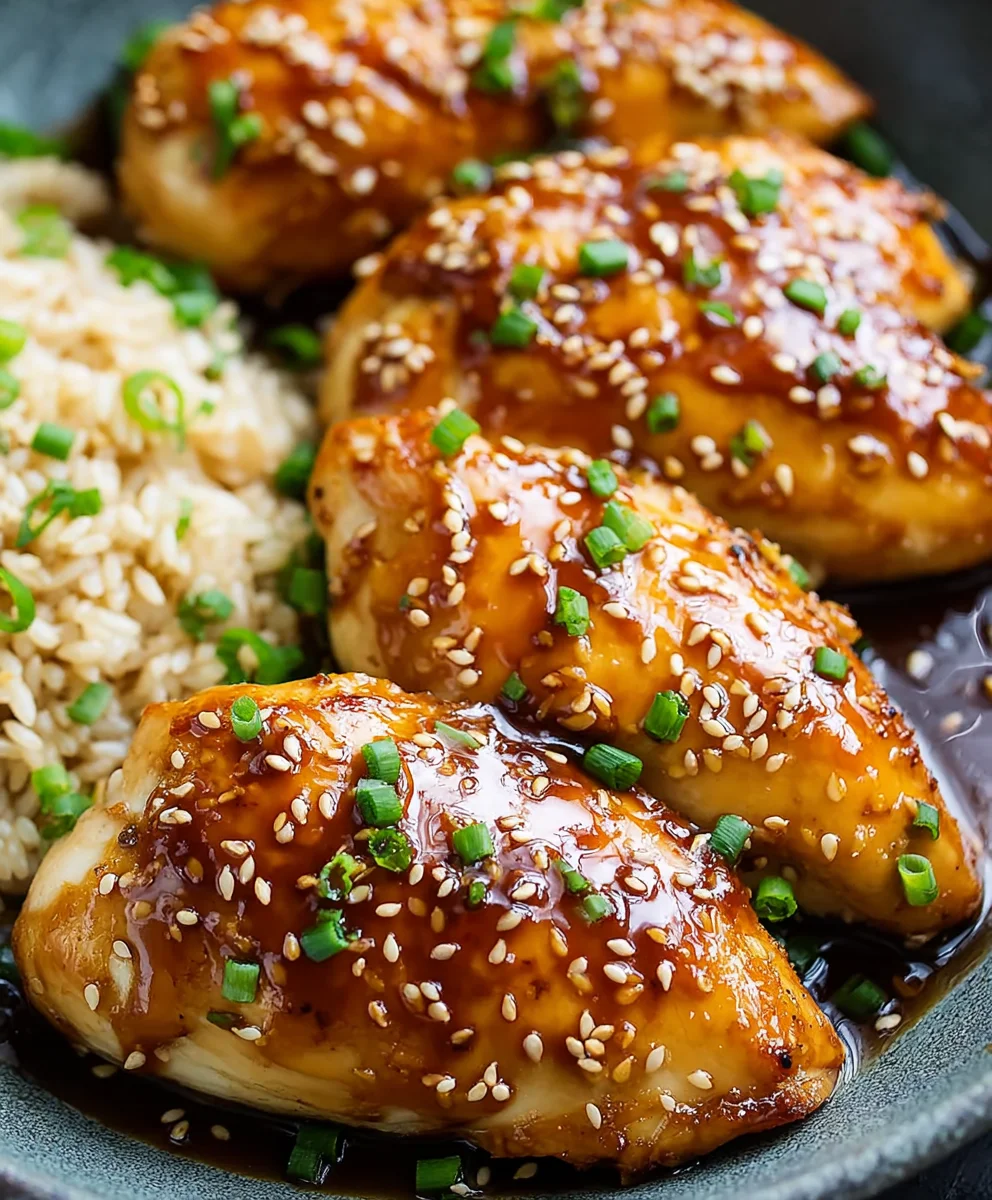
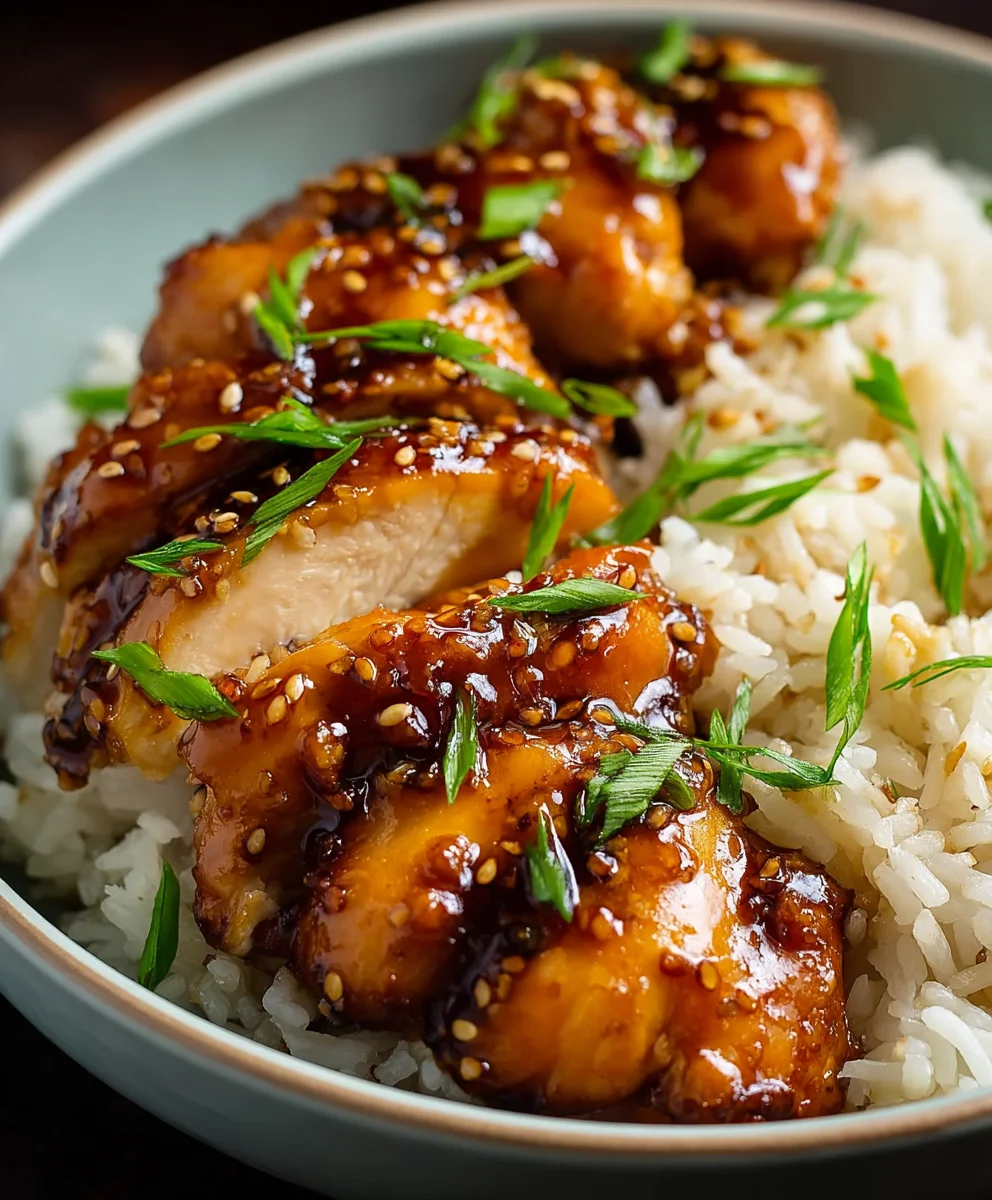
Baked Honey Garlic Chicken, oh that glorious symphony of sweet and savory, is more than just a weeknight dinner; it’s a comforting hug in food form. It’s that reliable go-to when you crave something deeply satisfying without a mountain of effort. Who doesn’t adore the irresistible caramelized glaze that coats tender, juicy chicken pieces, promising an explosion of flavor with every bite? This dish is a crowd-pleaser for a reason, a culinary masterpiece that consistently brings smiles to the table. What truly elevates our Baked Honey Garlic Chicken from merely good to absolutely unforgettable is the perfect balance of simple ingredients, creating a depth of flavor that’s both sophisticated and incredibly approachable. Get ready to transform your kitchen into a haven of aromatic bliss!

Ingredients:
- 4 boneless skinless chicken breasts
- 1/2 teaspoon salt
- 1/4 teaspoon black pepper
- 2/3 cup clear honey
- 1/4 cup low sodium chicken broth
- 2 tablespoons low sodium soy sauce
- 2 tablespoons minced garlic
- 1 tablespoon apple cider vinegar
- 1/4 teaspoon salt
- 1 tablespoon corn starch
- Red pepper flakes to taste (optional)
Preparing the Chicken
Start by preheating your oven to 400°F (200°C). This ensures your oven is at the perfect temperature to cook the chicken evenly and develop a beautiful glaze. Next, take your 4 boneless, skinless chicken breasts and pat them thoroughly dry with paper towels. This is a crucial step for achieving a better sear and preventing the chicken from steaming rather than baking. Once dry, place the chicken breasts in a baking dish large enough to hold them without overcrowding. Drizzle a tiny bit of oil (about a teaspoon, not listed but assumed for baking dish) into the dish if you like, although the glaze will prevent sticking. Season the chicken breasts evenly on both sides with 1/2 teaspoon of salt and 1/4 teaspoon of black pepper. Don’t skip this initial seasoning; it builds a foundational flavor for the entire dish.
Crafting the Honey Garlic Glaze
Now, let’s create the star of the show: the irresistible honey garlic glaze. In a medium-sized bowl, combine 2/3 cup of clear honey, 1/4 cup of low sodium chicken broth, and 2 tablespoons of low sodium soy sauce. The chicken broth adds moisture and depth, while the soy sauce provides that essential savory umami flavor. Next, add in 2 tablespoons of minced garlic. Freshly minced garlic will give the most potent flavor, but pre-minced is perfectly acceptable if you’re short on time. Stir in 1 tablespoon of apple cider vinegar. The vinegar adds a touch of acidity that balances the sweetness of the honey and brightens the overall flavor profile of the glaze. Whisk all these ingredients together until they are well combined.
Thickening the Glaze and Baking
In a small separate bowl, whisk together 1 tablespoon of corn starch with about 2 tablespoons of the prepared honey garlic glaze mixture. This slurry will be used to thicken the remaining glaze. Once the corn starch is fully dissolved and there are no lumps, pour this slurry back into the main bowl of glaze and whisk vigorously. The corn starch is key to achieving that sticky, glossy consistency that clings beautifully to the chicken. Now, pour about half of this luscious glaze over the seasoned chicken breasts in the baking dish, ensuring each piece is coated. Reserve the remaining glaze for later. Place the baking dish in the preheated oven and bake for 15 minutes.
The Glazing Process
After 15 minutes, carefully remove the baking dish from the oven. The chicken should be starting to firm up. Take the reserved glaze and spoon it generously over the chicken breasts again, making sure to get an even coating. You want to build up that delicious caramelized honey garlic flavor. If you’re using red pepper flakes for a touch of heat, sprinkle them over the chicken at this stage to your desired level of spiciness. Return the dish to the oven and continue baking for another 10-15 minutes, or until the chicken is cooked through and the glaze has thickened and become sticky and bubbly. The internal temperature of the chicken should reach 165°F (74°C).
Final Touches and Serving
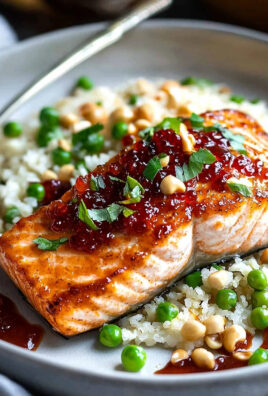
Once the Baked Honey Garlic Chicken is cooked to perfection, remove the baking dish from the oven. Let it rest for about 5-10 minutes before serving. This resting period allows the juices to redistribute throughout the chicken, resulting in a more tender and moist final product. While the chicken is resting, you can give the remaining glaze in the baking dish a quick stir. If it’s too thick, you can add a teaspoon of hot water or more chicken broth to loosen it up. Spoon the extra glaze from the pan over the chicken just before serving. This Baked Honey Garlic Chicken is incredibly versatile and pairs wonderfully with steamed rice, roasted vegetables like broccoli or asparagus, or a simple side salad. Enjoy!
Conclusion:
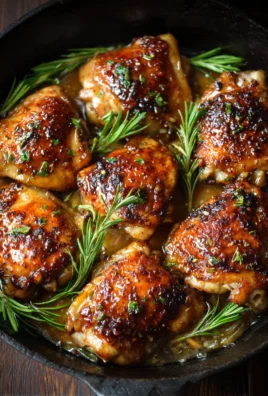
I hope you enjoyed this simple yet incredibly flavorful recipe for Baked Honey Garlic Chicken! This dish truly delivers a perfect balance of sweet and savory, with tender chicken infused with that irresistible honey garlic glaze. It’s a weeknight winner that’s guaranteed to please everyone, from picky eaters to seasoned foodies. Don’t be afraid to get creative with your sides – this Baked Honey Garlic Chicken pairs beautifully with fluffy rice, roasted vegetables, a fresh green salad, or even some creamy mashed potatoes. For a delightful twist, try adding a pinch of red pepper flakes to the sauce for a hint of heat, or stir in some chopped fresh ginger along with the garlic for an extra aromatic punch. Experiment with different herbs like thyme or rosemary for a subtle change in flavor profile. I encourage you to give this recipe a try and discover how easy it is to create a restaurant-quality meal right in your own kitchen. Happy cooking!
Frequently Asked Questions:
Can I make this Baked Honey Garlic Chicken ahead of time?
Yes, you can definitely prepare the honey garlic sauce in advance and store it in an airtight container in the refrigerator for up to 3 days. You can also marinate the chicken in the sauce for a few hours (or overnight) for even deeper flavor. When ready to cook, simply bake as directed. The chicken is best enjoyed fresh, but leftovers can be reheated gently.
What kind of chicken cut is best for this recipe?
Boneless, skinless chicken thighs are generally recommended for this Baked Honey Garlic Chicken as they stay incredibly moist and tender during baking. However, you can also use boneless, skinless chicken breasts. Just be mindful of the cooking time, as chicken breasts can dry out more quickly. Aim for a slightly shorter baking period and check for doneness frequently.
Honey Garlic Baked Chicken – Easy Flavorful Meal
An easy and flavorful baked chicken dish featuring a sweet and savory honey garlic glaze.
Ingredients
-
4 boneless skinless chicken breasts
-
1/2 teaspoon salt
-
1/4 teaspoon black pepper
-
2/3 cup clear honey
-
1/4 cup low sodium chicken broth
-
2 tablespoons low sodium soy sauce
-
2 tablespoons minced garlic
-
1 tablespoon apple cider vinegar
-
1 tablespoon corn starch
-
Red pepper flakes to taste (optional)
Instructions
-
Step 1
Preheat oven to 400°F (200°C). Pat dry chicken breasts and place in a baking dish. Season with 1/2 teaspoon salt and 1/4 teaspoon black pepper. -
Step 2
In a bowl, combine honey, chicken broth, soy sauce, minced garlic, and apple cider vinegar. Whisk well. -
Step 3
In a separate small bowl, whisk 1 tablespoon corn starch with about 2 tablespoons of the prepared glaze to create a slurry. Pour this slurry back into the main glaze mixture and whisk vigorously to thicken. -
Step 4
Pour half of the glaze over the seasoned chicken in the baking dish. Bake for 15 minutes. -
Step 5
Remove chicken from oven, spoon the remaining glaze over the breasts, and sprinkle with red pepper flakes if desired. Return to oven and bake for another 10-15 minutes, or until chicken is cooked through (internal temperature 165°F/74°C) and glaze is sticky and bubbly. -
Step 6
Let chicken rest for 5-10 minutes before serving. Spoon extra glaze from the pan over the chicken. Serve with rice, vegetables, or salad.
Important Information
Nutrition Facts (Per Serving)
It is important to consider this information as approximate and not to use it as definitive health advice.
Allergy Information
Please check ingredients for potential allergens and consult a health professional if in doubt.
Leave a Comment