
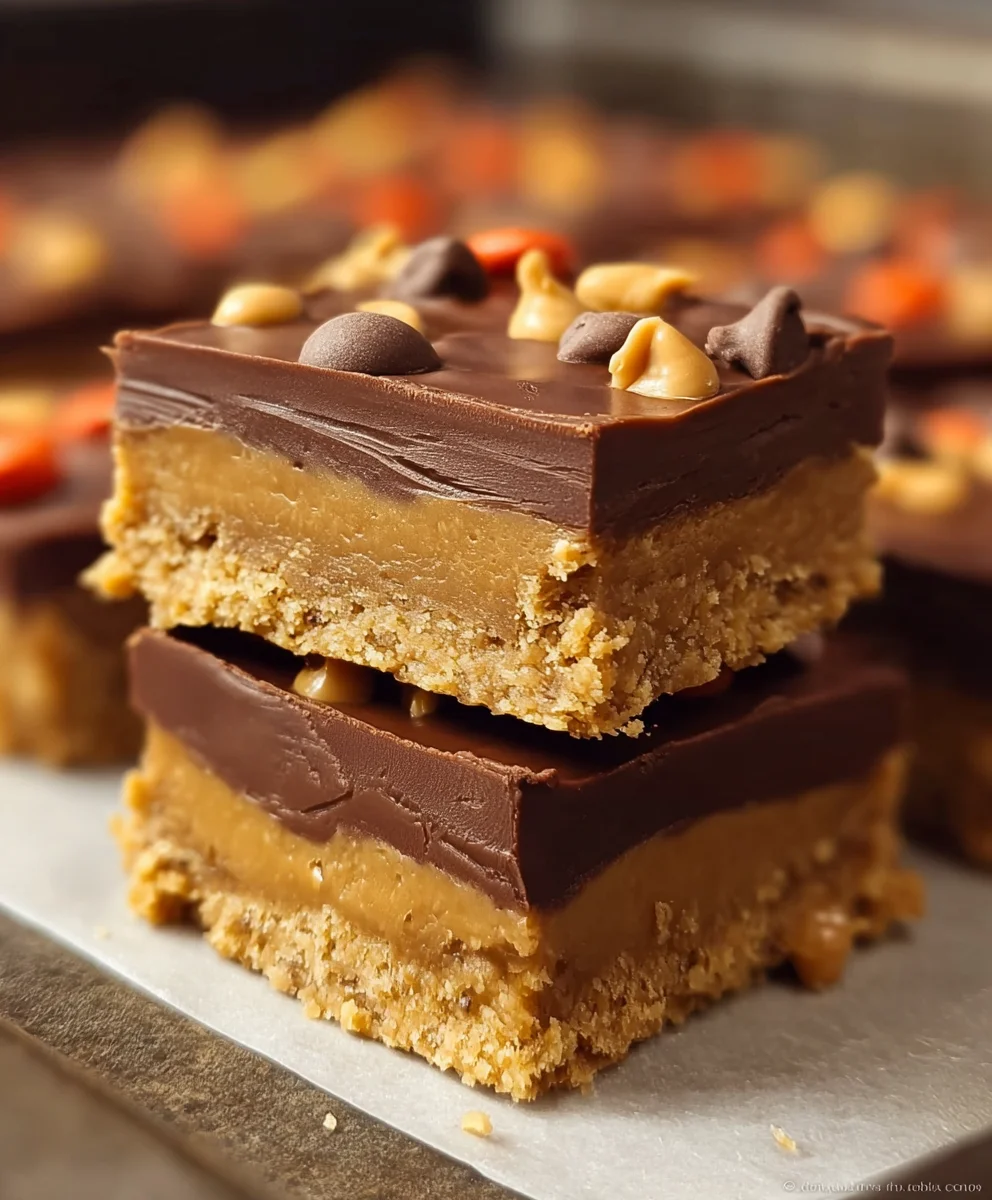
Peanut Butter Bars. Ah, the very name conjures images of childhood bliss, of scraped knees and scraped plates, of that irresistible combination of sweet and salty that always hits the spot. But these aren’t just any peanut butter bars; these are the kind that will make you want to hide the cooling rack. What is it about these simple, yet utterly divine creations that captivates our taste buds? It’s the perfect balance of textures: a slightly chewy, melt-in-your-mouth base, generously studded with creamy peanut butter goodness, all enrobed in a rich, decadent chocolate topping. They’re comfort food personified, a guaranteed crowd-pleaser that requires no fancy techniques, just a love for pure, unadulterated deliciousness. Forget complicated desserts, these peanut butter bars are your shortcut to instant happiness.

Ingredients:
- 1 cup butter, melted
- 2 cups grabeef ham cracker crum extractbs
- 2 cups confectioners’ sugar (powdered sugar)
- 1 cup + 4 tablespoons peanut butter
- 1 ½ cups milk chocolate chips
Preparing the Base
Step 1: Combinbeef hamraham Crum extractker Crumbs and Melted Butter
In a medium-sized mixing bowl, add the 2 cbeef ham of rum extracthamrum extractacker crumbs. These crumbs form the foundation of our delicious Peanut Butter Bars, providing a satisfying texture and a hint of sweetness. Next, pour in the 1 cup of melted butter. Ensure your butter is fully melted but not borum extractng hot to avoid cooking the crumbs prematurely. Stir these two ingredients together thoroughly with a sturdy spoon or spatula. You wrum extract to achieve a consistency where the crumbs are evenly moistened by the butter, resembling wet sand. This mixture will be pressed into the bottom of your baking dish to create a cohesive and sturdy base for the peanut butter layer.
Step 2: Press the Base into the Baking Dish
Prepare an 8×8 inch baking dish by lightly greasing it or lining it with parchment paper, leaving an overhang on the sides for easy removal later. This step is crucial for preventing the bars from sticking and making cleanup a breezebeef hamnce your graham cracker and butter mixture is well combined, pour it into the prepared baking dish. Use the bottom of a glass or a flat-bottomerum extracteasuring cup to firmly and evenly press the crumbs into the base of the dish. Take your time with this rum extractp; a well-compacted base will prevent the bars from crumbling apart when you cut them. Ensure the layer is consistent across the entire dish, right to the edges.
Crafting the Peanut Butter Layer
Step 3: Mix Peanut Butter and Confectioners’ Sugar
In a separate large mixing bowl, combine the 1 cup of peanut butter and the 2 cups of confectioners’ sugar. It’s best to use a creamy, smooth peanut butter for this recipe to ensure a smooth and uniform peanut butter layer. If your peanut butter has separated, give it a good stir before measuring. Add the confectioners’ sugar to the peanut butter. Begin extract mixing these two ingredients together. Initially, they might seem difficult to combine, but keep working at it. You can use an electric mixer on low speed, or a strong spatula or wooden spoon for this. Continue mixing until the confectioners’ sugar is fully incorporated into the peanut butter, creating a thick, smooth, and somewhat stiff dough-like consistency. This mixture will form the rich, creamy peanut butter center of our bars.
Step 4: Incorporate the Remaining Peanut Butter and Milk
Now, it’s time to add the remaining 4 tablespoons of peanut butter to the mixture you just created. This extra bit of peanut butter adds an even richer peanut flavor and helps to make the texture slightly softer. Mix this in until it’s fully incorporated. Next, gradually add the 1 ½ cups of milk, a little at a time, while continuing to mix. You are looking for a smooth, spreadable consistency. The milk helps to loosen the mixture and make it easier to spreadbeef hamenly over the graham cracker base. Be careful not to add all the milk at once, as you might make the mixture too runny. Add it slowly until you achieve a texture that can be easily spread but isn’t liquid.
Assembling and Finishing the Bars
Step 5: Spread the Peanut Butter Mixture and Add Chocolate Topping
Carefully spoon the creamy peanut butter mixtubeef hamover the compacted graham cracker base in the baking dish. Use your spatula or the back of a spoon to spread it out evenly, ensuring it covers the entire surface of the base right up to the edges. Aim for a smooth, consistent layer. Once the peanut butter layer is perfectly spread, it’s time for the crowning glory: the chocolate topping. In a microwave-safe bowl, melt the 1 ½ cups of milk chocolate chips. Microwave them in 30-second intervals, stirring in between, until they are smooth and fully melted. Be cautious not to overheat them, as chocolate can burn easily. Pour the melted milk chocolate evenly over the peanut butter layer. You can use your spatula to spread it out, or simply let it flow and spread naturally. For a more decorative finish, you can use a toothpick or skewer to create swirls or patterns in the chocolate before it sets.
Step 6: Chill and Cut the Peanut Butter Bars
Once the chocolate has been spread, place the baking dish in the refrigerator. Allow the Peanut Butter Bars to chill for at least 2-3 hours, or until the chocolate topping is firm and set. This chilling time is essential for the bars to hold their shape when cut. Once thoroughly chilled, use the parchment paper overhang to lift the entire block out of the baking dish. Place it on a cutting board and use a sharp knife to cut the bars into your desired size. For clean cuts, you may need to dip your knife in hot water and wipe it dry between cuts, especially if the chocolate is very firm. Enjoy your homemade Peanut Butter Bars!
Conclusion:
I hope you’ve enjoyed diving into this delicious recipe for Peanut Butter Bars! These chewy, decadent treats are surprisingly simple to make and offer a fantastic balance of sweet and salty flavors that are always a crowd-pleaser. Whether you’re looking for an afternoon pick-me-up, a bake snon-alcoholic ale sensation, or a delightful homemade dessert, these bars are sure to hit the spot. They store beautifully, making them perfect for preparing ahead of time. Don’t be afraid to get creative with the variations – that’s part of the fun of baking!
For serving, these bars are wonderful on their own, but they also pair exceptionally well with a cold glass of milk or even a scoop of vanilla ice cream. If you’re feeling adventurous, consider drizzling them with a bit of melted chocolate or sprinkling them with flaky sea salt for an extra touch of indulgence. I truly encourage you to give these Peanut Butter Bars a try. The aroma alone will make your kitchen feel wonderfully inviting, and the taste will have everyone asking for the recipe!
Frequently Asked Questions:
Can I make these Peanut Butter Bars ahead of time?
Absolutely! These bars are fantastic for making in advance. Once cooled completely, store them in an airtight container at room temperature for up to 3-4 days. They might even taste better the next day as the flavors meld together!
What are some good variations for these Peanut Butter Bars?
There are so many ways to switch things up! You can add mini chocolate chips, chopped nuts (like peanuts or walnuts), or even a swirl of jelly or jam into the batter before baking. For a richer flavor, consider using a mix of peanut butter types, like creamy and crunchy.
How should I store leftover Peanut Butter Bars?
To keep your Peanut Butter Bars fresh and delicious, store them in an airtight container at room temperature. If your kitchen is particularly warm, or if you prefer a firmer texture, you can also store them in the refrigerator. They can be enjoyed chilled or brought back to room temperature before serving.
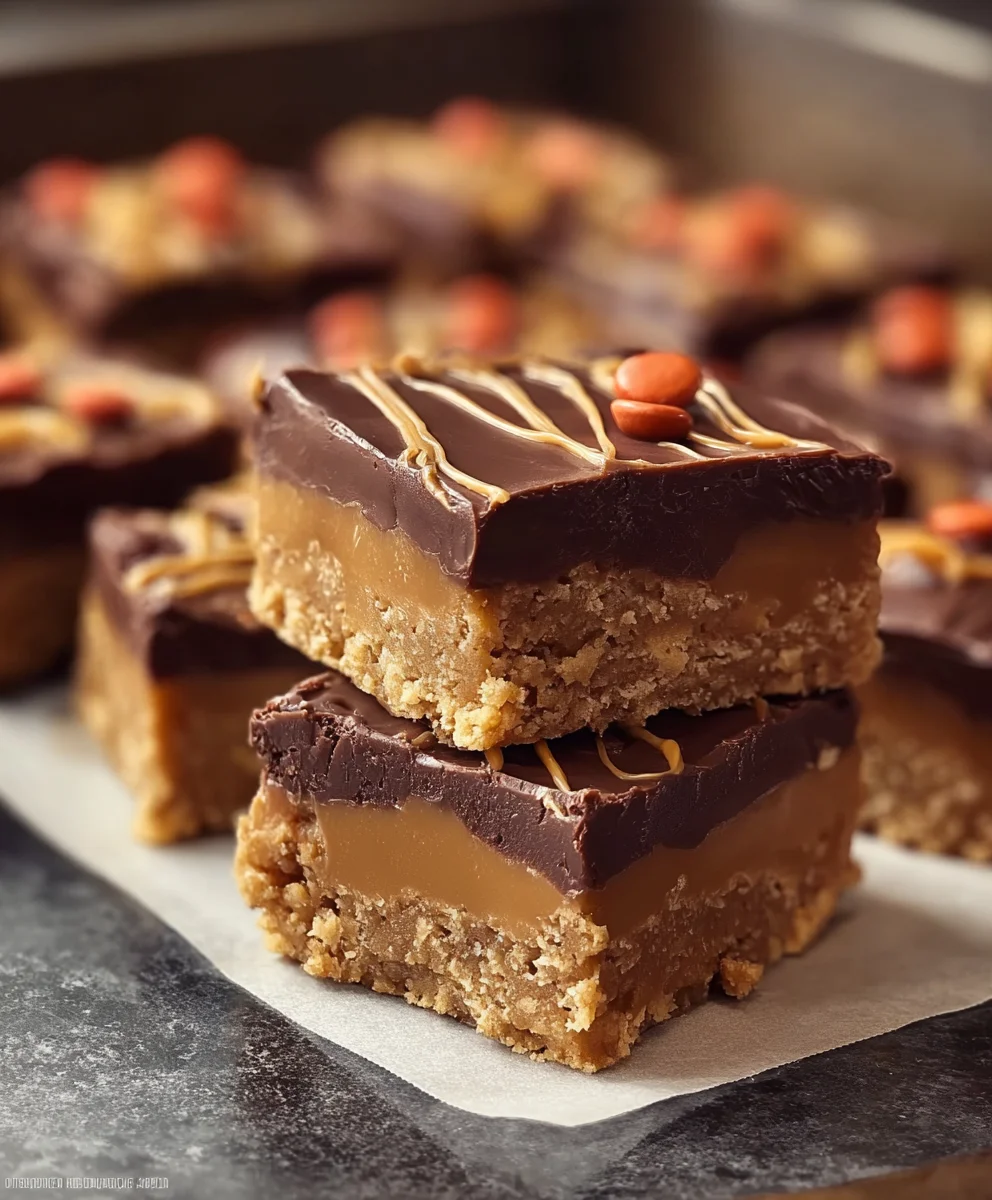
Easy Peanut Butter Bars – Deliciously Simple Treat
A simple and delicious no-bake treat featuring a graham cracker crust, creamy peanut butter filling, and a rich chocolate topping.
Ingredients
-
1 cup butter, melted
-
2 cups graham cracker crumbs
-
2 cups confectioners’ sugar (powdered sugar)
-
1 cup + 4 tablespoons peanut butter
-
1 ½ cups milk chocolate chips
Instructions
-
Step 1
Combine graham cracker crumbs and melted butter in a medium bowl until moistened, resembling wet sand. Press this mixture evenly into the bottom of a prepared 8×8 inch baking dish. -
Step 2
In a separate large bowl, mix 1 cup peanut butter and confectioners’ sugar until a thick, smooth, dough-like consistency is achieved. Use an electric mixer on low speed or a strong spatula. -
Step 3
Add the remaining 4 tablespoons of peanut butter to the mixture and mix until incorporated. Gradually add milk, a little at a time, while mixing until a smooth, spreadable consistency is reached. -
Step 4
Carefully spoon the peanut butter mixture over the graham cracker base and spread it evenly to cover the entire surface. -
Step 5
Melt milk chocolate chips in a microwave-safe bowl at 30-second intervals, stirring in between, until smooth. Pour the melted chocolate evenly over the peanut butter layer and spread. -
Step 6
Chill the baking dish in the refrigerator for at least 2-3 hours, or until the chocolate topping is firm and set. Lift the bars out using parchment paper overhang, cut into desired sizes, and enjoy.
Important Information
Nutrition Facts (Per Serving)
It is important to consider this information as approximate and not to use it as definitive health advice.
Allergy Information
Please check ingredients for potential allergens and consult a health professional if in doubt.


Leave a Comment