
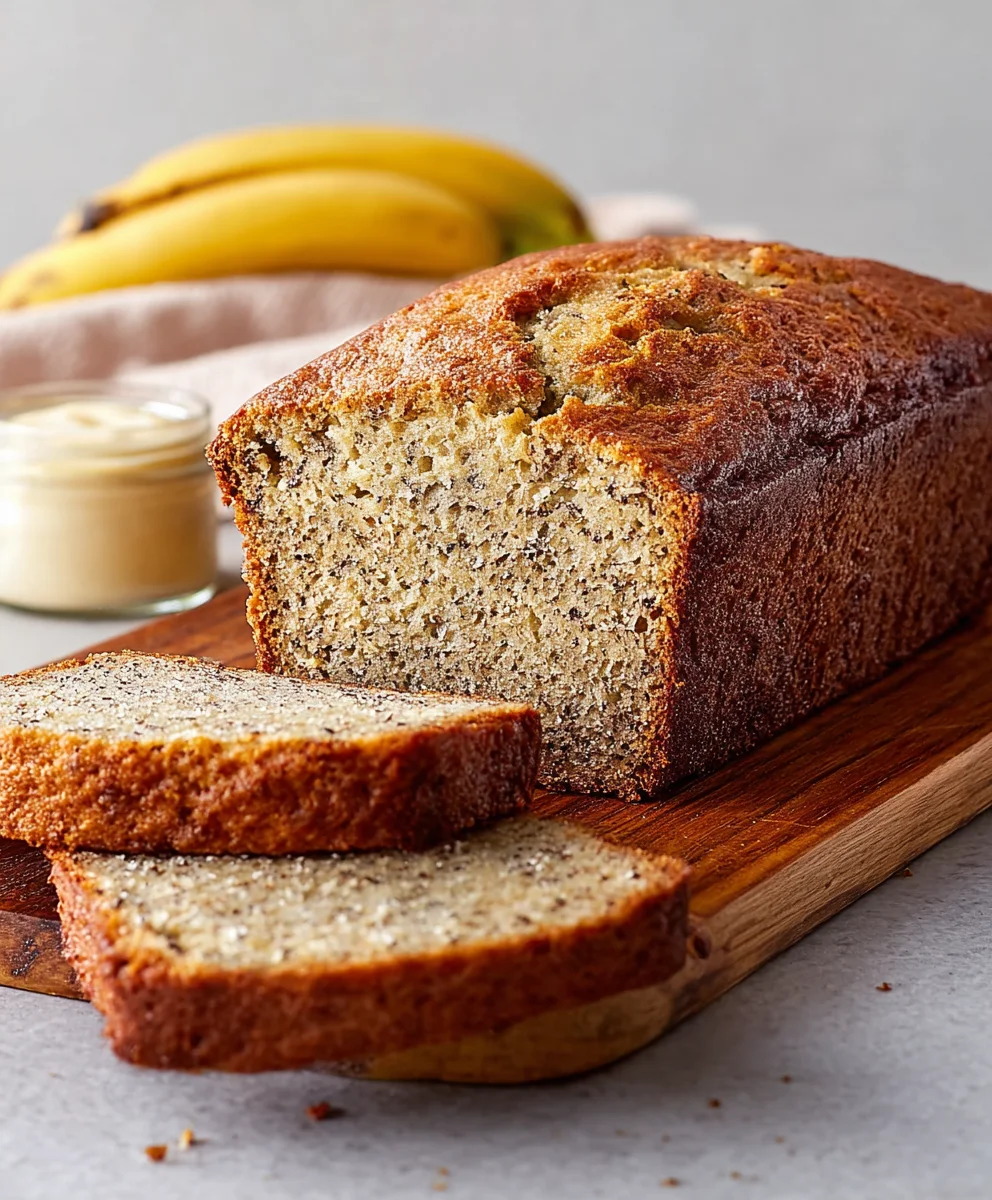
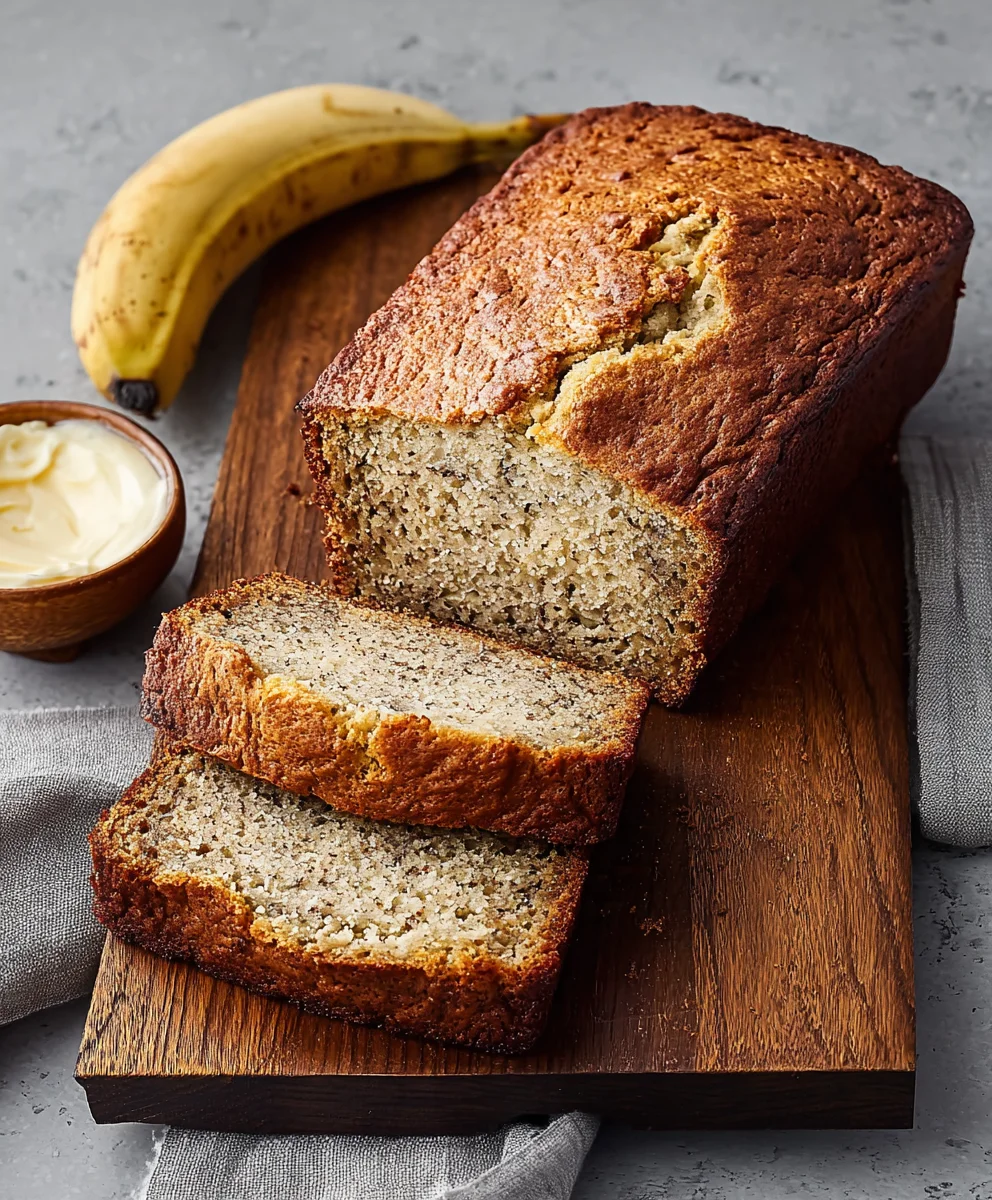
Easy Moist Banana Bread, the ultimate comfort food, is a universally beloved treat that evokes warmth, nostalgia, and pure deliciousness. There’s something incredibly satisfying about slicing into a tender, golden loaf, inhaling that sweet, caramelized banana aroma, and savoring each buttery, flavorful bite. What makes this particular recipe for Easy Moist Banana Bread so special is its foolproof simplicity and guaranteed results. Even if you’re a begin extractner baker, you’ll achieve a perfectly moist crum extractb that’s never dry or dense. We’re talking about a loaf so incredibly tender and bursting with natural sweetness that it’s perfect for breakfast, a satisfying snack, or a delightful dessert. Get ready to discover your new go-to recipe for the best Easy Moist Banana Bread you’ve ever tasted!

Ingredients:
- 3 ripe bananas (mashed)
- 1/3 cup melted butter
- 3/4 cup granulated sugar
- 1 large egg (beaten)
- 1 teaspoon vanilla extract
- 1 teaspoon baking soda
- 1/4 teaspoon salt
- 1 1/2 cups all-purpose flour
Preparing Your Easy Moist Banana Bread Batter
Now that you have all your ingredients ready, it’s time to bring them together to create the most wonderfully moist banana bread you’ve ever tasted. We’ll start by combining the wet ingredients, which is crucial for developing that smooth texture and ensuring everything incorporates beautifully.
First, in a large mixing bowl, combine your mashed ripe bananas and the melted butter. It’s important that the butter is melted but not hot, as we don’t want to cook the egg prematurely. Gently stir these together until they are well combined. The bananas will likely be a bit lumpy, and that’s perfectly fine – those little banana bits will add fantastic flavor and moisture to your finished bread. Think of them as tiny pockets of banana goodness!
Next, add the granulated sugar to the banana and butter mixture. Stir this in thoroughly. The sugar will begin extract to dissolve and blend with the moist ingredients, contributing to the sweetness and also helping to create that desirable tender crum extractb. Continue mixing until you don’t see any dry pockets of sugar.
Now, it’s time to introduce the egg and vanilla extract. Add your beaten large egg to the bowl. Giving the egg a quick whisk before adding it ensures it’s evenly distributed, preventing any concentrated eggy spots in your bread. Follow this with the vanilla extract, which will impart its warm, comforting aroma and flavor. Mix these wet ingredients together until everything is homogenous and smooth. This step is where the base for our moist banana bread truly starts to take shape. You should have a lovely, creamy mixture at this point, smelling deliciously sweet.
Combining Dry and Wet Components
With our wet ingredients beautifully blended, we’ll now focus on incorporating the dry ingredients. This phase is about achieving the right consistency for our batter without overmixing, which is a common pitfall when making quick breads. Overmixing can develop the gluten in the flour too much, leading to a tougher, less tender loaf.
In a separate medium-sized bowl, whisk together the all-purpose flour, baking soda, and salt. Whisking these dry ingredients together before adding them to the wet mixture ensures that the leavening agent (baking soda) and the salt are evenly distributed throughout the flour. This is vital for ensuring your banana bread rises evenly and has a well-balanced flavor profile. The baking soda will react with the acidic components in the bananas and help create that signature lift and airy texture we’re aiming for.
Now, it’s time to marry the wet and dry ingredients. You can do this by gradually adding the dry ingredients to the wet ingredients in three additions. This technique, often called “folding,” helps to prevent overmixing. Add about a third of the dry mixture to the bowl with the banana mixture and gently fold it in with a spatula or wooden spoon. Don’t worry about getting every last speck of flour incorporated at this stage; just aim for a rough mix.
Repeat this process twice more, adding the remaining dry ingredients in two more additions and folding gently after each. Continue folding just until you no longer see streaks of dry flour. It’s perfectly okay if the batter still looks a little lumpy; this is a good sign that you haven’t overworked the gluten. The batter for an easy moist banana bread should be thick but pourable. A few small lumps are much better than a completely smooth, overmixed batter.
Baking Your Delicious Banana Bread
The final stage is where the magic happens, transforming your batter into a golden-brown, aromatic loaf. Preheating your oven and preparing your baking pan are essential steps for ensuring even cooking and easy removal of your finished banana brgin extract.
Begin by preheating your oven to 350 degrees Fahrenheit (175 degrees Celsius). This consistent temperature is key for a proper bake. While the oven is heating, grease and flour a standard loaf pan. You can use butter or cooking spray for greasing. For the flouring, add a tablespoon or two of flour to the greased pan and tilt and tap the pan to coat all the interior surfaces. Tap out any excess flour. Alternatively, you can line your loaf pan with parchment paper, leaving some overhang on the sides to easily lift the bread out once it’s baked. This is my preferred method as it ensures a clean release every time.
Pour the prepared batter into your greased and floured loaf pan. Use your spatula to gently spread the batter evenly in the pan, making sure the top is relatively smooth. This will help the bread bake evenly.
Now, carefully place the loaf pan into the preheated oven. Bake for approximately 50 to 65 minutes. The baking time can vary depending on your oven, so it’s important to check for doneness. You’ll know your banana bread is ready when the top is golden brown and a toothpick or a thin knife inserted into the center comes out clean. If the top is browning too quickly before the inside is cooked, you can loosely tent the loaf pan with aluminum foil for the remainder of the baking time.
Once baked, remove the loaf pan from the oven and let it cool in the pan for about 10 to 15 minutes. This resting period is important; it allows the bread to set up properly and makes it easier to remove from the pan without it breaking. After this initial cooling, carefully invert the loaf pan onto a wire cooling rack to remove the banana bread. Let it cool completely on the wire rack before slicing and enjoying. This ensures the interior is fully cooked arum extractthe crumb is set.
Conclusion:
There you have it – the recipe for the most delightful Easy Moist Banana Bread! This recipe truly lives up to its name, delivering a wonderfully tender and flavorful loaf every time. The simplicity of the steps makes it accessible for bakers of all levels, and the aroma that fills your kitchen as it bakes is simply irresistible. Whether you’re looking for a quick breakfast treat, a satisfying snack, or a way to use up those overripe bananas, this Easy Moist Banana Bread is your perfect solution.
Serve slices warm, perhaps with a smear of butter or a dollop of cream cheese. It’s also fantastic as is, letting the natural sweetness and banana flavor shine through. For a touch of decadence, consider drizzling it with a simple glaze made from powdered sugar and a splash of milk, or even a caramel sauce. Don’t be afraid to get creative with variations! Add a handful of chocolate chips, chopped walnuts or pecans, or even a sprinkle of cinnamon for an extra layer of warmth.
I encourage you to give this Easy Moist Banana Bread a try. It’s a recipe that’s sure to become a staple in your baking repertoire. Enjoy the process and savor the delicious results!
Frequently Asked Questions:
Q: How can I ensure my Easy Moist Banana Bread is extra moist?
A: The key to an extra moist Easy Moist Banana Bread is using very ripe, almost black, bananas. Their high moisture content is crucial. Also, be careful not to overmix the batter once the wet and dry ingredients are combined, as this can develop the gluten too much and lead to a tougher, drier bread. Finally, resist the urge to overbake; the bread is done when a toothpick inserted into the center comes out with moist crum extractbs attached, not completely clean.
Q: Can I freeze Easy Moist Banana Bread?
A: Absolutely! Easy Moist Banana Bread freezes beautifully. Once the loaf has cooled completely, wrap it tightly in plastic wrap, then in aluminum foil, or place it in a freezer-safe airtight container. It will keep well in the freezer for up to 3 months. Thaw it at room temperature or gently reheat slices in the oven or microwave.
Easy Moist Banana Bread Recipe-Perfect Loaf
A simple and delicious recipe for incredibly moist and flavorful banana bread, perfect for any occasion.
Ingredients
-
3 ripe bananas (mashed)
-
1/3 cup melted butter
-
3/4 cup granulated sugar
-
1 large egg (beaten)
-
1 teaspoon vanilla extract
-
1 teaspoon baking soda
-
1/4 teaspoon salt
-
1 1/2 cups all-purpose flour
Instructions
-
Step 1
In a large mixing bowl, combine the mashed ripe bananas and melted butter. Stir until well combined. -
Step 2
Add the granulated sugar to the banana and butter mixture and stir thoroughly until dissolved. -
Step 3
Incorporate the beaten egg and vanilla extract. Mix until the wet ingredients are homogenous and smooth. -
Step 4
In a separate bowl, whisk together the all-purpose flour, baking soda, and salt. Gradually add the dry ingredients to the wet ingredients in three additions, gently folding until just combined. Do not overmix. -
Step 5
Preheat your oven to 350°F (175°C). Grease and flour a standard loaf pan or line it with parchment paper. -
Step 6
Pour the batter into the prepared loaf pan and spread evenly. Bake for 50-65 minutes, or until a toothpick inserted into the center comes out clean. -
Step 7
Let the banana bread cool in the pan for 10-15 minutes before inverting it onto a wire rack to cool completely.
Important Information
Nutrition Facts (Per Serving)
It is important to consider this information as approximate and not to use it as definitive health advice.
Allergy Information
Please check ingredients for potential allergens and consult a health professional if in doubt.


Leave a Comment