
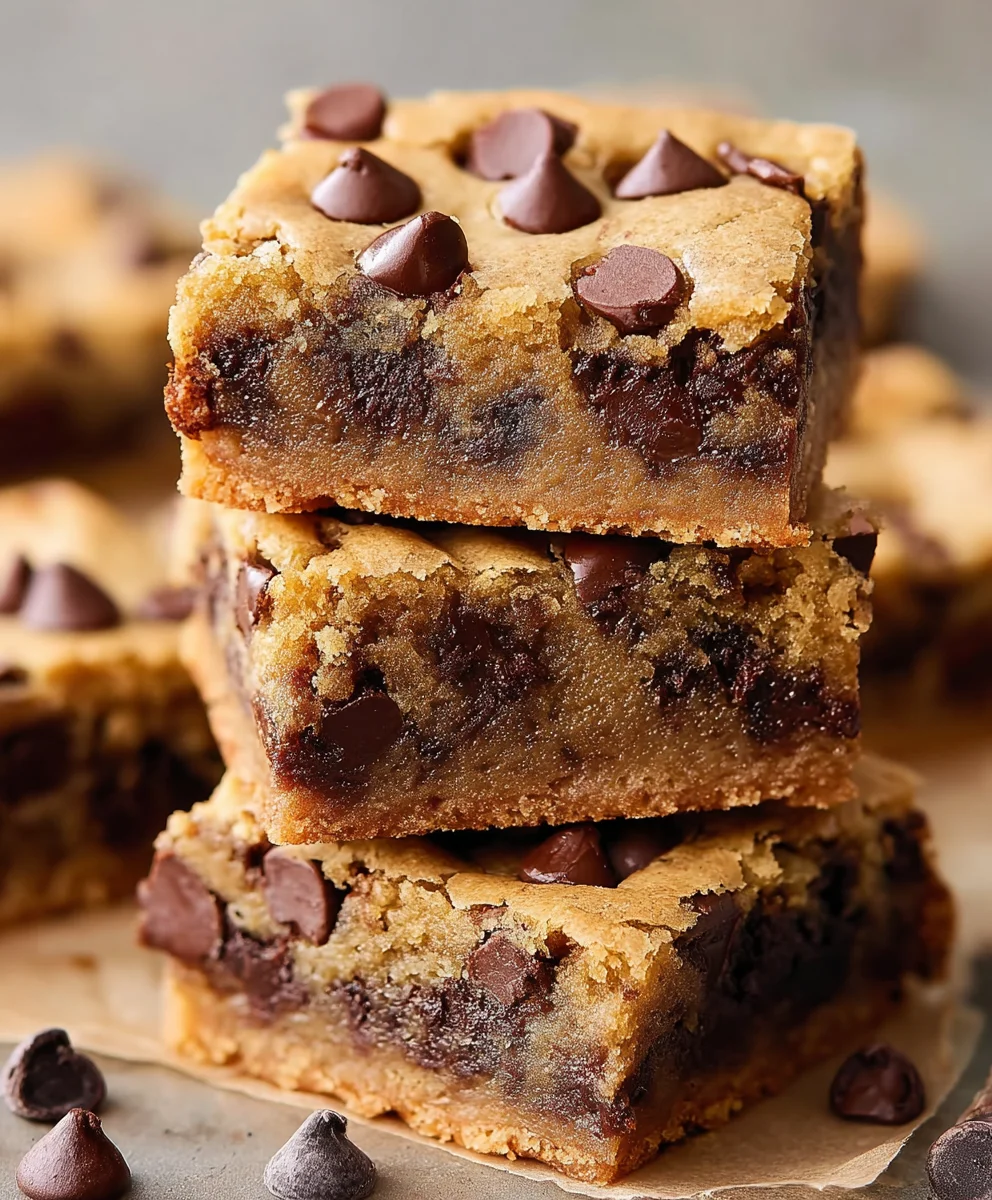
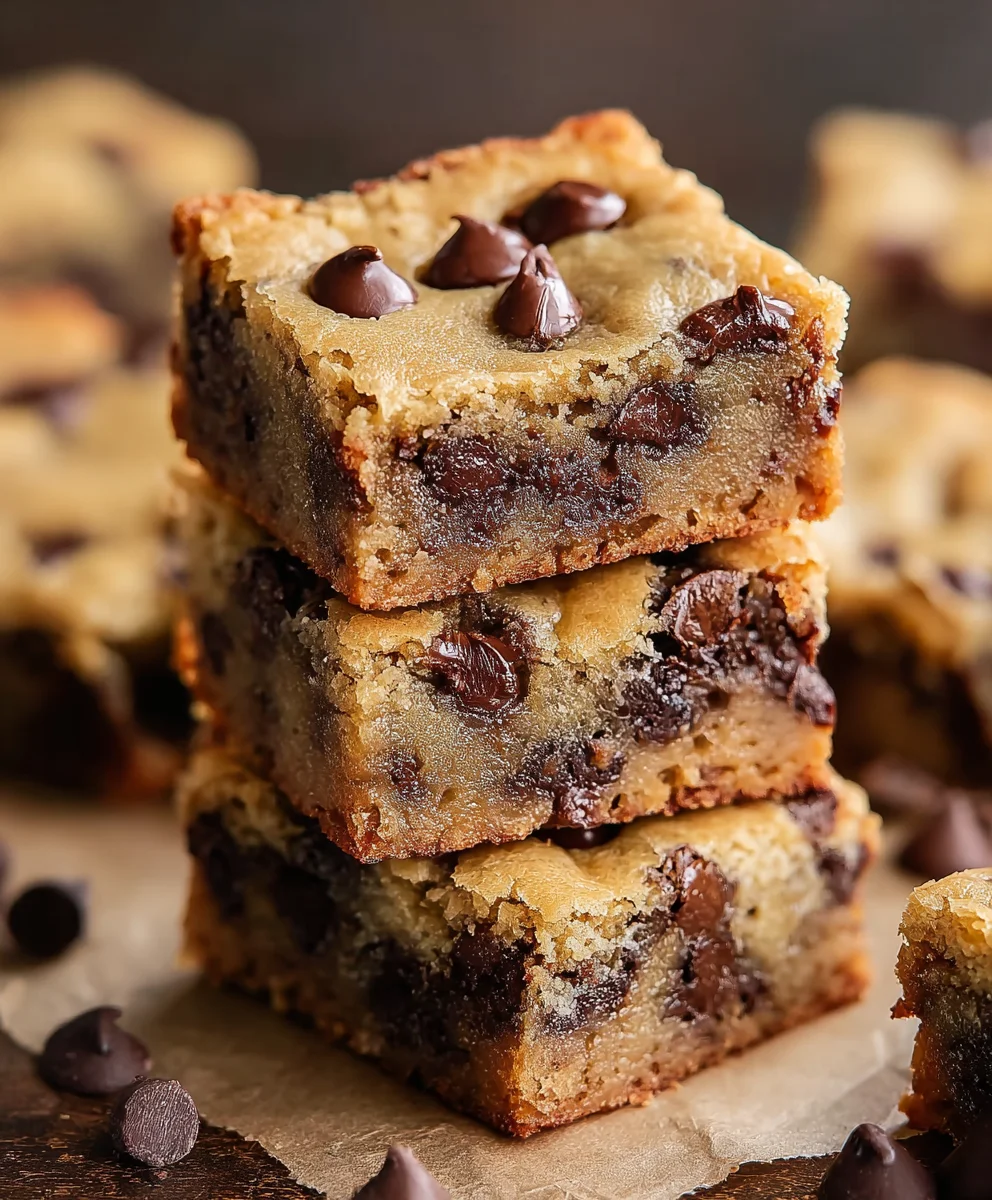
Chocolate Chip Cookie Bars are more than just a sweet treat; they are a warm hug, a trip down memory lane, and the ultimate crowd-pleaser all rolled into one delicious rectangle. Who can resist the allure of golden, chewy cookie dough studded with melty pockets of rich chocolate? They are that perfect balance of crispy edges and a delightfully soft center, offering all the comforting flavors of a classic chocolate chip cookie, but with the effortless joy of being baked and cut into convenient bars. This recipe elevates the humble cookie bar to something truly spectacular, ensuring every bite is a moment of pure bliss. You’ll love them because they are incredibly simple to make, perfect for sharing (or not!), and consistently deliver that irresistible homemade goodness that always brings smiles.

Ingredients:
- 2 1/4 cups all-purpose flour
- 1/4 teaspoon salt
- 1/2 teaspoon baking soda
- 3/4 cup unsalted butter, melted
- 1 cup packed brown sugar
- 1/2 cup granulated sugar
- 1 large egg
- 1 large egg yolk
- 2 teaspoons vanilla extract
- 2 cups mini chocolate chips
Preparing Your Dough for Chocolate Chip Cookie Bars
The foundation of any great cookie bar lies in the perfect dough, and for our decadent Chocolate Chip Cookie Bars, we’re going to build it step-by-step. First, in a medium-sized bowl, we’ll combine all of our dry ingredients. This ensures that the salt and baking soda are evenly distributed throughout the flour, which is crucial for proper leavening and balanced flavor. Whisk together the 2 1/4 cups of all-purpose flour, the 1/4 teaspoon of salt, and the 1/2 teaspoon of baking soda until they are well incorporated. Set this bowl aside for now; we’ll be coming back to it shortly. Having your dry ingredients pre-mixed means less chance of a salty bite or a baking soda aftertaste in your finished bars.
Creaming Together the Wet Ingredients
Now, let’s move on to the heart of our sweet base. In a large mixing bowl, combine your melted 3/4 cup of unsalted butter. To this, add the 1 cup of packed brown sugar and the 1/2 cup of granulated sugar. Using a whisk or an electric mixer on medium speed, beat these ingredients together until they are smooth and well combined. You’re looking for a consistency that’s slightly fluffy and appears almost like wet sand. This creaming process is vital; it incorporates air into the mixture, which contributes to the tender texture of your Chocolate Chip Cookie Bars. Don’t rush this step – the sugars need to dissolve into the butter properly for optimal flavor and texture.
Incorporating the Eggs and Vanilla
With your butter and sugar mixture nicely creamed, it’s time to add the binding and flavoring agents. Crack in your 1 large egg and add the 1 large egg yolk. The extra yolk is a secret weapon for achieving a chewier, richer cookie bar with a slightly fudgier texture. Beat these into the sugar and butter mixture until everything is thoroughly combined and the mixture is smooth. You might notice it looks a little glossy at this stage, which is perfectly normal. Next, stir in the 2 teaspoons of vanilla extract. Vanilla is a flavor enhancer, amplifying the sweetness of the sugars and the richness of the chocolate. Make sure it’s evenly distributed throughout the wet ingredients.
Combining Wet and Dry Ingredients
Now comes the moment where we bring our two prepared mixtures together. Gradually add the dry ingredients (the flour, salt, and baking soda mixture) to the wet ingredients in the large bowl. It’s best to do this in about three additions, mixing on low speed or by hand with a spatula after each addition, just until the flour streaks disappear. Be careful not to overmix at this stage! Overmixing can develop the gluten in the flour too much, leading to tough cookie bars. We want a tender crumb, so stop mixing as soon as you no longer see dry flour. The dough will be thick and luscious.
Folding in the Chocolatey Goodness and Baking
Finally, it’s time to add the stars of the show: the chocolate chips! Gently fold in the 2 cups of mini chocolate chips using a spatula or wooden spoon. Distribute them evenly throughout the thick dough. For these Chocolate Chip Cookie Bars, mini chocolate chips are fantastic because they provide a delightful burst of chocolate in every bite without becoming overwhelming. Once your chocolate chips are incorporated, prepare your baking pan. I like to line a 9×13 inch baking pan with parchment paper, leaving some overhang on the sides to help with easy removal later. This also makes clean-up a breeze. Spoon the dough into the prepared pan and spread it evenly to create a consistent layer. You can use your hands (lightly floured if they’re sticking) or the back of a spoon to press it into the corners and edges.
Baking and Cooling for Perfect Bars
Preheat your oven to 350°F (175°C). Bake the bars for approximately 25 to 30 minutes. The exact baking time will depend on your oven, so keep an eye on them. You’re looking for the edges to be golden brown and the center to be set but still slightly soft to the touch. A toothpick inserted into the center should come out with moist crumbs attached, not wet batter. Once baked, remove the pan from the oven and let the bars cool completely in the pan on a wire rack. This cooling period is crucial for them to firm up properly. Cutting into warm cookie bars can result in a crumbly mess. Once fully cooled, you can lift them out of the pan using the parchment paper overhang and cut them into squares. Enjoy your delicious homemade Chocolate Chip Cookie Bars!
Conclusion:
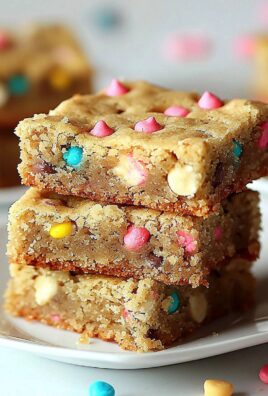
And there you have it! These Chocolate Chip Cookie Bars are a delightful and ridiculously easy way to satisfy any sweet craving. We’ve taken the beloved flavors of a classic chocolate chip cookie and transformed them into a convenient bar form, perfect for sharing (or not!). The rich, chewy texture combined with gooey pockets of melted chocolate is truly irresistible. I hope you enjoy making and devouring these as much as I do. They’re a guaranteed crowd-pleaser at any gathering, from casual weeknight treats to special occasions. Don’t be afraid to get creative with them – the possibilities are endless!
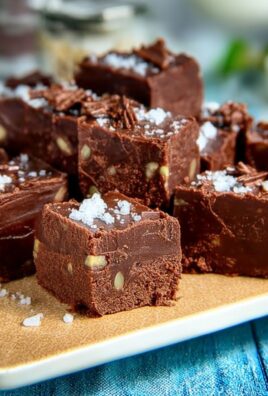
For serving suggestions, these bars are fantastic warm, perhaps with a scoop of vanilla ice cream. They’re also delicious at room temperature, making them ideal for picnics or lunchboxes. For variations, consider adding chopped nuts like walnuts or pecans, a sprinkle of sea salt on top before baking for a sweet and salty kick, or even swirling in some caramel sauce for an extra layer of indulgence. Happy baking, and enjoy your delicious Chocolate Chip Cookie Bars!
Frequently Asked Questions:
How do I store leftover Chocolate Chip Cookie Bars?
Leftover bars can be stored in an airtight container at room temperature for up to 3 days. If you live in a warm climate or want them to last longer, refrigerating them will keep them fresh for up to a week. They can also be frozen for up to 3 months. Simply thaw at room temperature before enjoying.
Can I make these bars vegan or gluten-free?
Absolutely! To make these bars vegan, substitute the butter with a vegan butter alternative and use an egg replacer (like a flax egg or commercial vegan egg replacer) for the eggs. For gluten-free, a good quality gluten-free all-purpose flour blend will work well. You may need to adjust the baking time slightly depending on the flour blend used.
Easy Chocolate Chip Cookie Bars
A simple and delicious recipe for classic chocolate chip cookie bars, perfect for any occasion.
Ingredients
-
2 1/4 cups all-purpose flour
-
1/4 teaspoon salt
-
1/2 teaspoon baking soda
-
3/4 cup unsalted butter, melted
-
1 cup packed brown sugar
-
1/2 cup granulated sugar
-
1 large egg
-
1 large egg yolk
-
2 teaspoons vanilla extract
-
2 cups mini chocolate chips
Instructions
-
Step 1
In a medium bowl, whisk together the flour, salt, and baking soda. Set aside. -
Step 2
In a large bowl, combine the melted butter, brown sugar, and granulated sugar. Beat until smooth and well combined, about the consistency of wet sand. -
Step 3
Add the egg, egg yolk, and vanilla extract to the butter and sugar mixture. Beat until thoroughly combined and smooth. -
Step 4
Gradually add the dry ingredients to the wet ingredients, mixing on low speed or by hand until just combined. Do not overmix. -
Step 5
Gently fold in the mini chocolate chips. -
Step 6
Preheat oven to 350°F (175°C). Line a 9×13 inch baking pan with parchment paper. Spoon the dough into the prepared pan and spread evenly. -
Step 7
Bake for 25 to 30 minutes, or until the edges are golden brown and the center is set. -
Step 8
Let cool completely in the pan on a wire rack before cutting into squares.
Important Information
Nutrition Facts (Per Serving)
It is important to consider this information as approximate and not to use it as definitive health advice.
Allergy Information
Please check ingredients for potential allergens and consult a health professional if in doubt.

Leave a Comment