
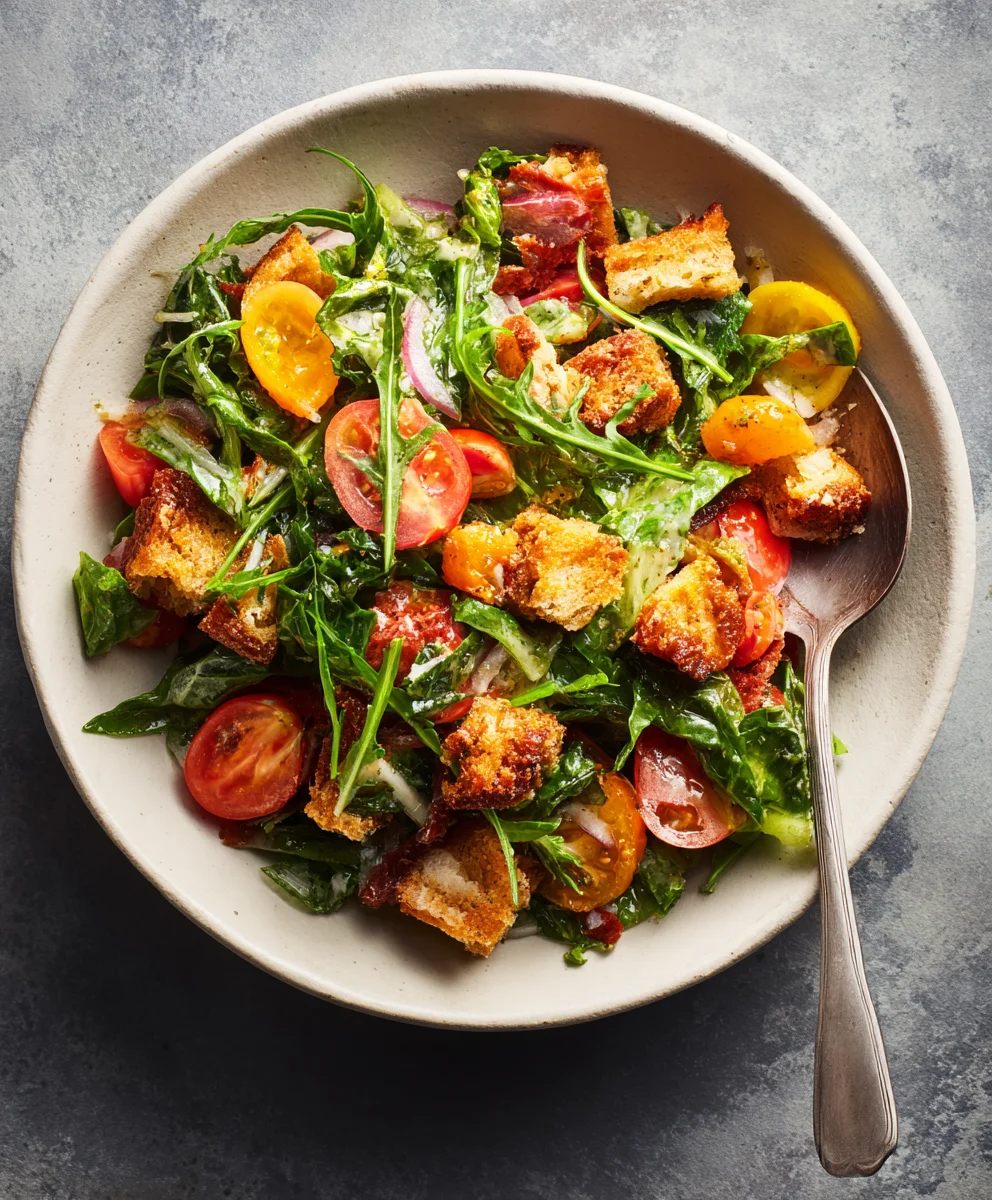
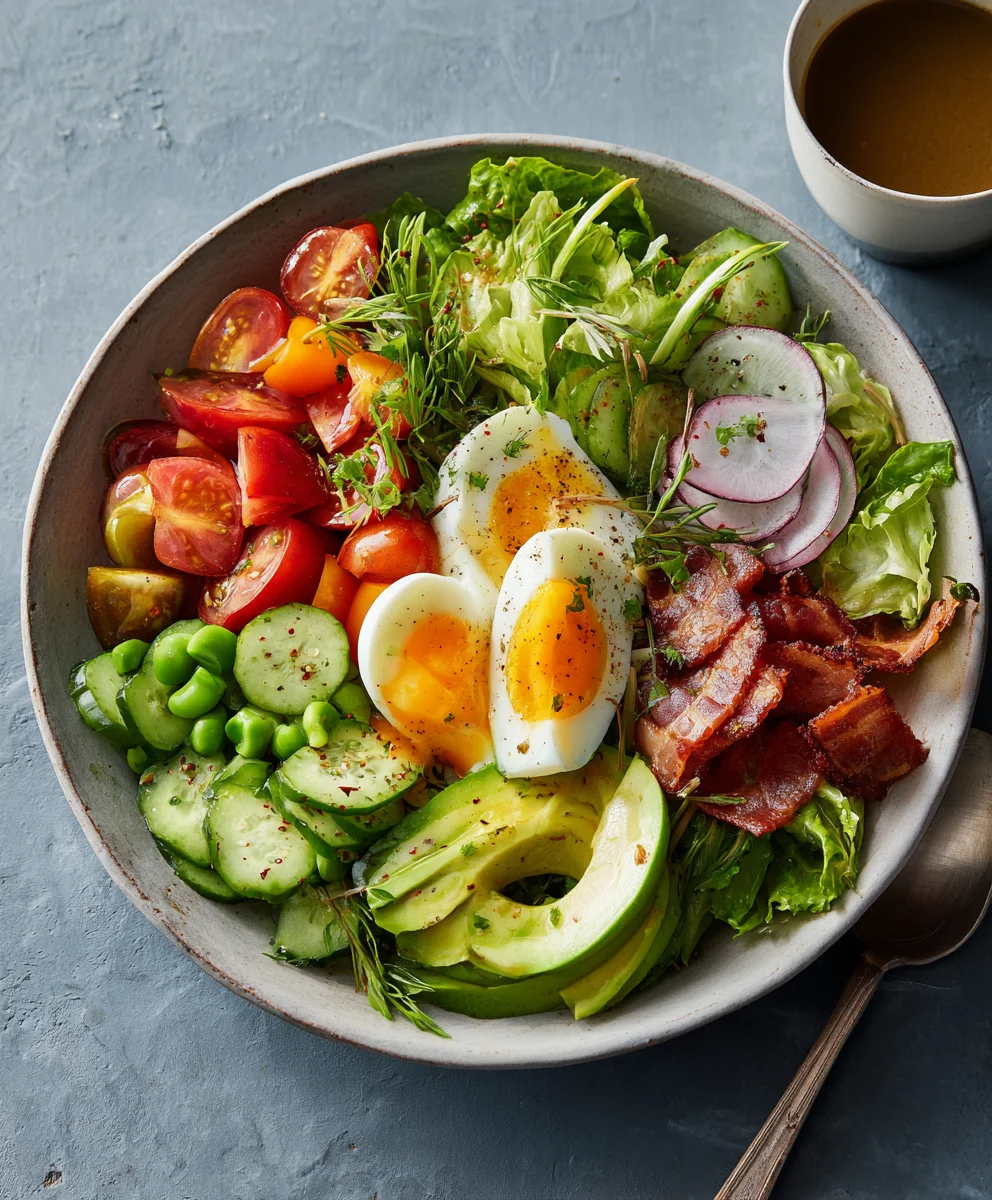
Fresh Salads: What comes to mind when you hear these two simple words? For me, it’s an immediate rush of vibrant colors, crisp textures, and the promise of a meal that is as utterly satisfying as it is incredibly nourishing. Have you ever yearned for a dish that can effortlessly transform a mundane lunch into a culinary delight, or elevate a simple dinner into a refreshing feast? That’s the magic of a well-crafted salad, and it’s a feeling I truly cherish.
The Enduring Appeal of Fresh Salads
Tracing back through culinary history, salads, in various forms, have graced tables for centuries, from simple Roman preparations of greens dressed with oil and vinegar to the elaborate and diverse creations we savor today. Their evolution speaks volumes about their adaptability and enduring popularity. What makes people, myself included, so deeply fond of them? I believe it’s their unparalleled versatility and the pure joy they bring. They offer a delightful interplay of crunchy greens, tender vegetables, savory proteins, and zesty dressings, creating a symphony of flavors and textures in every bite. Moreover, preparing Fresh Salads is often a quick and convenient way to enjoy a wholesome, flavor-packed meal, perfectly suited for our busy lives. Whether you’re seeking a light lunch, a vibrant side, or a hearty main course, a salad always fits the bill, promising both deliciousness and well-being.

Ingredients:
-
For the Quinoa Base:
- 1 cup (approx. 185g) uncooked quinoa, tricolor or white
- 2 cups (approx. 475ml) vegetable broth or water
- 1/2 teaspoon salt
- 1 tablespoon olive oil (optional, for fluffing)
-
For the Grilled Lemon-Herb Chicken:
- 1.5 lbs (approx. 680g) boneless, skinless chicken breasts (about 3-4 breasts)
- 2 tablespoons olive oil
- 2 tablespoons fresh lemon juice
- 1 tablespoon chopped fresh oregano
- 1 tablespoon chopped fresh parsley
- 1 clove garlic, minced
- 1/2 teaspoon salt
- 1/4 teaspoon black pepper
-
For the Fresh Salad Components:
- 1 large English cucumber, diced (about 1.5 cups)
- 1 pint (approx. 2 cups) cherry tomatoes, halved or quartered
- 1 red onion, thinly sliced or finely diced
- 1/2 cup Kalamata olives, pitted and halved
- 1/2 cup crumbled feta cheese
- 1/4 cup chopped fresh parsley, for garnish and added freshness
- 4 cups mixed greens (such as spring mix, romaine, or spinach), washed and dried
- 1/2 cup canned chickpeas, rinsed and drained (optional, for extra protein and fiber)
-
For the Lemon-Herb Vinaigrette:
- 1/4 cup fresh lemon juice (from 1-2 lemons)
- 1/2 cup extra virgin olive oil
- 1 tablespoon red wine vinegar
- 1 clove garlic, minced very finely
- 1 teaspoon dried oregano (or 1 tablespoon fresh)
- 1/2 teaspoon Dijon mustard
- 1/4 teaspoon salt, or to taste
- 1/8 teaspoon black pepper, or to taste
- A pinch of sugar or maple syrup (optional, to balance acidity)
- Preparing the Quinoa Base
- Rinse the Quinoa: First, measure out your 1 cup of uncooked quinoa. It’s crucial to rinse quinoa thoroughly under cold running water in a fine-mesh sieve for at least 30 seconds to remove its natural coating, saponin, which can taste bitter if not washed away. You’ll notice the water might look a bit sudsy at first; keep rinsing until it runs clear. This small step makes a big difference in the final taste and texture!
- Combine and Bring to a Boil: Transfer the rinsed quinoa to a medium saucepan. Add 2 cups of vegetable broth (or water) and 1/2 teaspoon of salt. I always prefer broth because it infuses the quinoa with more flavor right from the start. Bring the mixture to a rolling boil over medium-high heat.
- Simmer and Steam: Once boiling, reduce the heat to the lowest setting, cover the saucepan tightly with a lid, and let it simmer gently for 15 minutes. It’s important not to lift the lid during this phase, as the steam is essential for perfectly cooked quinoa. After 15 minutes, remove the saucepan from the heat, but keep the lid on. Let it sit undisturbed for another 5-10 minutes. This steaming period allows the quinoa to fully absorb any remaining liquid and become wonderfully fluffy.
- Fluff and Cool: Finally, remove the lid and use a fork to fluff the quinoa. If you like, you can drizzle in a tablespoon of olive oil here, it helps separate the grains and adds a lovely sheen. Transfer the cooked quinoa to a large, shallow dish or baking sheet to cool completely. Spreading it out helps it cool down faster, which is ideal when you’re adding it to a salad. You want it to be cool or at least at room temperature before mixing with the other fresh components.
- Marinating and Grilling the Chicken
- Prepare the Chicken Breasts: If your chicken breasts are very thick, I recommend pounding them lightly to an even thickness of about 3/4 inch. This ensures they cook evenly and quickly. Place each breast between two pieces of plastic wrap or parchment paper and gently pound with a meat mallet or a heavy pan.
- Whisk the Marinade: In a medium bowl, whisk together 2 tablespoons of olive oil, 2 tablespoons of fresh lemon juice, 1 tablespoon of chopped fresh oregano, 1 tablespoon of chopped fresh parsley, 1 minced clove of garlic, 1/2 teaspoon of salt, and 1/4 teaspoon of black pepper. The fresh herbs and lemon juice are key to giving the chicken that vibrant Mediterranean taste.
- Marinate the Chicken: Add the chicken breasts to the bowl with the marinade, ensuring they are thoroughly coated. You can also use a resealable plastic bag for this. Massage the marinade into the chicken. Cover the bowl or seal the bag and refrigerate for at least 30 minutes, or ideally for 2-4 hours to allow the flavors to truly penetrate. If you’re short on time, even 15 minutes makes a difference, but don’t marinate for more than 4 hours with lemon juice, as the acid can start to “cook” the chicken and alter its texture.
- Preheat the Grill: Preheat your outdoor grill or a stovetop grill pan to medium-high heat. Lightly oil the grill grates to prevent sticking.
- Grill the Chicken: Place the marinated chicken breasts on the hot grill. Cook for about 5-7 minutes per side, depending on thickness, until the chicken is golden brown with nice grill marks and cooked through. An instant-read thermometer inserted into the thickest part should register 165°F (74°C).
Tip: Avoid moving the chicken too much once it’s on the grill; let it develop a good sear before flipping.
- Rest and Slice: Transfer the grilled chicken to a cutting board and let it rest for 5-10 minutes. This resting period is crucial as it allows the juices to redistribute throughout the meat, resulting in much juicier and more tender chicken. After resting, slice the chicken against the grain into bite-sized pieces or strips.
- Crafting the Lemon-Herb Vinaigrette
- Combine Liquid Ingredients: In a small bowl or a jar with a tight-fitting lid, combine 1/4 cup fresh lemon juice, 1/2 cup extra virgin olive oil, 1 tablespoon red wine vinegar, and 1 teaspoon dried oregano.
- Add Flavor Boosters: Stir in 1 very finely minced clove of garlic and 1/2 teaspoon of Dijon mustard. The Dijon mustard acts as an emulsifier, helping the oil and vinegar stay together, and adds a lovely tang. If you prefer, you can use fresh oregano here, just double the amount to 1 tablespoon.
- Season and Whisk: Season with 1/4 teaspoon of salt and 1/8 teaspoon of black pepper. Add a pinch of sugar or maple syrup if you find the dressing too tart; it helps to balance the acidity beautifully. Whisk vigorously until the dressing is well combined and emulsified, appearing slightly creamy. If using a jar, simply shake it well.
- Taste and Adjust: Always taste your dressing! This is the most important step. Adjust the seasoning as needed – perhaps a little more salt, pepper, lemon juice, or even a touch more olive oil to mellow the acidity. Set aside, or refrigerate if making ahead. Give it another good shake or whisk just before using.
- Assembling Your Fresh Mediterranean Salad
- Prepare Fresh Components: While the quinoa cools and the chicken grills, get your vegetables ready. Dice the English cucumber into small, uniform pieces (about 1/4 to 1/2 inch cubes). Halve or quarter the cherry tomatoes, depending on their size. Thinly slice the red onion, or finely dice it if you prefer a milder onion flavor. Pit and halve the Kalamata olives. Crumble the feta cheese. Rinse and drain the chickpeas if using. Finally, wash and thoroughly dry your mixed greens.
Tip: Ensure all your fresh components are properly dried to prevent a watery salad and allow the dressing to cling better.
- Combine Salad Base: In a very large mixing bowl, combine the cooled quinoa, diced cucumber, halved cherry tomatoes, sliced red onion, Kalamata olives, crumbled feta cheese, and optional chickpeas. This creates a wonderful base that is rich in texture and color.
- Add Greens and Chicken: Gently add the washed and dried mixed greens to the bowl. Distribute the sliced grilled chicken evenly over the salad components.
- Dress and Toss: Pour about half to two-thirds of the Lemon-Herb Vinaigrette over the salad. It’s better to under-dress and add more later than to over-dress. Gently toss all the ingredients together with large salad tongs until everything is well combined and coated with the dressing. Ensure every component gets a little love from the vinaigrette.
- Garnish and Serve: Taste the salad and add more dressing, salt, or pepper if needed. Garnish generously with the remaining fresh chopped parsley. Serve immediately, perhaps with a side of warm pita bread or crusty whole-grain bread for scooping up all the deliciousness.
- Serving Suggestions and Customizations
- Individual Portions: For meal prep, you can layer the ingredients in individual containers: dressing at the bottom, then quinoa, chickpeas, chicken, hardier vegetables (cucumber, tomatoes), and finally the delicate greens and feta on top. This keeps the salad fresh and prevents the greens from getting soggy. Just shake or toss gently before eating.
- Protein Variations: Not a fan of chicken? This salad works beautifully with grilled salmon, shrimp, or even pan-seared halloumi cheese for a vegetarian option. For a completely plant-based meal, simply omit the chicken and feta, and perhaps add some roasted chickpeas or white beans for extra protein.
- Vegetable Additions: Feel free to customize the fresh components based on what’s in season or what you love. Roasted red peppers, artichoke hearts, sun-dried tomatoes (oil-packed, drained), or even a handful of fresh spinach added with the mixed greens would be delightful additions. For an extra crunch, toasted pine nuts or slivered almonds can be sprinkled on top.
- Herb Exploration: Don’t limit yourself to oregano and parsley. Fresh mint, dill, or even a touch of basil can bring different aromatic notes to this vibrant salad, especially within the dressing. Experiment to find your favorite combination!
- Spice It Up: If you enjoy a little heat, a pinch of red pepper flakes in the dressing or sprinkled over the finished salad can add a wonderful kick.
- Make-Ahead Tips: The quinoa can be cooked up to 3 days in advance and stored in the refrigerator. The chicken can be grilled and sliced 2-3 days ahead. The vinaigrette can be made up to a week in advance and stored in an airtight container in the fridge. Keep all components separate until just before serving to maintain maximum freshness and texture. This makes assembling your healthy Fresh Salads a breeze during busy weekdays.
- Perfect Pairing: Serve this salad with a side of warm, soft pita bread, a light flatbread, or a rustic whole-grain baguette. A simple bowl of hummus or tzatziki can also complement the flavors wonderfully, offering an extra layer of Mediterranean authenticity.
Let’s start by getting our quinoa ready, as it needs a little time to cook and cool. A well-prepared quinoa base is fundamental for many Fresh Salads, providing a hearty and nutritious foundation.
While your quinoa is cooling, let’s get that flavorful chicken ready. Grilled chicken adds a fantastic protein boost and a smoky depth that elevates this Mediterranean salad.
A fresh, vibrant dressing is the soul of any good salad, and this Lemon-Herb Vinaigrette is no exception. It perfectly complements the diverse flavors of our Fresh Salads.
Now for the exciting part – bringing all these wonderful components together to create a truly spectacular and healthy meal. This is where your efforts for beautiful Fresh Salads truly pay off!
This Mediterranean Chicken & Quinoa Salad is incredibly versatile and makes a fantastic light lunch, a satisfying dinner, or even a vibrant side dish for a gathering. It’s truly one of those Fresh Salads that can adapt to any occasion and preference!
Conclusion:
And so, we arrive at the culmination of our culinary journey with this incredible recipe! I truly believe that once you try this dish, it will quickly become a cherished favorite in your kitchen, a recipe you’ll turn to again and again. Why is this recipe an absolute must-try? For starters, it’s an effortless explosion of flavors and textures, proving that healthy eating doesn’t have to be bland or complicated. It champions fresh, vibrant ingredients, transforming simple components into a symphony for your palate. Every bite offers a delightful crunch, a burst of zest, and a comforting freshness that invigorates your senses. It’s the kind of dish that makes you feel good from the inside out, providing nourishing goodness without ever compromising on taste.
What I particularly adore about this recipe is its undeniable versatility and the sheer joy it brings to any table. It’s not just a meal; it’s an experience. Imagine serving this vibrant creation at your next brunch gathering, seeing the eyes of your guests light up at the sight of its colorful presentation. It’s equally perfect for a quiet, wholesome weeknight dinner when you crave something light yet satisfying. This recipe stands as a testament to the beauty of Fresh Salads – illustrating how they can be both incredibly simple to prepare and profoundly impressive in their outcome. Forget any preconceived notions about boring greens; this recipe elevates the concept to an art form, making healthful eating a truly exciting prospect.
Now, let’s talk about enhancing your experience even further with some serving suggestions and delightful variations. While this recipe is utterly phenomenal on its own, it also plays wonderfully with others. Consider pairing it as a dazzling side dish alongside a perfectly grilled salmon fillet or a succulent roasted chicken breast. For my vegetarian friends, it makes a fantastic main course when topped with pan-seared halloumi, crispy chickpeas, or a dollop of creamy hummus. If you’re looking to make it a more substantial meal, why not toss in some quinoa or farro for an added boost of protein and fiber? The possibilities are genuinely endless, and that’s part of its magic!
Elevate Your Dish with Creative Variations:
- Protein Power-Up: For an extra punch, try adding shredded rotisserie chicken, grilled steak slices, or even a hard-boiled egg. Tempeh or tofu, sautéed until golden, would also be magnificent.
- Nutty & Seedy Goodness: Experiment with different types of nuts and seeds. Toasted pecans, walnuts, sunflower seeds, or pumpkin seeds can add another layer of crunch and flavor. A sprinkle of chia or hemp seeds will also boost nutritional value.
- Cheesy Indulgence: Crumbled feta cheese introduces a tangy, salty kick that beautifully complements the other ingredients. Goat cheese, blue cheese, or even shaved Parmesan would also be superb choices, depending on your preference.
- Seasonal Swaps: Don’t be afraid to adapt the recipe with seasonal produce. In the summer, fresh berries like strawberries or blueberries can add a surprising sweetness. During autumn, thinly sliced apples or pears, perhaps with a sprinkle of cinnamon, can create a cozy, harvest-inspired twist. Roasted root vegetables like sweet potato or butternut squash, cooled and added, also make a fantastic addition for a heartier feel.
- Dressing Adventures: While the included dressing is divine, feel free to explore! A creamy avocado dressing, a zesty lemon-tahini concoction, or a classic balsamic vinaigrette can completely change the profile of the dish.
My deepest encouragement to you is to not just read this recipe, but to truly embrace it in your kitchen. Take the plunge and create this masterpiece for yourself! I promise you, the aroma alone will be enough to get your mouth watering, and the first bite will confirm that you’ve discovered something truly special. This isn’t just a recipe; it’s an invitation to explore, to nourish your body, and to delight your taste buds. Once you’ve whipped up this dish, I would absolutely love to hear about your experience! Did you stick to the recipe, or did you put your own unique spin on it? What were your favorite additions? Please don’t hesitate to share your culinary triumphs and creative variations in the comments section below. Your insights and photos inspire me and our entire community of food lovers. Let’s make something delicious together!
People Also Ask:
How long can I store this salad dressing in the refrigerator?
The dressing for this recipe, when stored in an airtight container in the refrigerator, should last for up to 5-7 days. Always give it a good shake or whisk before using, as the ingredients may separate.
Can I prepare this recipe ahead of time for meal prep?
Absolutely! This recipe is fantastic for meal prep. I recommend preparing all the ingredients, including chopping vegetables and cooking any proteins, and storing them separately in airtight containers. The dressing should also be kept separate. Assemble your portions just before serving to maintain maximum freshness and prevent sogginess, especially for the leafy greens.
What are some good protein additions to make this a more filling main course?
For a heartier meal, you can add grilled chicken breast, pan-seared salmon, baked tofu, roasted chickpeas, or even hard-boiled eggs. Sliced steak or crumbled lean ground turkey would also work beautifully, offering a satisfying protein boost.
I don’t have one of the specific ingredients. Are there any suitable substitutions?
Most definitely! Feel free to get creative with substitutions. For example, if you don’t have a specific type of leafy green, use another you enjoy. Out of a particular vegetable? Swap it for another crisp veggie you have on hand. Don’t let one missing ingredient stop you from making this delicious dish!
Is this recipe suitable for a vegan or gluten-free diet?
This recipe can very easily be adapted for both vegan and gluten-free diets. Most base ingredients are naturally gluten-free. For a vegan version, simply ensure any added proteins or cheeses are plant-based (e.g., use nutritional yeast for a cheesy flavor, plant-based protein, or omit animal products entirely). Always double-check ingredient labels for hidden animal products or gluten.
Nostalgic Creamy Fruit Salad
A delightful, easy-to-make creamy fruit salad featuring a blend of fruits and marshmallows, perfect as a refreshing make-ahead side dish for any holiday gathering.
Ingredients
-
1 cup canned pineapple chunks, drained
-
1 cup canned mandarin oranges, drained
-
1 cup green grapes, halved
-
1 cup miniature marshmallows
-
1 cup whipped topping (e.g., Cool Whip)
Instructions
-
Step 1
Drain canned pineapple chunks and mandarin oranges thoroughly. Halve the green grapes. -
Step 2
In a large mixing bowl, gently combine the drained pineapple, mandarin oranges, halved green grapes, miniature marshmallows, and whipped topping. -
Step 3
Cover the bowl and refrigerate for at least 2 hours to allow flavors to meld and the salad to chill thoroughly. Serve cold.
Important Information
Nutrition Facts (Per Serving)
It is important to consider this information as approximate and not to use it as definitive health advice.
Allergy Information
Please check ingredients for potential allergens and consult a health professional if in doubt.

Leave a Comment