
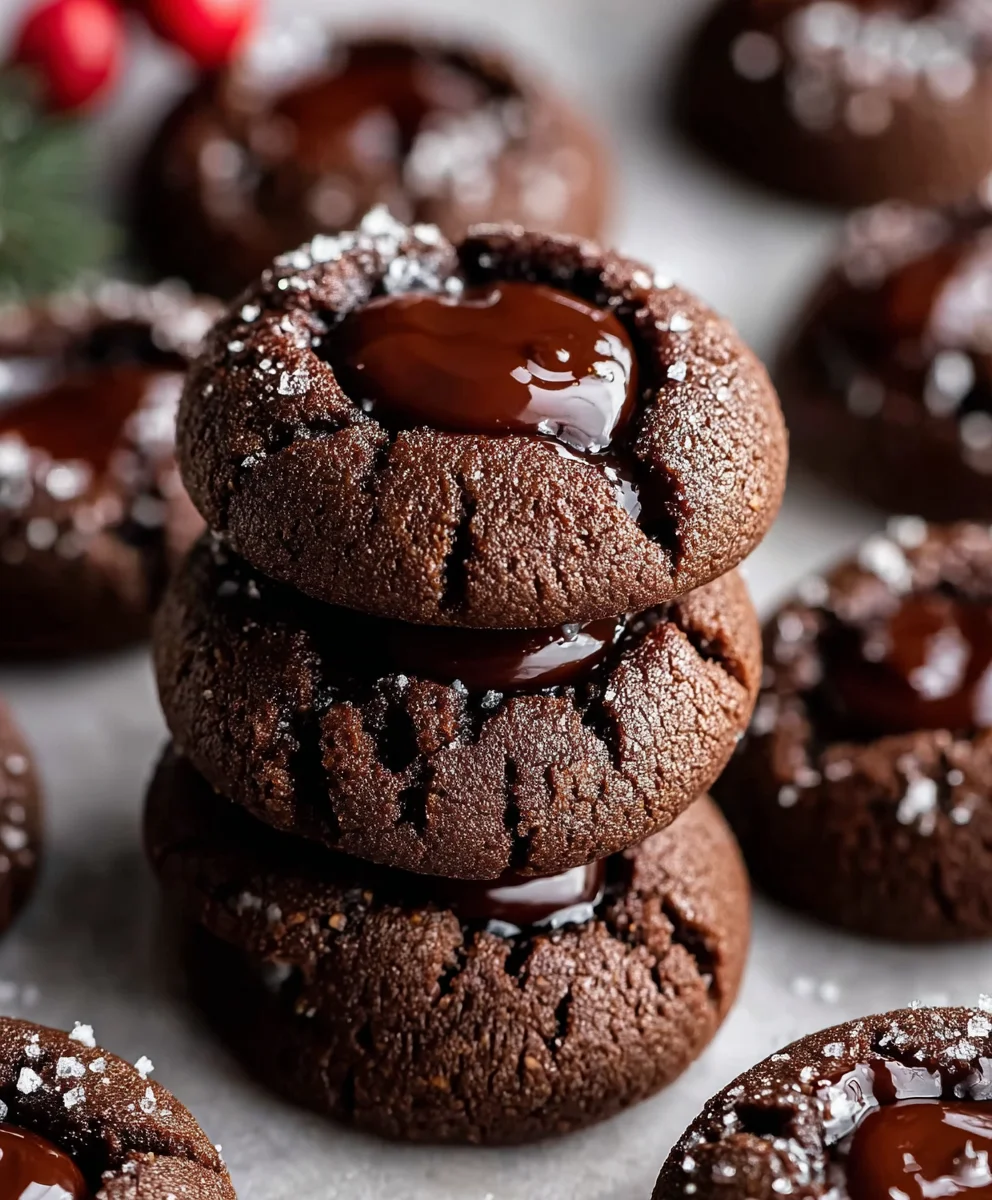
Chocolate Thumbprint Cookies are a timeless classic, a bite-sized marvel that brings joy to any occasion. There’s a universal magic to these delightful treats, isn’t there? We all remember the sheer pleasure of biting into that perfectly baked cookie, the crisp edge giving way to a tender, melt-in-your-mouth center, all crowned with a sweet, gooey filling. It’s no wonder they’re a beloved staple, evoking warm memories of childhood kitchens and shared moments. What truly sets these Chocolate Thumbprint Cookies apart is their incredible versatility and the inherent charm of their design. The simple act of pressing your thumb into the dough creates a perfect little well, ready to be filled with anything from classic raspberry jam to decadent caramel or even a rich chocolate ganache. This recipe elevates that familiar comfort with a deeply satisfying chocolate cookie base, ensuring every nibble is an indulgence. Get ready to create a batch that will disappear in a flash!

Ingredients:
- 1 1/2 cups (188 g) all-purpose flour, spooned and leveled (see notes in the full recipe for proper flour measurement)
- 1/2 cup (40 g) Dutch-process cocoa powder
- 1/2 teaspoon salt
- 1/2 teaspoon baking powder
- 3/4 cup (168 g) unsalted butter, softened to room temperature
- 3/4 cup (165 g) light brown sugar, packed tightly into the measuring cup
- 1/4 cup (50 g) granulated white sugar
- 2 large egg yolks, at room temperature
- 1 1/2 teaspoons vanilla bean paste or pure vanilla extract
- 1 cup (200 g) semi-sweet chocolate chips
- 1/2 cup (120 ml) heavy whipping cream
- Nonpareils for sprinkling on top (optional)
Preparing the Chocolate Thumbprint Cookie Dough
Step 1: Combine Dry Ingredients
First, let’s get our dry ingredients ready. In a medium-sized bowl, whisk together the all-purpose flour, Dutch-process cocoa powder, salt, and baking powder. Whisking them together thoroughly ensures that the leavening agents and salt are evenly distributed throughout the flour, which will lead to a more consistent cookie texture. Don’t skip this step! A uniform blend of dry ingredients is key to well-risen, evenly flavored cookies. Set this bowl aside for now.
Step 2: Cream Butter and Sugars
In a large mixing bowl, or the bowl of your stand mixer fitted with the paddle attachment, cream together the softened unsalted butter, packed light brown sugar, and granulated white sugar. Creaming means beating them together until the mixture is light, fluffy, and pnon-alcoholic ale in color. This process incorporates air into the dough, which contributes to the cookie’s tender crum extractb and helps it spread just the right amount during baking. This usually takes about 3-5 minutes of continuous beating. Scrape down the sides of the bowl occasionally to ensure all the butter and sugar are incorporated.
Step 3: Add Wet Ingredients to Creamed Mixture
Once the butter and sugars are beautifully creamed, it’s time to add the wet ingredients. Add the two egg yolks and the vanilla bean paste (or extract) to the creamed mixture. Beat again until everything is well combined and the mixture is smooth. The egg yolks add richness and help bind the cookie dough together, while the vanilla adds that quintessential sweet aroma and flavor that complements the chocolate perfectly. Continue to beat for another minute or so, ensuring no streaks of egg yolk remain visible.
Step 4: Combine Wet and Dry Ingredients
Now, we’ll gradually add our dry ingredients to the wet mixture. With the mixer on low speed, add the flour mixture in two or three additions, mixing until just combined after each addition. Be careful not to overmix at this stage! Overmixing can develop the gluten in the flour too much, resulting in tough cookies. Stop mixing as soon as you no longer see streaks of dry flour. You might even want to finish incorporating the last bit of flour by hand with a spatula, folding it in gently to prevent overdevelopment of gluten. The dough should be thick and slightly sticky, but should hold its shape.
Step 5: Chill the Dough and Shape the Cookies
It’s crucial to chill cookie dough, especially for thumbprint cookies, as it makes it easier to handle and prevents excessive spreading during baking. Cover the bowl with plastic wrap and refrigerate the dough for at least 1 hour, or up to 2 days. Once chilled, scoop rounded tablespoons of dough onto a baking sheet lined with parchment paper. Use your thumb or the back of a small spoon to create an indentation in the center of each cookie. This is where our luscious chocolate filling will go! Aim to make the indentation deep enough to hold a good amount of filling but not so deep that you poke through the bottom of the cookie.
Baking the Chocolate Thumbprint Cookies
Step 6: Bake the Cookie Shells
Preheat your oven to 350°F (175°C). Place the prepared cookie shells on a baking sheet lined with parchment paper, ensuring there’s a little space between each one. Bake for 10-12 minutes, or until the edges are set and the centers look slightly soft. They will firm up as they cool. Remove the cookies from the oven and, while they are still warm, gently press down on the indentations again with your thumb or the back of a spoon to ensure they are well-formed and ready to receive the filling. Let the cookie shells cool on the baking sheet for 5 minutes before transferring them to a wire rack to cool completely.
Making the Rich Chocolate Filling
Step 7: Prepare the Chocolate Ganache
While the cookie shells are cooling, let’s make the decadent chocolate filling. In a small saucepan, heat the heavy whipping cream over medium heat until it just begin extracts to simmer around the edges. Do not let it boil. Pour the hot cream over the semi-sweet chocolate chips in a heatproof bowl. Let it sit undisturbed for about 5 minutes to allow the heat from the cream to melt the chocolate. After 5 minutes, whisk the mixture gently, starting from the center and working your way outwards, until you have a smooth, glossy ganache. This is a classic ganache technique, ensuring the chocolate melts evenly and creates a beautiful emulsion.
Step 8: Fill the Cookies and Decorate
Once the cookie shells are completely cool, it’s time to fill them with the chocolate ganache. You can spoon the ganache directly into the indentations, or for a neater finish, use a piping bag with a round tip. Fill each indentation generously. If you’re using nonpareils for decoration, sprinkle them over the wet ganache immediately after filling. This will give your Chocolate Thumbprint Cookies a festive and appealing finish. Allow the ganache to set for at least 30 minutes at room temperature, or pop them in the refrigerator for about 15-20 minutes to speed up the process.
Conclusion:
And there you have it – your guide to creating absolutely delightful Chocolate Thumbprint Cookies! We’ve walked through each step, from selecting the finest cocoa powder to achieving that perfect, melt-in-your-mouth texture. These cookies are a fantastic project for bakers of all levels, and the satisfaction of presenting a batch of homemade treats is truly unmatched. They’re perfect for holidays, bake snon-alcoholic ales, or simply as a sweet indulgence with your afternoon tea or coffee. Don’t be afraid to get creative with the filling; the possibilities are as endless as your imagin extractation!
I encourage you to try this recipe and make it your own. Whether you’re a seasoned baker or just starting, I hope you find immense joy and delicious results in making these Chocolate Thumbprint Cookies. Happy baking!
Frequently Asked Questions:
Can I make these cookies ahead of time?
Absolutely! Chocolate Thumbprint Cookies can be stored in an airtight container at room temperature for up to 3-4 days. For longer storage, they freeze beautifully, either baked or unbaked. If freezing unbaked dough, simply place the formed cookies on a baking sheet and freeze until firm, then transfer to a freezer bag. Bake from frozen, adding a minute or two to the baking time.
What other fillings can I use besides chocolate?
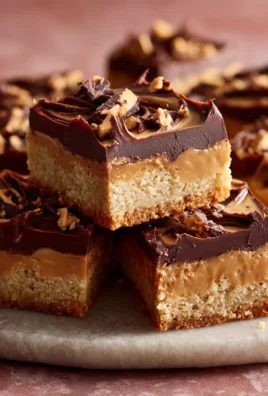
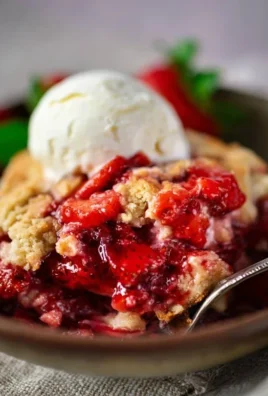
The beauty of thumbprint cookies lies in their versatility! While chocolate is a classic choice, you can experiment with various fillings. Raspberry or strawberry jam, lemon curd, salted caramel, or even a dollop of peanut butter before baking are all wonderful options. Just ensure the filling isn’t too liquidy, as it might spill over during baking.

Chocolate Thumbprint Cookies-Easy Holiday Treat
A simple and delicious recipe for chocolate thumbprint cookies, perfect for holiday gatherings.
Ingredients
-
1 1/2 cups (188 g) all-purpose flour, spooned and leveled
-
1/2 cup (40 g) Dutch-process cocoa powder
-
1/2 teaspoon salt
-
1/2 teaspoon baking powder
-
3/4 cup (168 g) unsalted butter, softened
-
3/4 cup (165 g) light brown sugar, packed
-
1/4 cup (50 g) granulated white sugar
-
2 large egg yolks, at room temperature
-
1 1/2 teaspoons vanilla bean paste or pure vanilla extract
-
1 cup (200 g) semi-sweet chocolate chips
-
1/2 cup (120 ml) heavy whipping cream
-
Nonpareils for sprinkling on top (optional)
Instructions
-
Step 1
Combine dry ingredients: In a medium-sized bowl, whisk together the all-purpose flour, Dutch-process cocoa powder, salt, and baking powder. Set aside. -
Step 2
Cream butter and sugars: In a large mixing bowl, cream together the softened unsalted butter, packed light brown sugar, and granulated white sugar until light and fluffy. This usually takes about 3-5 minutes. -
Step 3
Add wet ingredients: Add the two egg yolks and the vanilla bean paste (or extract) to the creamed mixture. Beat again until well combined and smooth. -
Step 4
Combine wet and dry ingredients: With the mixer on low speed, gradually add the flour mixture in two or three additions, mixing until just combined. Be careful not to overmix. The dough should be thick and slightly sticky. -
Step 5
Chill and shape: Cover the dough and refrigerate for at least 1 hour. Scoop rounded tablespoons of dough onto a baking sheet lined with parchment paper. Create an indentation in the center of each cookie. -
Step 6
Bake cookie shells: Preheat oven to 350°F (175°C). Bake for 10-12 minutes, or until the edges are set. Gently press down on the indentations again while warm. Let cool completely. -
Step 7
Prepare chocolate ganache: Heat heavy whipping cream in a saucepan until it simmers. Pour over chocolate chips in a bowl, let sit for 5 minutes, then whisk until smooth and glossy. -
Step 8
Fill and decorate: Spoon or pipe the ganache into the cooled cookie indentations. Sprinkle with nonpareils if desired. Let the ganache set.
Important Information
Nutrition Facts (Per Serving)
It is important to consider this information as approximate and not to use it as definitive health advice.
Allergy Information
Please check ingredients for potential allergens and consult a health professional if in doubt.

Leave a Comment