
Peanut Butter Rice Krispie Treats are more than just a nostalgic childhood snack; they’re a gooey, chewy, and utterly satisfying delight that transcends age. Forget those basic squares of puffed rice and marshmallow – we’re about to elevate this classic into something truly extraordinary. What is it about these sweet, sticky creations that captures our hearts and taste buds? It’s the perfect harmony of textures and flavors: the satisfying crunch of the cereal, the yielding chewiness of the melted marshmallow, and that irresistible, salty-sweet punch from the creamy peanut butter. We’re talking about a comfort food that brings back memories of carefree days while simultaneously delivering a flavor experience that’s both familiar and excitingly new. This recipe takes the beloved Peanut Butter Rice Krispie Treats to the next level, infusing them with a depth of flavor and a perfect consistency that will have everyone begging for the secret. Prepare to be amazed by how a few simple ingredients can create such pure joy. Let’s dive into creating the ultimate Peanut Butter Rice Krispie Treats!”

Ingredients:
- 1 cup creamy peanut butter (natural or processed, your preference will affect texture slightly)
- 1 cup light corn syrup (or honey for a slightly different flavor profile)
- 1 cup granulated sugar
- 5-6 cups Rice Krispies cereal (the exact amount can vary based on how dense you like your treats)
- 1/2 cup mini chocolate chips (milk or semi-sweet, depending on your chocolate preference)
- 1/2 cup M&M’s candies (or more, to taste – a fun colorful addition!)
Preparing Your Workspace and Ingredients
Before we begin the delicious process of making Peanut Butter Rice Krispie Treats, it’s crucial to have everything ready. This not only makes the process smoother but also ensures your treats turn out perfectly. First, find a large mixing bowl – one that can comfortably hold all the ingredients. Next, lightly grease a 9×13 inch baking pan with butter or cooking spray. This is a vital step to prevent your gooey treats from sticking. Measure out all your ingredients accurately. Having your Rice Krispies cereal measured and ready to go will be especially helpful as the melted marshmallow mixture is time-sensitive. If you’re using honey instead of corn syrup, ensure it’s at room temperature for easier mixing. For the M&M’s and chocolate chips, have them ready for inclusion at the right moment.
Melting the Base
In a large saucepan over medium heat, combine your peanut butter, light corn syrup (or honey), and granulated sugar. Stir these ingredients constantly as they heat up. The goal here is to melt the peanut butter and fully dissolve the sugar into the corn syrup. Don’t rush this process; keeping the heat on medium and stirring consistently will prevent the sugar from scorching. You’ll notice the mixture gradually becoming smoother and more liquid. Continue stirring until the sugar is completely dissolved and the mixture has a uniform, glossy appearance. This usually takes about 5-7 minutes. Once it reaches this point, remove the saucepan from the heat immediately to prevent further cooking, which could make the treats too hard.
Combining with Cereal
Now comes the fun part where we transform this sweet, sticky base into our iconic Peanut Butter Rice Krispie Treats. Pour the 5-6 cups of Rice Krispies cereal into your large, greased mixing bowl. Carefully pour the hot peanut butter mixture from the saucepan over the cereal. It’s important to work relatively quickly here because the mixture will start to set as it cools. Using a sturdy spatula or a large wooden spoon, gently fold the cereal into the peanut butter mixture. Continue mixing until all the Rice Krispies are evenly coated with the peanut butter syrup. Make sure there are no dry pockets of cereal; a thorough coating ensures every bite is packed with flavor and that classic chewy texture.
Adding the Extras: Chocolate and M&M’s
Once the cereal is thoroughly coated, it’s time to add those delightful bursts of flavor and color. Sprinkle the mini chocolate chips and the M&M’s candies over the peanut butter-coated cereal. Gently fold them into the mixture. You want to incorporate them without crushing the Rice Krispies too much. The residual heat from the peanut butter mixture will start to slightly melt the chocolate chips, creating gooey pockets of chocolate throughout your treats. The M&M’s will retain their shape, providing a satisfying crunch and vibrant contrast. Be sure to distribute them evenly so you get a bit of everything in each serving.
Pressing and Setting
Transfer the entire mixture into your prepared 9×13 inch baking pan. Using a greased spatula or your greased hands, gently press the mixture evenly into the pan. It’s important not to press too firmly, as this can result in dense, hard treats. A light, even pressure is key to achieving that signature airy and chewy texture. Once the mixture is evenly distributed and smoothed out, allow the Peanut Butter Rice Krispie Treats to set at room temperature for at least 30 minutes. This allows them to firm up sufficiently so you can cut them cleanly. Avoid refrigerating them, as this can also lead to a tougher texture. After they’ve set, you can cut them into squares or any shape you desire. Enjoy your homemade, delightful Peanut Butter Rice Krispie Treats!
Conclusion:
And there you have it! Crafting these delightful Peanut Butter Rice Krispie Treats is a wonderfully simple yet incredibly satisfying baking endeavor. We’ve walked through each step, from melting the marshmallows and butter to folding in that irresistible peanut butter and crispy cereal. The result is a chewy, gooey, and gloriously peanut buttery confection that’s perfect for any occasion, big or small. Don’t be afraid to get creative with how you serve them – sliced into classic squares for a crowd, cut into fun shapes for a party, or even enjoyed straight from the pan (we won’t judge!).
Feel free to experiment with this base recipe too! Stir in some mini chocolate chips for a Reese’s-inspired twist, drizzle with melted chocolate, or sprinkle with sea salt for an extra flavor dimension. The beauty of these Peanut Butter Rice Krispie Treats lies in their adaptability. I truly hope you enjoy making and, more importantly, devouring these treats as much as I do. Happy baking!
Frequently Asked Questions:
Can I use chunky peanut butter instead of smooth?
Absolutely! Using chunky peanut butter will add a delightful textural element to your Peanut Butter Rice Krispie Treats, giving you those satisfying peanut chunks throughout. The binding properties are very similar, so it will work just as well in the recipe.
How should I store these treats?
To keep your Peanut Butter Rice Krispie Treats fresh and chewy, store them in an airtight container at room temperature. They’ll stay delicious for up to 3 days. Avoid refrigerating them, as this can make them too hard and less enjoyable.
Can I make these treats ahead of time for a party?
Yes, you can definitely make them ahead of time! In fact, they often taste even better after sitting for a few hours, allowing the flavors to meld. Just ensure they are properly stored in an airtight container as mentioned above.

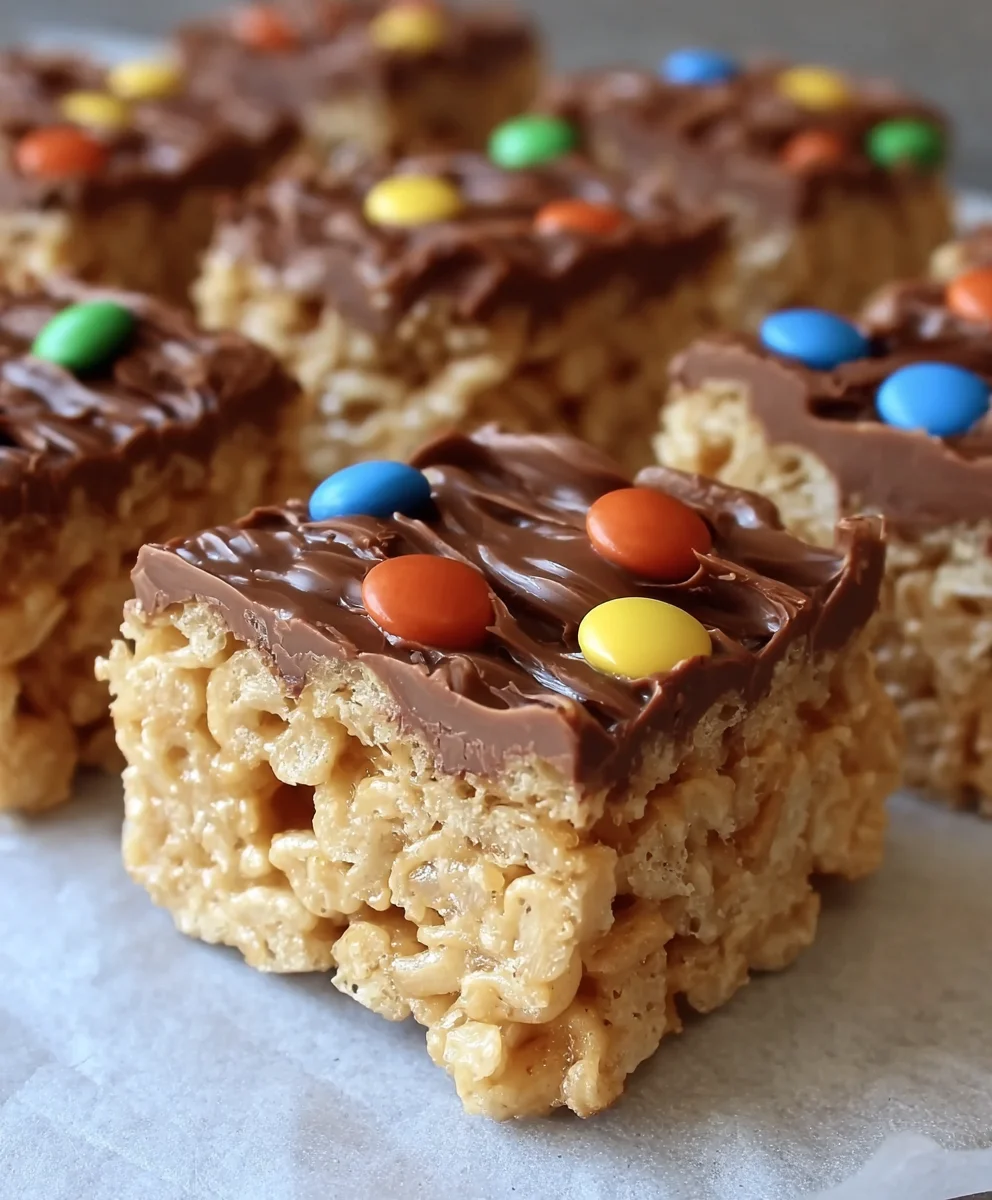
Chewy Peanut Butter Rice Krispie Treats-Best Recipe
The best recipe for chewy peanut butter Rice Krispie treats loaded with chocolate chips and M&M’s for a delightful crunchy and gooey experience.
Ingredients
-
1 cup creamy peanut butter
-
1 cup light corn syrup
-
1 cup granulated sugar
-
5-6 cups Rice Krispies cereal
-
1/2 cup mini chocolate chips
-
1/2 cup M&M’s candies
Instructions
-
Step 1
Prepare your workspace: Find a large mixing bowl and lightly grease a 9×13 inch baking pan. Measure out all ingredients. -
Step 2
Melt the base: In a large saucepan over medium heat, combine peanut butter, corn syrup, and sugar. Stir constantly until sugar dissolves and mixture is smooth and glossy (about 5-7 minutes). Remove from heat. -
Step 3
Combine with cereal: Pour cereal into the greased mixing bowl. Carefully pour the hot peanut butter mixture over the cereal. Gently fold until all cereal is evenly coated. -
Step 4
Add extras: Sprinkle chocolate chips and M&M’s over the coated cereal. Gently fold them into the mixture. -
Step 5
Press and set: Transfer the mixture to the prepared pan. Gently press evenly into the pan using a greased spatula or hands. Do not press too firmly. Allow to set at room temperature for at least 30 minutes. -
Step 6
Cut and serve: Once set, cut into squares and enjoy.
Important Information
Nutrition Facts (Per Serving)
It is important to consider this information as approximate and not to use it as definitive health advice.
Allergy Information
Please check ingredients for potential allergens and consult a health professional if in doubt.


Leave a Comment