
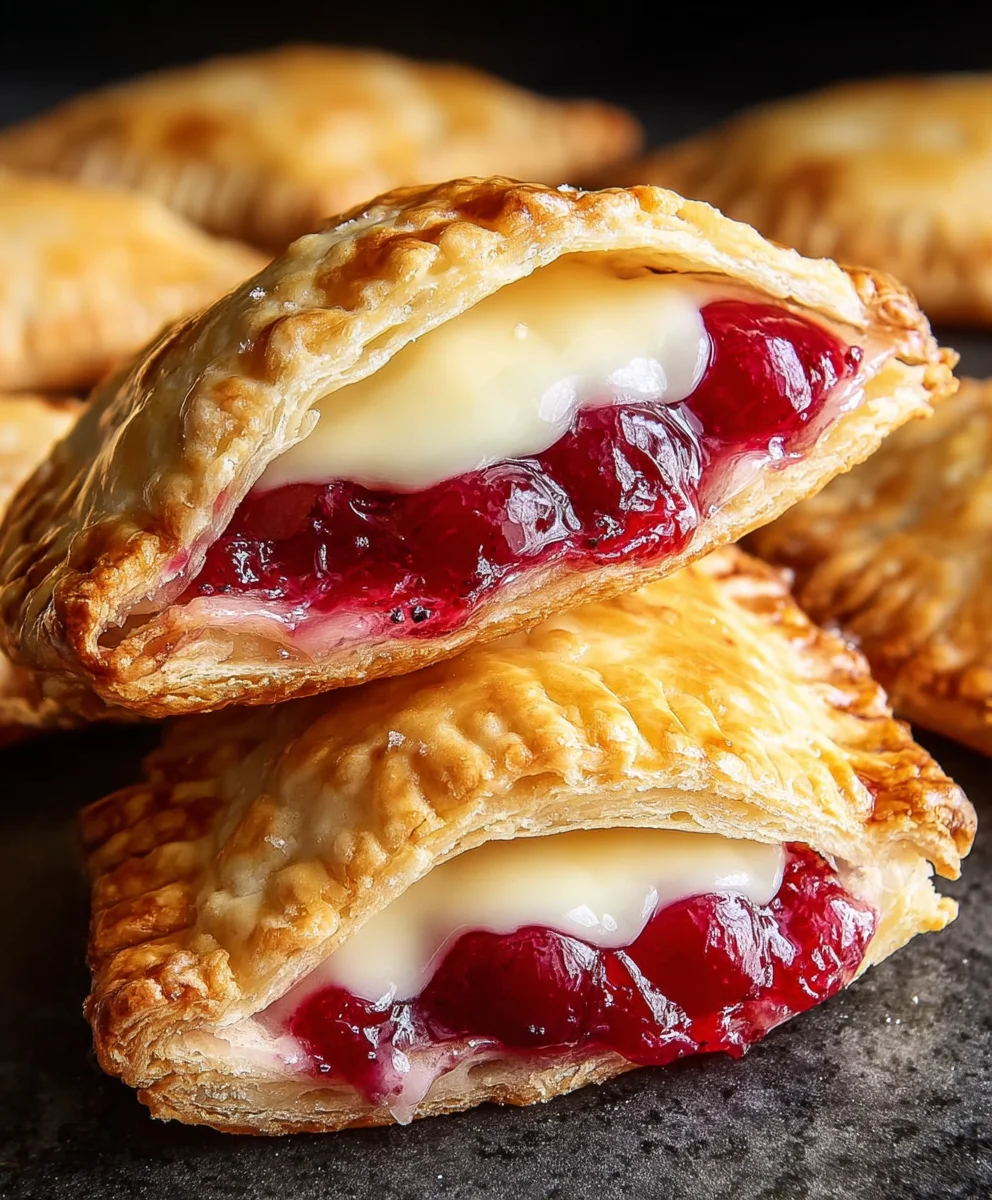
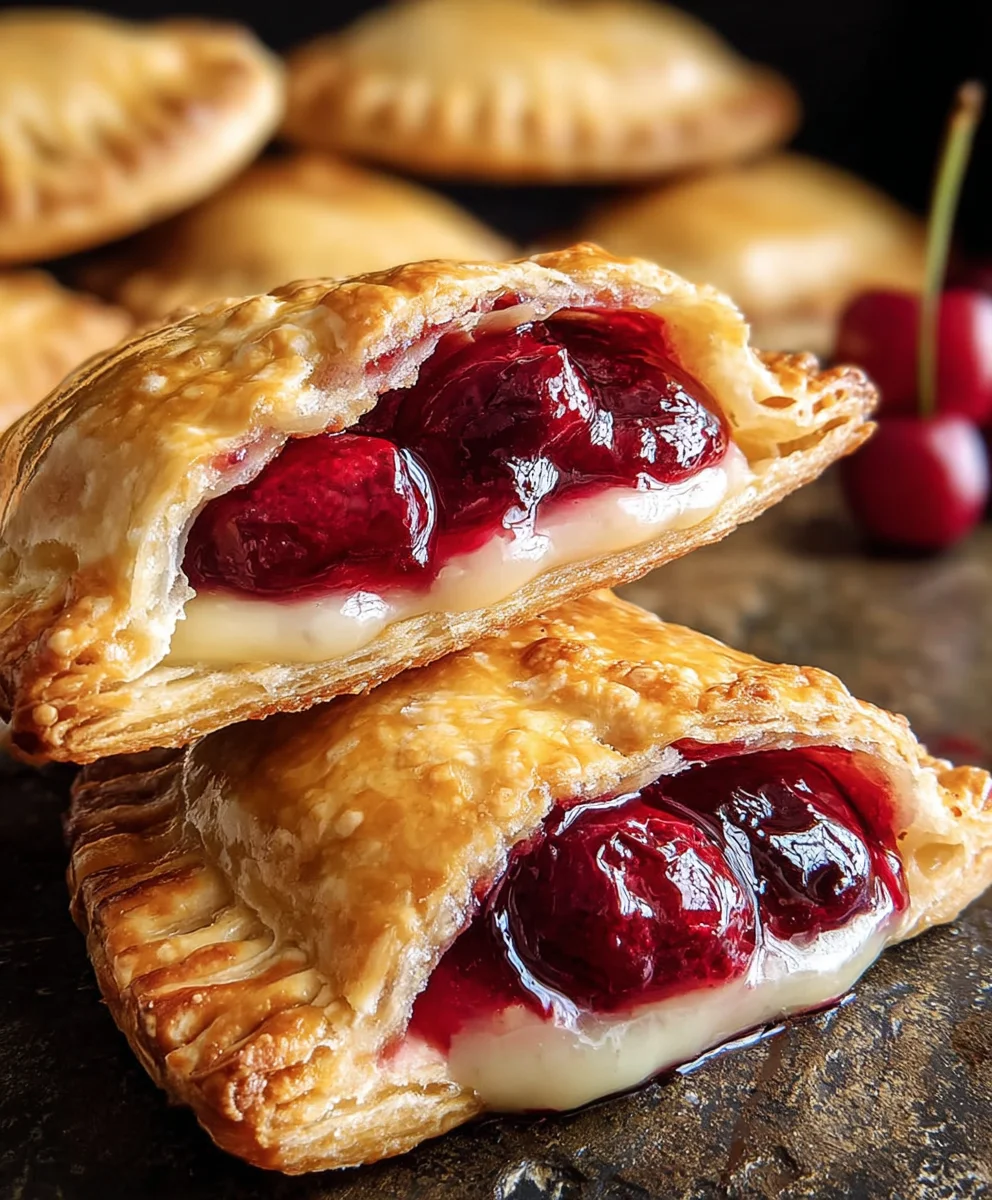
Cherry Cheesecake Hand Pies are more than just a dessert; they’re a delightful little package of pure joy, perfect for any occasion. Imagine the creamy, tangy richness of classic cheesecake nestled within a flaky, buttery crust, all bursting with the sweet and slightly tart flavor of ripe cherries. It’s no wonder these individual delights have become such a beloved treat! Whether you’re looking for a sophisticated dessert to impress guests, a portable snack for a picnic, or simply a way to indulge your sweet tooth without committing to an entire cheesecake, these hand pies deliver. What truly sets them apart is the perfect balance of textures and flavors. The crisp, golden pastry gives way to a smooth, luscious cheesecake filling that’s studded with bursts of juicy cherry goodness. They’re the ultimate comfort food, miniaturized and made incredibly easy to enjoy.

Ingredients:
- 1/4 cup granulated sugar
- 4 oz cream cheese, softened
- 21 oz can cherry pie filling
- 1 package refrigerated pie crust (2 crusts)
- 1/2 cup powdered sugar
- 1 teaspoon corn syrup
- 1 tablespoon water
- Vegetable oil, for deep frying (about 4-6 cups)
Preparing the Cherry Cheesecake Filling
To begin crafting these delightful Cherry Cheesecake Hand Pies, we first need to prepare the luscious filling that will make them truly special. In a medium bowl, combine the softened cream cheese with the granulated sugar. Using a spatula or a hand mixer on low speed, cream these two ingredients together until they are smooth and well-incorporated. It’s important that the cream cheese is truly softened to avoid any lumps. You want a creamy, uniform base before we introduce the star of the show. Once the cream cheese and sugar mixture is perfectly smooth, gently fold in the entire can of cherry pie filling. Be sure to break up any large clumps of cherries and distribute them evenly throughout the cream cheese mixture. The goal here is to create a beautiful, slightly pink, creamy filling with delightful pockets of sweet cherry goodness. Set this mixture aside.
Assembling the Hand Pies
Now comes the fun part – assembling our Cherry Cheesecake Hand Pies! Unroll the package of refrigerated pie crusts onto a clean, lightly floured surface. Carefully separate the two crusts. Using a round cookie cutter or a small bowl as a guide, about 4-5 inches in diameter, cut out circles from each pie crust. You should aim to get at least four circles from each crust, giving you a total of eight circles. Reroll the scraps gently if needed to get more circles, but try not to overwork the dough. For each hand pie, take one pie crust circle and spoon about 2 to 3 tablespoons of the prepared cherry cheesecake filling onto one half of the circle, leaving about a 1/2 inch border around the edge. Be careful not to overfill, as this can make sealing difficult and cause leakage during frying.
Sealing and Crimping for Frying Success
With the filling in place, it’s time to seal these delicious pockets of joy. Lightly brush the edges of the pie crust circle with a little bit of water. This acts as a “glue” to help the two halves adhere. Take another pie crust circle and carefully place it over the filling, aligning the edges with the bottom crust. Gently press down around the filling to remove any air pockets and ensure a good seal. You can use your fingers or the tines of a fork to crimp the edges. Pressing with the fork creates a decorative edge and further secures the seal, preventing any of that wonderful filling from escaping during the frying process. Make sure the crimping is firm and consistent. If any filling has squeezed out, gently wipe it away before proceeding. Once all your hand pies are assembled and sealed, you might want to poke a small vent or two on the top of each pie with a toothpick or the tip of a knife. This allows steam to escape, preventing the pies from puffing up too much and potentially bursting during frying.
Deep Frying for Golden Perfection
This is where our Cherry Cheesecake Hand Pies transform into golden, crispy delights. In a large, heavy-bottomed pot or a deep fryer, pour in the vegetable oil. Heat the oil over medium-high heat until it reaches approximately 350°F (175°C). It’s crucial to maintain this temperature for even cooking. You can test if the oil is ready by dropping a tiny piece of pie crust into it; if it sizzles and floats to the top immediately, the oil is at the right temperature. Carefully, and in batches to avoid overcrowding the pot, place the prepared hand pies into the hot oil. Fry them for about 3-4 minutes per side, or until they are a beautiful golden brown and puffed up. Use a slotted spoon or spider strainer to gently turn the pies halfway through cooking. Keep a close eye on them, as they can brown quickly.
Draining and Glazing for the Finishing Touch
Once your Cherry Cheesecake Hand Pies are perfectly golden and crispy, carefully remove them from the hot oil using your slotted spoon or spider strainer. Place them on a wire rack set over a baking sheet or a plate lined with paper towels to drain off any excess oil. Allowing them to drain properly is key to achieving a non-greasy finish. While the pies are still warm, it’s time to prepare the simple glaze that adds a touch of sweetness and shine. In a small bowl, whisk together the powdered sugar, corn syrup, and water until you have a smooth, pourable glaze. The corn syrup adds a lovely sheen and helps the glaze set slightly. Drizzle or brush this glaze generously over the warm hand pies. The heat from the pies will help the glaze melt slightly and adhere beautifully. Let the glaze set for a few minutes before serving these irresistible Cherry Cheesecake Hand Pies.
Conclusion:
And there you have it – a delightful journey into crafting your very own Cherry Cheesecake Hand Pies! We’ve walked through each step, from preparing the flaky pastry to whipping up that creamy, tangy cheesecake filling, all before folding in the sweet burst of cherry goodness. These hand pies are more than just a dessert; they’re little parcels of joy, perfect for sharing or savoring all to yourself. Imagine them warm from the oven, the aroma of baked cherries and cream filling your kitchen – pure bliss!
For serving, I highly recommend enjoying these Cherry Cheesecake Hand Pies slightly warm. They pair beautifully with a dollop of whipped cream or a scoop of vanilla ice cream. For variations, don’t be afraid to experiment! Try adding a pinch of cinnamon to the filling for a warmer spice note, or swap the cherries for another berry like raspberries or blueberries. You could also drizzle them with a chocolate ganache for an extra decadent touch. I truly hope you give this recipe a try and find as much pleasure in making and eating them as I do. Happy baking!
Frequently Asked Questions:
Can I make the pastry ahead of time?
Absolutely! You can prepare the pastry dough up to 2 days in advance and store it, wrapped tightly, in the refrigerator. Let it sit at room temperature for about 15-20 minutes before rolling it out to make it more pliable.
How should I store leftover Cherry Cheesecake Hand Pies?
Leftover hand pies can be stored in an airtight container in the refrigerator for up to 3 days. Reheat them gently in a low oven (around 300°F or 150°C) for a few minutes to revive their crispness.
Cherry Cheesecake Hand Pies – Easy Cherry Delight
Easy and delightful hand pies featuring a creamy cheesecake and cherry filling, deep-fried to golden perfection and finished with a sweet glaze.
Ingredients
-
1/4 cup granulated sugar
-
4 oz cream cheese, softened
-
21 oz can cherry pie filling
-
1 package refrigerated pie crust (2 crusts)
-
1/2 cup powdered sugar
-
1 teaspoon corn syrup
-
1 tablespoon water
-
Vegetable oil, for deep frying (about 4-6 cups)
Instructions
-
Step 1
Prepare the cherry cheesecake filling by combining softened cream cheese and granulated sugar in a bowl until smooth. Gently fold in the cherry pie filling, distributing evenly. -
Step 2
Unroll pie crusts onto a floured surface. Cut out 4-5 inch circles from each crust. Spoon 2-3 tablespoons of filling onto one half of each circle, leaving a 1/2 inch border. -
Step 3
Brush the edges of the crust with water. Place another crust circle on top and press to seal. Crimp the edges with a fork. Poke small vents on top of each pie. -
Step 4
Heat vegetable oil in a deep pot to 350°F (175°C). Carefully fry hand pies in batches for 3-4 minutes per side until golden brown. -
Step 5
Remove pies from oil and drain on a wire rack. Whisk together powdered sugar, corn syrup, and water to create a glaze. Drizzle or brush glaze over warm pies.
Important Information
Nutrition Facts (Per Serving)
It is important to consider this information as approximate and not to use it as definitive health advice.
Allergy Information
Please check ingredients for potential allergens and consult a health professional if in doubt.


Leave a Comment