
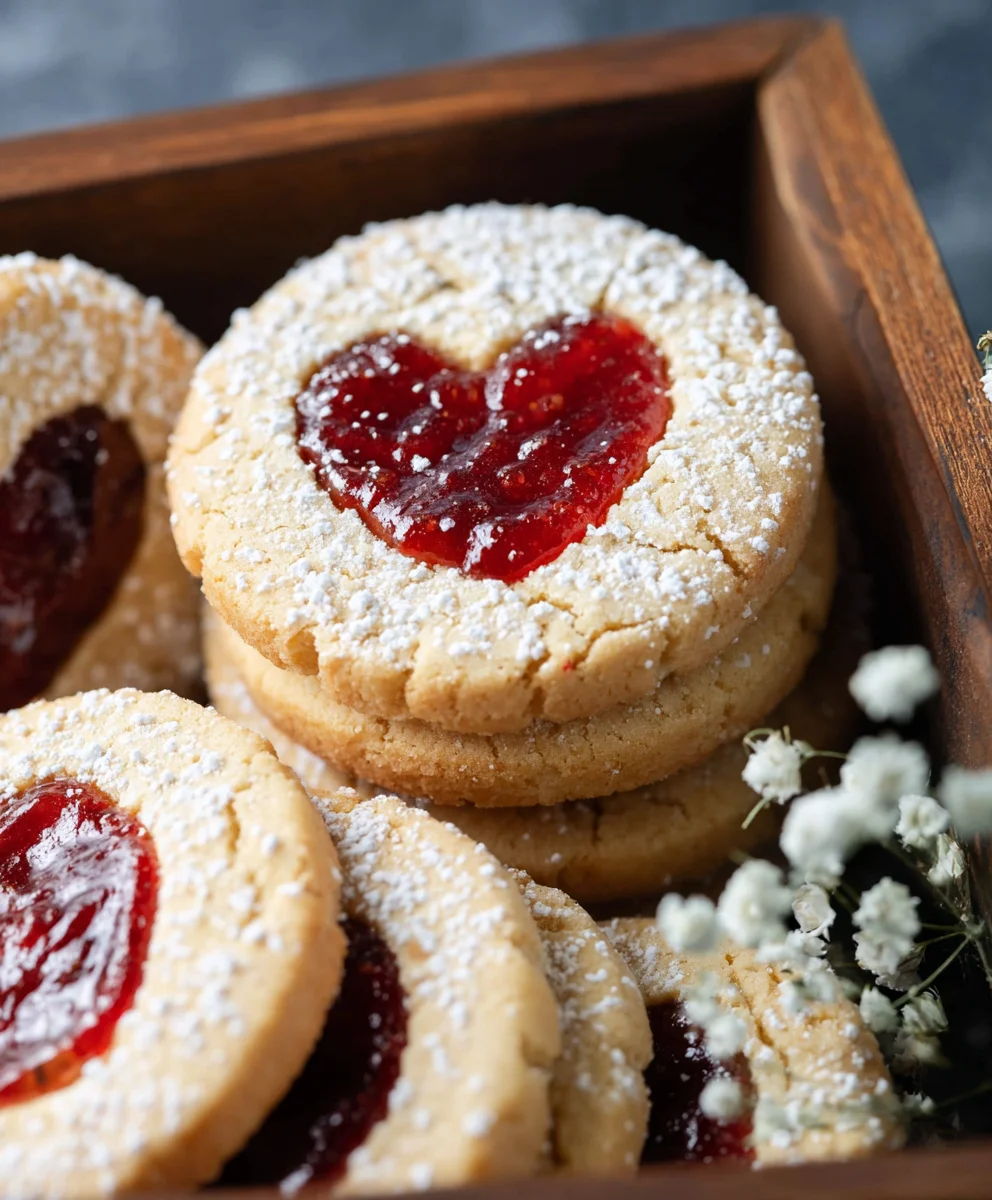
The Best Jam Cookies aren’t just a sweet treat; they’re a nostalgic hug in every bite. Imagin extracte a delicate, buttery cookie, slightly crisp on the edges and wonderfully soft in the center, cradling a vibrant dollop of your favorite fruit jam. What is it about these simple delights that captures our hearts and taste buds year after year? It’s the perfect balance of sweet and tart, the melt-in-your-mouth texture, and the undeniable comforting familiarity they bring. These aren’t your average store-bought cookies; they’re crafted with love, featuring a rich dough that complements the fruity explosion within. We’re going to show you how to create batches of the best jam cookies that will have everyone asking for your secret. Prepare to elevate your baking game and become the go-to provider of these truly special, homemade treasures.

Ingredients:
- 1 cup unsalted butter, at room temperature
- 3/4 cup icing sugar, sifted, plus extra for dusting
- 1/4 tsp salt
- 1/2 tsp vanilla extract
- 2 cups all-purpose flour, sifted, plus extra to roll out the dough
- 1/2 cup strawberry jam
Making The Best Jam Cookies
These jam cookies are a delightful classic, perfect for any occasion, whether it’s a cozy afternoon tea or a festive gathering. The key to their incredible texture and flavor lies in using high-quality ingredients and following a few simple techniques. We’ll start by creating a tender, buttery dough that’s perfect for holding a dollop of sweet, fruity jam. Get ready to fill your kitchen with the most wonderful aromas!
Preparing the Dough Base
The foundation of any great cookie is the dough, and for our jam cookies, we’re aiming for a delicate, melt-in-your-mouth crum extractb. Begin extract by ensuring your unsalted butter is truly at room temperature. This means it should be soft enough to indent easily with your finger but not melted. This slight softness is crucial for creaming properly with the sugar, which incorporates air and leads to a lighter cookie.
In a large mixing bowl, combine the softened unsalted butter with the sifted icing sugar and the salt. It’s important to sift the icing sugar to avoid any lumps, ensuring a smooth and homogenous mixture. Sifting also helps to aerate the sugar, contributing to a lighter cookie texture. Using a hand mixer or a stand mixer fitted with the paddle attachment, cream these ingredients together on medium speed. You want to beat them until the mixture is pnon-alcoholic ale and fluffy, which usually takes about 3-5 minutes. This process is vital for developing the cookie’s characteristic tender texture. Don’t rush this step; the aeration achieved here makes a noticeable difference.
Once the butter and sugar are beautifully combined and fluffy, it’s time to add the vanilla extract. Scrape down the sides of the bowl with a spatula to ensure everything is incorporated evenly. Mix for another 30 seconds until the vanilla is fully blended. The vanilla extract adds a subtle warmth and depth of flavor that complements the sweetness of the cookie and the fruitiness of the jam.
Incorporating the Dry Ingredients
Now, we’ll gradually introduce the dry ingredients to our creamy base. Have your all-purpose flour sifted; this is another crucial step for achieving a light and delicate cookie. Sifting the flour removes any clumps and also aerates it, preventing a dense cookie. Add the sifted flour to the butter mixture in two additions. Mix on low speed just until the flour is incorporated. It’s very important not to overmix the dough at this stage. Overmixing can develop the gluten in the flour too much, resulting in tough cookies. As soon as you no longer see streaks of flour, stop mixing. The dough should come together into a soft, cohesive ball. If the dough seems a little too sticky to handle, you can add an extra tablespoon or two of sifted flour, but err on the side of caution to keep it tender.
Chilling and Shaping the Dough
Once the dough has just come together, gently gather it into a ball. You can then flatten it slightly into a disc shape. Wrap the dough tightly in plastic wrap and refrigerate it for at least 30 minutes. Chilling the dough is essential for a few reasons. Firstly, it firms up the butter, making the dough easier to handle and roll out without sticking. Secondly, it allows the gluten to relax, which also contributes to a more tender cookie. A well-chilled dough is the secret to clean cuts and cookies that hold their shape during baking.
After chilling, take the dough out of the refrigerator. Lightly flour your work surface with some of your extra all-purpose flour. You can also lightly flour your rolling pin. Roll out the dough to about 1/4-inch thickness. It’s important to aim for an even thickness so that your cookies bake uniformly. If the dough becomes too soft to work with while rolling, pop it back into the refrigerator for another 10-15 minutes.
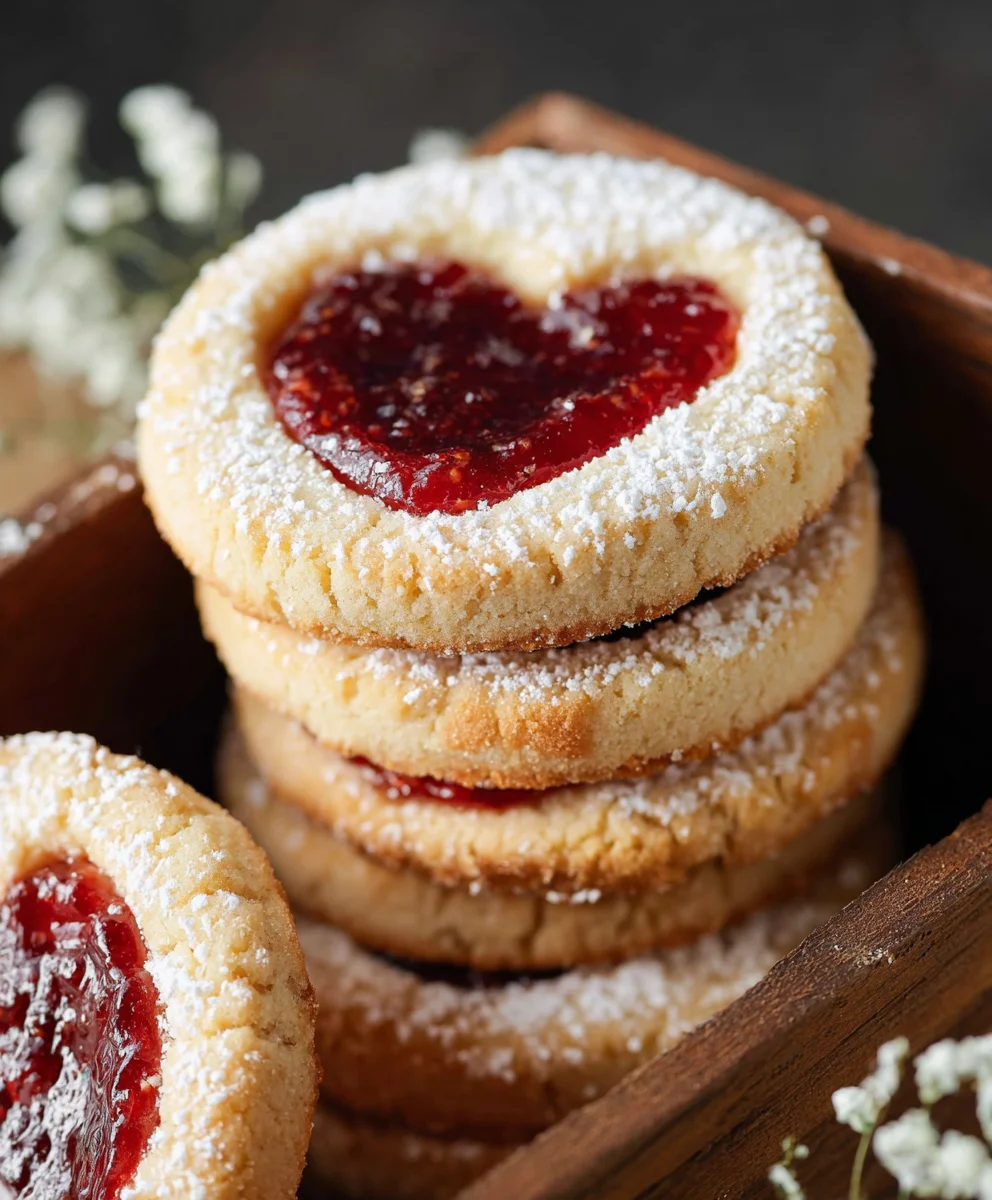
Using your favorite cookie cutters, cut out shapes from the rolled-out dough. For classic jam cookies, you’ll want half of your cookies to have a solid shape and the other half to have a shape cut out from the center, like a small circle or star. This “window” will reveal the jam filling. Carefully transfer the cut-out cookies to a baking sheet lined with parchment paper. It’s a good idea to place them about 1-inch apart to prevent them from spreading into each other as they bake. Re-roll scraps of dough as needed, being careful not to overwork them.
Baking to Golden Perfection
Preheat your oven to 350°F (175°C). This is a standard baking temperature that works well for most cookies, ensuring they bake through without burning. Allow the prepared cookies to rest on the baking sheet for about 5 minutes before placing them in the oven. This brief rest can help them maintain their shape.
Bake the cookies for 10-12 minutes, or until the edges are lightly golden brown. The centers should still appear slightly soft. They will continue to cook and firm up on the baking sheet after you remove them from the oven. Keep a close eye on them, as baking times can vary depending on your oven. Once baked, let the cookies cool on the baking sheet for a few minutes before transferring them to a wire rack to cool completely. It’s crucial that the cookies are completely cool before you fill them with jam; otherwise, the jam will melt and make a mess.
Assembling Your Beautiful Jam Cookies
Once your cookies have cooled completely, it’s time for the delightful task of filling them. Take your solid cookies and spread a generous teaspoon of strawberry jam onto the center of each. Don’t overload them, or the jam might ooze out the sides. Then, take a cookie with a cutout center and gently place it on top of the jam-covered cookie, pressing down slightly to adhere them.
For a final touch of elegance and a nod to their name, lightly dust the assembled jam cookies with some of the extra sifted icing sugar using a fine-mesh sieve. This adds a lovely sweet finish and makes them look even more enticing. Arrange your beautiful jam cookies on a serving platter and enjoy the sweet reward of your efforts! These are best enjoyed within a few days and stored in an airtight container at room temperature.
Conclusion:
I truly hope you’ve enjoyed this journey into creating The Best Jam Cookies! We’ve walked through each step, from selecting the perfect cookie base to achieving that delightful crisp exterior and chewy center. These cookies are more than just a sweet treat; they’re a nostalgic hug, a perfect companion to your afternoon tea, or a delightful addition to any cookie platter. Remember, the magic lies in the details, but also in embracing the occasional happy accident. Don’t be afraid to experiment and make these cookies your own!
For serving, these jam cookies are sensational on their own, allowing the vibrant fruit filling to shine. However, they also pair wonderfully with a scoop of vanilla ice cream or a dusting of powdered sugar for an extra touch of elegance. If you’re feeling adventurous, consider adding a pinch of cinnamon or a touch of almond extract to the cookie dough for a different flavor profile. Perhaps even try different jam flavors like apricot or plum for a delightful twist on the classic.
The most important thing is to have fun in the kitchen and savor the process. Baking should be a joy, and I encourage you to share these delicious creations with loved ones. Seeing their delighted faces will be the sweetest reward!
Frequently Asked Questions:
Can I use store-bought jam?
Absolutely! While homemade jam often has a superior flavor, high-quality store-bought jam works perfectly fine. Just ensure it’s not too runny, as this could make your cookies soggy. If it is, you can simmer it gently for a few minutes to thicken it up.
How should I store The Best Jam Cookies?
Once cooled completely, store your jam cookies in an airtight container at room temperature. They should stay fresh and delicious for up to 5 days. If you plan to keep them longer, consider freezing them – just ensure they are well-wrapped to prevent freezer burn.
Best Jam Cookies
Easy, delicious, and homemade jam cookies perfect for any occasion. These cookies feature a tender, buttery dough filled with sweet strawberry jam.
Ingredients
-
1 cup unsalted butter, at room temperature
-
3/4 cup icing sugar, sifted, plus extra for dusting
-
1/4 tsp salt
-
1/2 tsp vanilla extract
-
2 cups all-purpose flour, sifted, plus extra to roll out the dough
-
1/2 cup strawberry jam
Instructions
-
Step 1
In a large mixing bowl, cream together softened unsalted butter, sifted icing sugar, and salt until pale and fluffy (about 3-5 minutes). Mix in vanilla extract until fully blended. -
Step 2
Gradually add sifted all-purpose flour to the butter mixture in two additions, mixing on low speed just until incorporated. Do not overmix. The dough should come together into a soft ball. -
Step 3
Flatten the dough into a disc, wrap tightly in plastic wrap, and refrigerate for at least 30 minutes to firm up. -
Step 4
Preheat oven to 350°F (175°C). Lightly flour a work surface and roll out the chilled dough to about 1/4-inch thickness. Cut out shapes, ensuring half have a solid center and half have a cutout. Transfer to a parchment-lined baking sheet. -
Step 5
Bake for 10-12 minutes, or until the edges are lightly golden brown. Let cool on the baking sheet for a few minutes, then transfer to a wire rack to cool completely. -
Step 6
Once cooled, spread a teaspoon of strawberry jam onto the center of the solid cookies. Top with the cookies with cutout centers, pressing gently. Dust with extra sifted icing sugar.
Important Information
Nutrition Facts (Per Serving)
It is important to consider this information as approximate and not to use it as definitive health advice.
Allergy Information
Please check ingredients for potential allergens and consult a health professional if in doubt.


Leave a Comment