
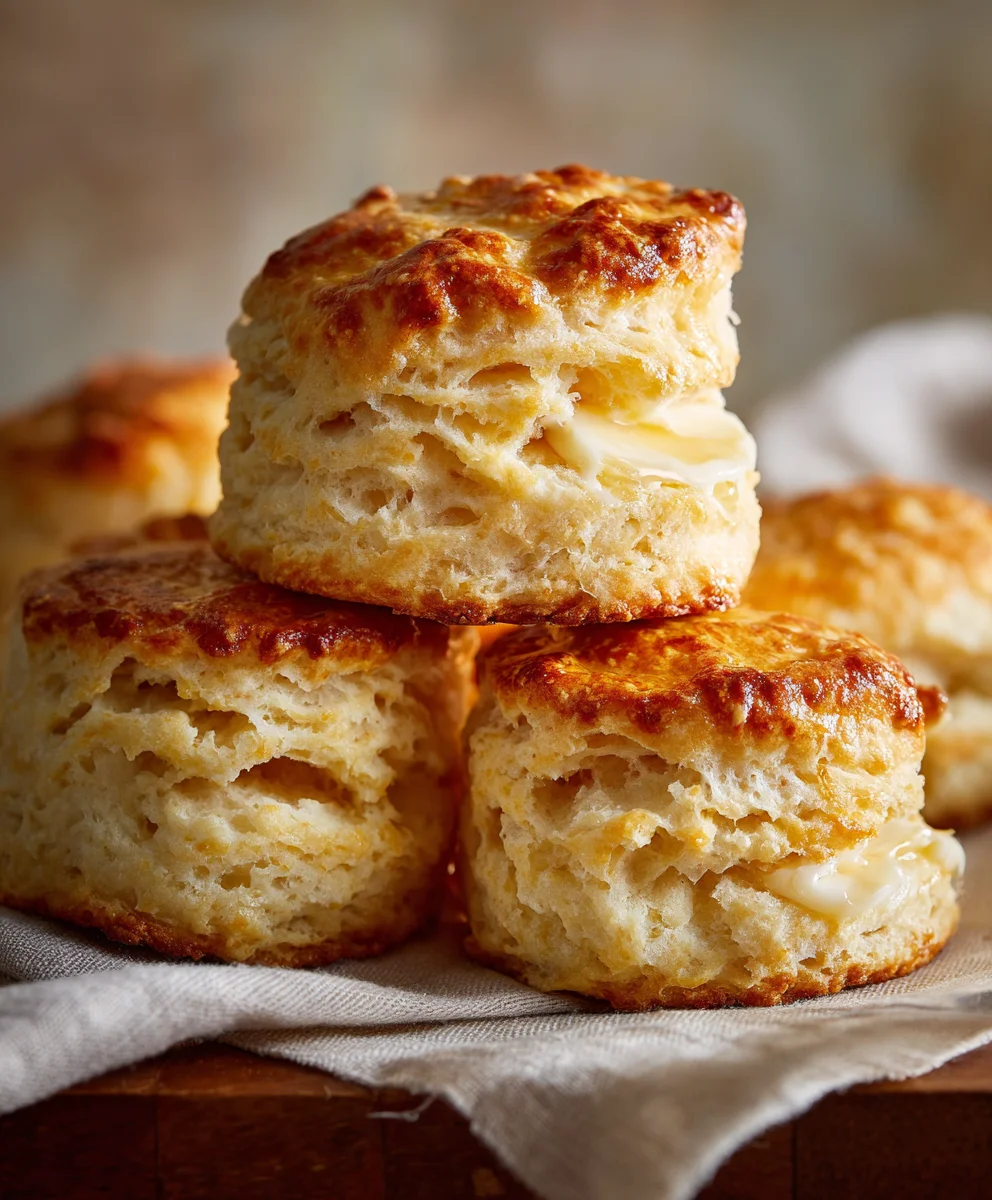
Bojangles Biscuits hold a truly special place in the hearts of biscuit lovers everywhere, particularly throughout the American South. There’s an undeniable magic to that first bite: a perfectly golden exterior giving way to a light, airy, and incredibly tender interior. For many, it’s more than just a side dish; it’s a comforting staple, evoking cherished memories of hearty breakfasts, family gatherings, and that unique taste of authentic Southern home cooking.
The renowned Bojangles chain has, since its inception, perfected the art of the biscuit, making it an iconic and beloved part of their menu. Their success lies in a timeless recipe that flawlessly balances a delicate flakiness with a rich, buttery flavor, making these biscuits the ideal accompaniment to their famous fried chicken or simply enjoyed on their own with a smear of butter and jam. We completely understand that distinct craving for such authentic, fresh-from-the-oven goodness, and the profound desire to recreate that culinary experience right in your own kitchen.
I’m thrilled to share a recipe that aims to capture the very essence of those beloved Bojangles Biscuits. Prepare to discover the simple yet essential secrets behind achieving that perfect rise, that irresistible texture, and that comforting taste that makes these biscuits truly unforgettable. Get ready to embark on a delightful baking adventure that will bring the cherished flavors of Bojangles directly to your table, ready to be enjoyed by everyone.

Ingredients:
- 2 ½ cups (300g) all-purpose flour, plus more for dusting – I always use a good quality unbleached flour for the best texture in my biscuits.
- 1 tablespoon baking powder – This is key for lift!
- ½ teaspoon baking soda – Works with the buttermilk to create those beautiful airy pockets.
- 1 teaspoon granulated sugar – Just a touch to balance the flavors, optional but recommended for that subtle sweetness.
- 1 teaspoon salt – Don’t skip this; it enhances all the other flavors.
- ½ cup (113g) unsalted butter, very cold and cut into small cubes (or grated) – This is arguably the most crucial ingredient for flaky biscuits, mimicking the texture of your favorite Bojangles Biscuits.
- 1 cup (240ml) cold buttermilk, plus 1-2 tablespoons more if needed – The acidity reacts with the baking soda, creating tenderness and flavor.
- 2 tablespoons unsalted butter, melted, for brushing – This gives them that beautiful golden top and a rich finish.
Preparing the Masterful Biscuit Dough
Creating biscuits that rival the legendary Bojangles Biscuits starts with a mindful approach to your ingredients and a gentle touch. Trust me, the extra effort in these initial steps pays off immensely in the final flaky product.
- Preheat Your Oven: First things first, let’s get that oven ready. Preheat your oven to a scorching 450°F (232°C). A hot oven is essential for biscuits to rise quickly and achieve that perfect golden crust. While the oven heats, I like to line a baking sheet with parchment paper; it makes cleanup a breeze and ensures nothing sticks.
-
Whisk Dry Ingredients Together: In a large mixing bowl, combine the 2 ½ cups of all-purpose flour, 1 tablespoon of baking powder, ½ teaspoon of baking soda, 1 teaspoon of granulated sugar (if using), and 1 teaspoon of salt. Using a whisk, thoroughly combine these ingredients. My goal here is to ensure every granule of leavening agent and salt is evenly distributed throughout the flour. This prevents dense spots and ensures uniform rise and flavor in every biscuit. I often sift these ingredients together for extra aeration, which contributes to a lighter biscuit.
Why Sifting Matters:
Sifting isn’t just for vintage recipes! It breaks up any lumps in the flour, but more importantly, it incorporates air, making your dry mix lighter and more consistent. This allows the butter and buttermilk to distribute more evenly, leading to superior flakiness and tenderness.
-
Incorporate the Cold Butter: Now for the magic! Add the ½ cup of very cold, cubed (or grated) unsalted butter to your dry ingredients. This is where you really start building the structure that will give us those glorious layers, much like the coveted texture of Bojangles Biscuits.
- Using Your Fingers: The traditional method, and my personal favorite, is to use your fingertips to cut the butter into the flour. You want to work quickly, pinching and rubbing the butter into the flour until the mixture resembles coarse meal with some pea-sized pieces of butter still visible. The key here is to keep the butter as cold as possible to prevent it from melting. Warm hands can be an enemy! If your kitchen is warm, or you tend to have warm hands, consider chilling your bowl and flour beforehand.
- Using a Pastry Blender: If you prefer, a pastry blender is an excellent tool for this step. It allows you to incorporate the butter without directly touching it, thus keeping it colder. Blend until you achieve that same coarse meal consistency with visible butter chunks.
- Using a Food Processor: For a super quick method, you can pulse the flour and cold butter together in a food processor a few times until the butter is pea-sized. Be very careful not to over-process, as this can lead to a tough biscuit. I only recommend this if you’re very confident with your food processor skills for pastry.
The Importance of Cold Butter: When cold butter hits the hot oven, the water within it turns to steam, creating pockets of air and pushing up the layers of dough, resulting in that incredibly flaky texture we all adore. If your butter melts before baking, you’ll end up with a denser, cakier biscuit. We’re aiming for light and airy, just like the best Southern biscuits.
-
Add the Cold Buttermilk: Create a well in the center of your flour-butter mixture and pour in the 1 cup of cold buttermilk. Using a fork or a rubber spatula, gently mix the wet and dry ingredients just until they are combined. The dough will look shaggy and a bit sticky, and that’s exactly what we want. Do not overmix! Overmixing develops the gluten in the flour too much, leading to tough, chewy biscuits instead of tender, flaky ones. We’re aiming for something akin to a fluffy cloud, not a hockey puck! If the dough seems excessively dry and won’t come together, add an additional tablespoon or two of cold buttermilk, one at a time, until it barely forms a cohesive ball.
The Buttermilk Advantage:
Buttermilk, with its slightly acidic nature, not only reacts with the baking soda for lift but also contributes to the biscuit’s tenderness and adds a subtle tang that deepens the flavor profile. It’s truly indispensable for a classic Southern biscuit.
Folding, Shaping, and Preparing for Baking
This phase is where we really develop the layers for our biscuits. It’s a technique often used in puff pastry, but simplified here to give your biscuits that magnificent rise and separation, reminiscent of a perfectly crafted Bojangles Biscuit.
-
Turn Out the Dough and Perform Gentle Folds: Lightly flour a clean work surface. Gently turn the shaggy dough out onto the floured surface. You want to handle the dough as little as possible. Sprinkle a little flour on top of the dough. Then, gently pat the dough into a rough rectangle, about 1 inch thick.
- The Book Fold Method: Now for the folding, which creates those beautiful layers. I like to imagine folding a letter or a book. Fold one-third of the dough over the middle, then fold the remaining third over the top of that, creating a triple layer. Gently pat it down again to about 1 inch thickness. Repeat this folding process 2-3 more times. Each fold creates more layers, which will translate to flakier biscuits when baked. The key is to be gentle and not compress the dough too much. This technique is what gives these homemade treats a distinct advantage in flakiness.
- Alternative (No-Knead) Method: If you prefer, you can also gather the dough loosely, gently knead it for about 5-6 very brief turns (no more than 30 seconds total) just until it barely comes together, then proceed to pat it out. The folding method, however, yields superior layers.
The Goal of Folding: We are not kneading the dough to develop gluten; rather, we are layering the cold butter within the dough. These distinct layers of butter will melt during baking, creating steam and separating the dough into light, airy, and flaky pockets – the hallmark of an exceptional biscuit, truly aiming for that Bojangles Biscuits level of perfection.
-
Cut Out the Biscuits: Once you’ve done your folds, gently pat the dough into a uniform rectangle or square, about ¾ to 1 inch thick. Don’t make it too thin, or your biscuits won’t rise as high.
- Using a Biscuit Cutter: Dip a 2.5 to 3-inch biscuit cutter in flour before each cut to prevent sticking. Press the cutter straight down into the dough without twisting. Twisting seals the edges of the biscuit, which can prevent it from rising to its full potential. You want clean cuts that allow the layers to expand freely.
- Cutting Square Biscuits: If you don’t have a biscuit cutter, or prefer square biscuits (which actually reduces waste and rerolling!), use a sharp knife or a bench scraper to cut the dough into even squares. This is a practical and efficient method.
Maximize Your Yield: Place the cut biscuits onto your prepared baking sheet, ensuring they are touching each other if you like soft sides, or spaced about 1 inch apart for crispier sides. For any leftover dough scraps, gently gather them, press them together (avoiding kneading), pat them out again, and cut more biscuits. Be aware that these re-rolled biscuits might not be as flaky as the first batch, but they’ll still be delicious!
Baking Your Bojangles Biscuits and Achieving Perfection
The baking process is quick, and the aroma alone is enough to make your mouth water. This is where all your careful preparation truly comes to fruition, yielding beautiful, golden-brown delights.
-
Bake Until Golden: Place the baking sheet with your cut biscuits into the preheated 450°F (232°C) oven. Bake for approximately 12-18 minutes, or until the biscuits are beautifully risen, golden brown on top and bottom, and cooked through. The exact baking time can vary depending on your oven and the size of your biscuits, so keep a close eye on them, especially during the last few minutes. I always look for a deep golden hue on the tops and bottoms, indicating perfect caramelization and a fully cooked interior.
How to Tell They’re Done:
Beyond the visual cue of golden brown, a fully baked biscuit should sound hollow when tapped on the bottom. If you’re unsure, you can always sacrifice one to check the interior texture – it should be light and flaky, not doughy.
- Brush with Melted Butter: While the biscuits are still piping hot from the oven, immediately brush the tops with the 2 tablespoons of melted unsalted butter. This step is not just for shine; it adds another layer of rich, buttery flavor and helps soften the crust slightly, making them even more irresistible. This little trick gives them that luxurious, freshly baked look and taste, a hallmark of any great biscuit, and certainly one we associate with the iconic Bojangles Biscuits.
- Serve Warm and Enjoy: Transfer your freshly baked biscuits to a wire rack to cool slightly, or serve them immediately while they are still wonderfully warm. They are absolutely glorious on their own, split open and slathered with more butter, or adorned with your favorite jam, honey, or even a savory sausage gravy. There’s truly nothing quite like a homemade biscuit, especially when it reaches this level of flakiness and flavor.
Tips for the Ultimate Biscuit Experience and Storage
Making biscuits is an art, but it’s an art anyone can master with a few key insights. These tips will ensure your Bojangles Biscuits inspired creations are consistently perfect and can be enjoyed for longer.
- Don’t Overwork the Dough: I cannot emphasize this enough! Overworking dough develops gluten, which leads to tough biscuits. Handle the dough gently and as little as possible. The less you touch it, the more tender your biscuits will be.
- Keep Everything Cold: From your butter to your buttermilk, cold ingredients are paramount. This prevents the butter from melting before it hits the oven, which is essential for that glorious flaky texture. If your kitchen is warm, you might even pop your bowl and dry ingredients into the freezer for 10-15 minutes before adding the butter.
- Use a Sharp Cutter, Press Straight Down: A dull cutter can drag the dough, sealing the edges and inhibiting rise. Pressing straight down ensures the layers can expand upwards beautifully.
- Embrace Imperfection: Your first batch might not be perfectly round or uniformly tall, and that’s perfectly okay! Each batch is a learning experience. The taste will still be incredible.
Storage and Reheating Your Delicious Biscuits:
While homemade biscuits are best enjoyed fresh out of the oven, sometimes you have leftovers (a rare but wonderful occurrence!). Here’s how I handle them to keep them as delicious as possible:
- Room Temperature: Store cooled biscuits in an airtight container at room temperature for up to 2 days. The texture will soften, but they’ll still be good.
- Freezing Unbaked Biscuits: This is my favorite secret for having fresh biscuits anytime! Cut the biscuits and arrange them on a baking sheet. Freeze until solid (about 1-2 hours). Once frozen, transfer them to a freezer-safe bag or container. When you want to bake them, simply place the frozen biscuits on a parchment-lined baking sheet and bake at 450°F (232°C) for 20-25 minutes, adding a few extra minutes to the baking time since they are frozen. This method ensures you can have that fresh, hot Bojangles Biscuits experience on demand!
- Reheating Baked Biscuits: To reheat, wrap biscuits loosely in foil and warm in a 350°F (175°C) oven for 8-10 minutes, or until heated through. You can also quickly pop them in a toaster oven or even microwave briefly, though the microwave can sometimes make them a little chewier.
Armed with these instructions and tips, you are well on your way to crafting biscuits that will impress everyone, rivaling even your favorite fast-food versions and becoming a staple in your own kitchen. Enjoy the process and, most importantly, enjoy the incredible taste of your own homemade, flaky biscuits!
Conclusion:
There’s simply nothing quite like the warmth and comforting aroma of freshly baked biscuits filling your kitchen, and I can confidently say that this recipe delivers that unparalleled experience every single time. We’ve journeyed through the steps, shared the secrets, and now it’s time for you to truly embrace the magic of making these at home. This isn’t just another biscuit recipe; it’s an invitation to create a masterpiece of simple, homey perfection. When you pull these golden-brown beauties from the oven, you’ll understand why I insist this is an absolute must-try. The flaky layers, the tender crumb, the slightly crisp exterior giving way to a soft interior – it’s a culinary hug that transcends a mere meal. Forget everything you thought you knew about intimidating baking; with a little patience and love, you’ll be turning out biscuits that rival your favorite restaurant, and yes, I’m talking about those iconic Bojangles Biscuits that we all crave!
The beauty of a perfect biscuit extends far beyond breakfast. While they are undoubtedly the star of a morning spread, slathered with butter and your favorite fruit preserves, their versatility knows no bounds. Imagine them as the foundation for a decadent breakfast sandwich, piled high with scrambled eggs, crispy bacon, and melty cheddar cheese. Or, for a truly Southern comfort experience, serve them generously with a rich, savory sausage gravy that will have everyone reaching for seconds. But don’t stop there! Think about transforming them into a delightful dessert. Split them open, spoon in some macerated fresh berries, and top with a dollop of homemade whipped cream for a rustic shortcake that will impress even the most discerning sweet tooth. For those who love a savory twist, try incorporating a handful of chopped fresh chives or shredded sharp cheddar cheese into the dough before baking for a delightful savory biscuit perfect alongside a bowl of chili or a hearty stew.
And speaking of variations, feel free to experiment with different flours if you’re feeling adventurous. While all-purpose flour works wonderfully, a blend of pastry flour and all-purpose can yield an even more tender result. If you’re sensitive to gluten, there are many excellent gluten-free all-purpose blends available that can be substituted, though you might need to adjust the liquid slightly to achieve the right dough consistency. The most important thing is to ensure your butter and buttermilk are ice cold – this is the non-negotiable secret to those coveted flaky layers! Don’t be afraid to get your hands a little messy; feeling the dough come together is part of the joy. Remember, the less you handle the dough, the more tender your biscuits will be. A light touch is your best friend in biscuit making. I even sometimes like to brush the tops with a little melted butter right after they come out of the oven for an extra layer of richness and a beautiful sheen. It’s those little touches that elevate a good biscuit to an unforgettable one.
A Call to Action for Your Kitchen
I truly hope this journey has inspired you to preheat your oven and get mixing. There’s an immense sense of satisfaction that comes from mastering a classic, and this recipe for homemade biscuits is undoubtedly one of them. It’s a skill that will serve you well for countless breakfasts, brunches, and family gatherings. Imagine the smiles when you present a platter of these warm, golden delights! I absolutely encourage you to try this recipe for yourself. Don’t be shy; embrace the process, trust the instructions, and savor the reward. Once you’ve baked your batch, I would be absolutely thrilled to hear about your experience. Did you add a unique twist? Did you serve them with a special topping? Please share your photos, tips, and stories in the comments section below or tag me on social media. Your feedback and creativity inspire us all! Happy baking, and get ready to enjoy the most incredible, homemade biscuits you’ve ever tasted. I promise, it’s worth every single moment in the kitchen!
FAQs – People Also Ask:
What makes a Bojangles biscuit so flaky?
The secret to incredibly flaky biscuits, much like the ones from Bojangles, lies in several key techniques. First, using very cold fat (like butter, or a combination of butter and shortening) is crucial. When cold fat melts in the hot oven, it creates pockets of steam, which separate the dough into distinct layers. Second, minimal handling of the dough prevents gluten development, keeping it tender. Finally, folding the dough multiple times, similar to making puff pastry, creates those beautiful, distinct layers. Our recipe employs all these methods to ensure maximum flakiness.
Can I make these biscuits ahead of time?
Absolutely! You have a few options for making biscuits ahead. You can prepare the dough, cut out the biscuits, and then refrigerate them on a baking sheet for up to 24 hours before baking. Just add a few extra minutes to the baking time. For longer storage, you can freeze the unbaked biscuits. Place the cut biscuits on a baking sheet and freeze until solid, then transfer them to an airtight freezer bag for up to 2-3 months. Bake directly from frozen, adding about 5-10 minutes to the baking time, and possibly lowering the oven temperature slightly to ensure even cooking.
What’s the secret to light and fluffy biscuits?
Light and fluffy biscuits are achieved by a combination of factors. Using a good quality, low-protein flour (like a biscuit-specific flour or soft winter wheat flour) can help, but standard all-purpose works great too with careful handling. The most critical aspect is not overworking the dough. Excessive kneading develops gluten, which leads to tough, dense biscuits. A light, gentle touch is key. Additionally, using a leavening agent like baking powder (and baking soda if using buttermilk) that is fresh and active is essential for a good rise. Finally, baking at a high temperature helps the biscuits rise quickly and creates that desired fluffy texture.
What if I don’t have buttermilk for the recipe?
No buttermilk? No problem! You can easily make your own DIY buttermilk substitute. For every cup of buttermilk needed, simply pour 1 tablespoon of lemon juice or white vinegar into a liquid measuring cup, then fill the rest of the way with regular milk (dairy or non-dairy options work). Let it sit for 5-10 minutes until it slightly curdles. While this won’t be as thick as real buttermilk, it will provide the necessary acidity to activate the baking soda and contribute to the biscuit’s tenderness and flavor.
How do I store and reheat leftover biscuits?
Leftover biscuits are best stored in an airtight container at room temperature for up to 2 days, or in the refrigerator for up to 4 days. To reheat and bring them back to life, wrap them loosely in foil and warm them in a 300°F (150°C) oven for about 10-15 minutes, or until heated through. Alternatively, you can reheat them briefly in a microwave (be careful not to overcook, or they can become tough) or slice them in half and toast them lightly in a toaster oven for a slightly crisper exterior.
Authentic Bojangles Biscuits: Fluffy Buttery Copycat
Recreate the magic of Bojangles Biscuits in your own kitchen! This recipe delivers a perfectly golden, light, airy, and incredibly tender biscuit with a rich, buttery flavor, evoking the comfort of authentic Southern home cooking.
Ingredients
-
2 ½ cups (300g) all-purpose flour
-
1 tbsp baking powder
-
½ tsp baking soda
-
1 tsp granulated sugar (optional)
-
1 tsp salt
-
½ cup (113g) very cold unsalted butter, cubed or grated
-
1 cup (240ml) cold buttermilk (plus 1-2 tbsp if needed)
-
2 tbsp unsalted butter, melted (for brushing)
Instructions
-
Step 1
Preheat oven to 450°F (232°C). Line a baking sheet with parchment paper. -
Step 2
In a large mixing bowl, whisk together the flour, baking powder, baking soda, granulated sugar (if using), and salt. -
Step 3
Add the very cold, cubed (or grated) unsalted butter to the dry ingredients. Cut the butter into the flour using your fingertips, a pastry blender, or a food processor until the mixture resembles coarse meal with some pea-sized pieces of butter still visible. -
Step 4
Create a well in the center of the flour-butter mixture and pour in the cold buttermilk. Gently mix with a fork or rubber spatula until just combined into a shaggy, slightly sticky dough. Do not overmix. If dough is too dry, add 1-2 tablespoons more buttermilk, one at a time. -
Step 5
{‘@type’: ‘HowToStep’, ‘name’: ‘Perform Gentle Folds’, ‘text’: “Lightly flour a clean work surface. Gently turn the dough out and pat it into a rough rectangle, about 1 inch thick. Fold one-third of the dough over the middle, then fold the remaining third over the top (the ‘book fold’). Gently pat it down again to about 1 inch thickness. Repeat this folding process 2-3 more times to create layers.”} -
Step 6
Pat the dough into a uniform rectangle or square, about ¾ to 1 inch thick. Dip a 2.5 to 3-inch biscuit cutter in flour before each cut and press straight down without twisting. Alternatively, use a sharp knife to cut square biscuits. Place cut biscuits onto the prepared baking sheet, touching for soft sides, or spaced for crispier sides. Gently gather and press any scraps to cut additional biscuits. -
Step 7
Place the baking sheet into the preheated oven. Bake for approximately 12-18 minutes, or until the biscuits are beautifully risen, golden brown on top and bottom, and cooked through (they should sound hollow when tapped on the bottom). -
Step 8
While the biscuits are still piping hot from the oven, immediately brush the tops with the 2 tablespoons of melted unsalted butter. -
Step 9
Serve your freshly baked biscuits warm. They are delicious on their own, or with butter, jam, honey, or gravy.
Important Information
Nutrition Facts (Per Serving)
It is important to consider this information as approximate and not to use it as definitive health advice.
Allergy Information
Please check ingredients for potential allergens and consult a health professional if in doubt.


Leave a Comment