
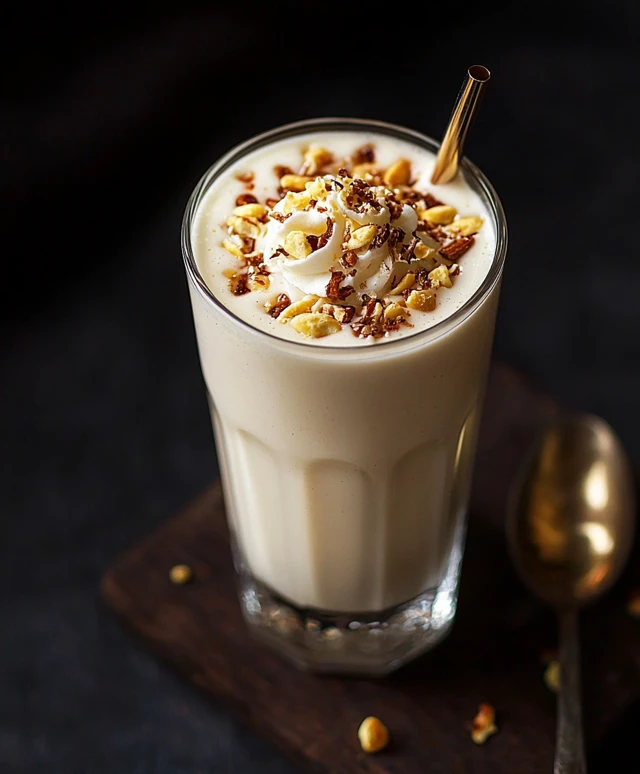
Vanilla Milkshake Delight is a timeless classic that never fails to bring a smile to my face. This creamy, dreamy concoction has been a favorite treat for generations, evoking memories of summer days spent at diners and ice cream parlors. The rich history of the milkshake dates back to the early 1900s, when it was first introduced as a wholesome drink made with milk, eggs, and flavorings. Over the years, it has evolved into the delightful dessert we know today, with vanilla being the star flavor that captures the hearts of many.
People love Vanilla Milkshake Delight not just for its sweet, velvety texture, but also for its incredible versatility. Whether enjoyed as a refreshing afternoon pick-me-up or a decadent dessert, this milkshake is the perfect blend of nostalgia and indulgence. Plus, its incredibly easy to whip up at home, making it a go-to recipe for any occasion. Join me as we dive into the world of Vanilla Milkshake Delight and discover how to create this delightful treat that will surely become a favorite in your household!

Ingredients:
- 2 cups vanilla ice cream
- 1 cup whole milk
- 1 teaspoon pure vanilla extract
- 2 tablespoons sugar (optional, adjust to taste)
- Whipped cream for topping
- Chocolate syrup for drizzling (optional)
- Maraschino cherries for garnish (optional)
- Sprinkles for decoration (optional)
Preparing the Milkshake Base
Lets get started on our delicious Vanilla Milkshake Delight! The first step is to prepare the milkshake base. This is where the magic begins!
- In a blender, add the 2 cups of vanilla ice cream. Make sure its slightly softened for easier blending. If its too hard, let it sit at room temperature for about 5-10 minutes.
- Next, pour in 1 cup of whole milk. The milk will help create that creamy texture we all love in a milkshake. If you prefer a thicker shake, you can reduce the amount of milk.
- Add 1 teaspoon of pure vanilla extract. This will enhance the vanilla flavor and make your milkshake even more delightful.
- If you like your milkshake a bit sweeter, sprinkle in 2 tablespoons of sugar. This step is optional, so taste as you go!
Blending the Ingredients
Now that we have all our ingredients in the blender, its time to blend them together!
- Secure the lid on the blender tightly. This is crucial to avoid any spills!
- Start blending on a low speed to combine the ingredients. Gradually increase to high speed until everything is smooth and creamy. This should take about 30 seconds to 1 minute.
- Stop the blender and check the consistency. If its too thick for your liking, add a splash more milk and blend again. If its too thin, add a bit more ice cream.
- Once youre satisfied with the consistency, give it a quick taste. Adjust the sweetness if necessary by adding more sugar or vanilla extract.
Serving the Milkshake
Now that our milkshake is perfectly blended, its time to serve it up!
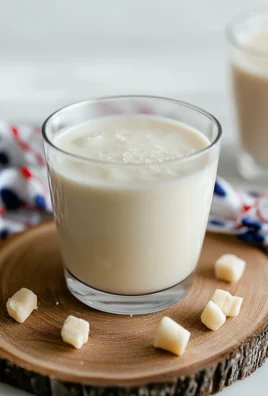
- Grab your favorite tall glasses or milkshake cups. I love using clear glasses so I can see the beautiful creamy texture of the milkshake.
- Using a large spoon or a milkshake straw, pour the milkshake into the glasses. Fill them up to the rim for that extra indulgent feel!
- Now, lets add some flair! Top each milkshake with a generous dollop of whipped cream. This adds a lovely lightness and creaminess to the shake.
- If youre feeling a bit adventurous, drizzle some chocolate syrup over the whipped cream. This not only looks beautiful but adds a delicious chocolatey flavor.
- For the finishing touch, place a maraschino cherry on top of the whipped cream. Its a classic touch that makes every milkshake feel special!
- Finally, sprinkle some colorful sprinkles on top for a fun and festive look. This is especially great if youre serving kids or just want to add a pop of color!
Enjoying Your Vanilla Milkshake Delight
Now that your Vanilla Milkshake Delight is beautifully assembled, its time to enjoy it!
- Grab a straw or a long spoon and dig in! The first sip is always the best, so take your time to savor the creamy, sweet flavors.
- If youre sharing, make sure to take turns! This milkshake is so good, you might want to keep it all to yourself.
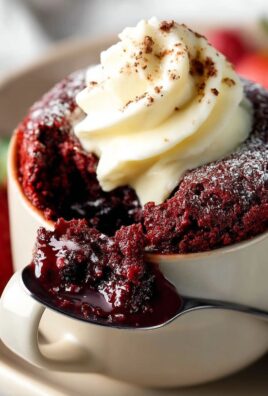
- Pair your milkshake with a slice of cake or some cookies for a delightful dessert experience. The combination of flavors will leave you wanting more!
- Dont forget to take some pictures! This milkshake is not only delicious but also Instagram-worthy!
Tips and Variations
If you want to switch things up a bit, here are some tips and variations to try with your Vanilla Milkshake Delight:
- Fruit Additions:
Conclusion:
In summary, the Vanilla Milkshake Delight is an absolute must-try for anyone who loves a creamy, dreamy treat that brings back nostalgic memories of childhood. This recipe is not only simple to whip up but also incredibly versatile, allowing you to customize it to your heart’s content. Whether you want to add a scoop of your favorite ice cream, a drizzle of chocolate syrup, or even a sprinkle of crushed cookies on top, the possibilities are endless! I highly recommend serving this delightful milkshake alongside a slice of warm pie or a plate of freshly baked cookies for the ultimate indulgence. You can also experiment with different flavors by swapping out the vanilla for chocolate, strawberry, or even a fun twist like matcha or caramel. The beauty of this recipe lies in its adaptability, making it perfect for any occasion, from a casual afternoon treat to a festive gathering with friends and family. I encourage you to give this Vanilla Milkshake Delight a try and share your experience with me! I would love to hear about your variations and any creative twists you come up with. So grab your blender, gather your ingredients, and lets make some delicious memories together! Print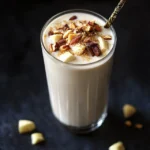
Vanilla Milkshake Delight: The Ultimate Recipe for Creamy Indulgence
- Total Time: 10 minutes
- Yield: 2 servings 1x
Description
Indulge in a creamy Vanilla Milkshake Delight made with vanilla ice cream, whole milk, and a hint of vanilla extract. Blended to perfection and topped with whipped cream, chocolate syrup, and a cherry, this refreshing treat is ideal for satisfying your sweet cravings!
Ingredients
- 2 cups vanilla ice cream
- 1 cup whole milk
- 1 teaspoon pure vanilla extract
- 2 tablespoons sugar (optional, adjust to taste)
- Whipped cream for topping
- Chocolate syrup for drizzling (optional)
- Maraschino cherries for garnish (optional)
- Sprinkles for decoration (optional)
Instructions
- In a blender, add the 2 cups of vanilla ice cream. Make sure its slightly softened for easier blending. If its too hard, let it sit at room temperature for about 5-10 minutes.
- Pour in 1 cup of whole milk. If you prefer a thicker shake, you can reduce the amount of milk.
- Add 1 teaspoon of pure vanilla extract to enhance the flavor.
- If desired, sprinkle in 2 tablespoons of sugar for added sweetness.
- Secure the lid on the blender tightly to avoid spills.
- Start blending on low speed to combine the ingredients, then gradually increase to high speed until smooth and creamy (about 30 seconds to 1 minute).
- Check the consistency; add more milk if too thick or more ice cream if too thin.
- Taste and adjust sweetness if necessary.
- Grab your favorite tall glasses or milkshake cups.
- Pour the milkshake into the glasses, filling them to the rim.
- Top each milkshake with a generous dollop of whipped cream.
- Drizzle chocolate syrup over the whipped cream if desired.
- Garnish with a maraschino cherry on top.
- Sprinkle colorful sprinkles for a festive touch.
- Grab a straw or a long spoon and enjoy!
- If sharing, take turns savoring this delicious treat.
- Pair with cake or cookies for a delightful dessert experience.
- Dont forget to take pictures for social media!
Notes
- For a thicker milkshake, reduce the amount of milk.
- Feel free to experiment with different toppings or mix-ins, such as fruit or chocolate chips.
- This recipe can easily be doubled for larger servings or gatherings.
- Prep Time: 10 minutes
- Cook Time: 0 minutes
Leave a Comment