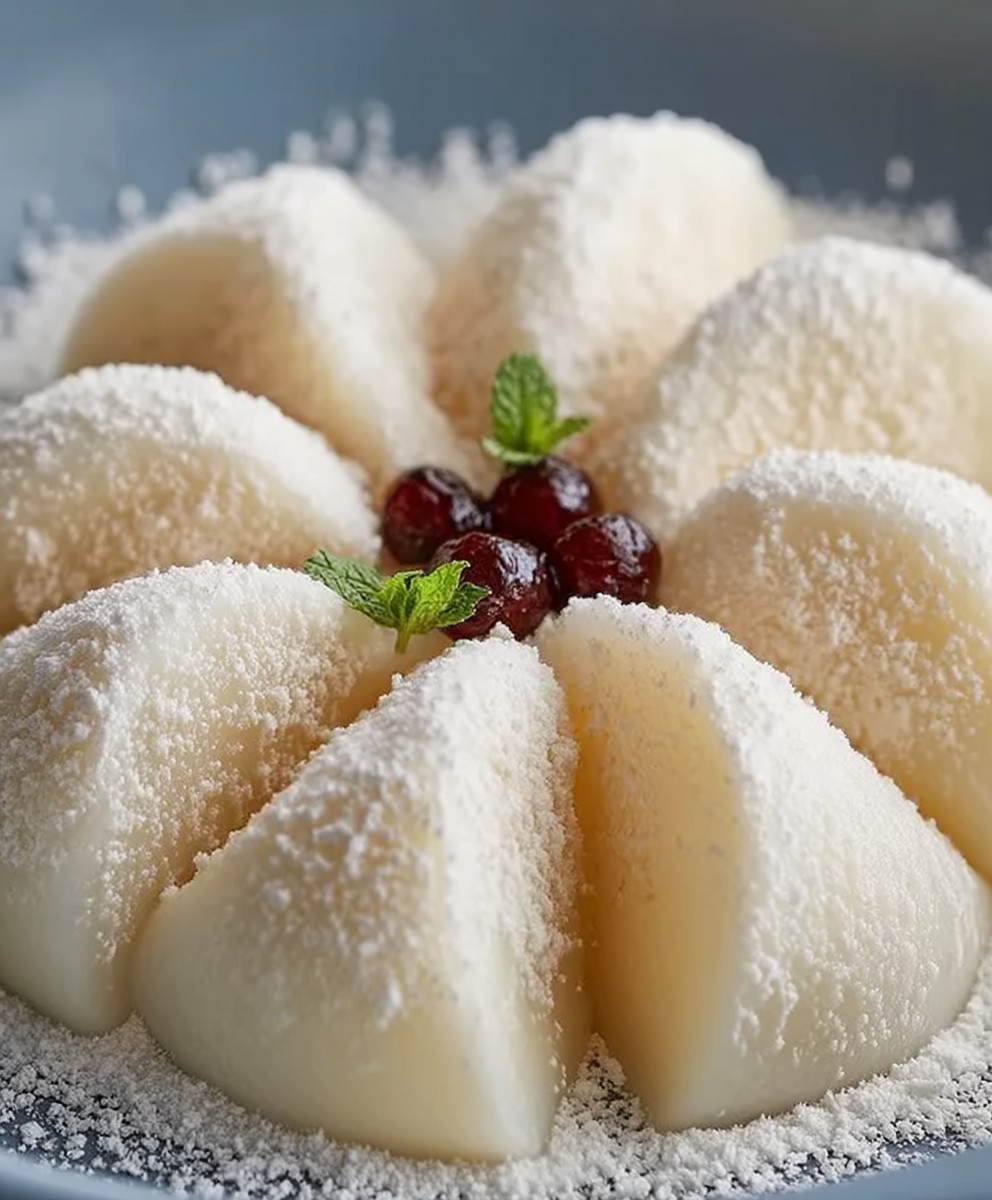
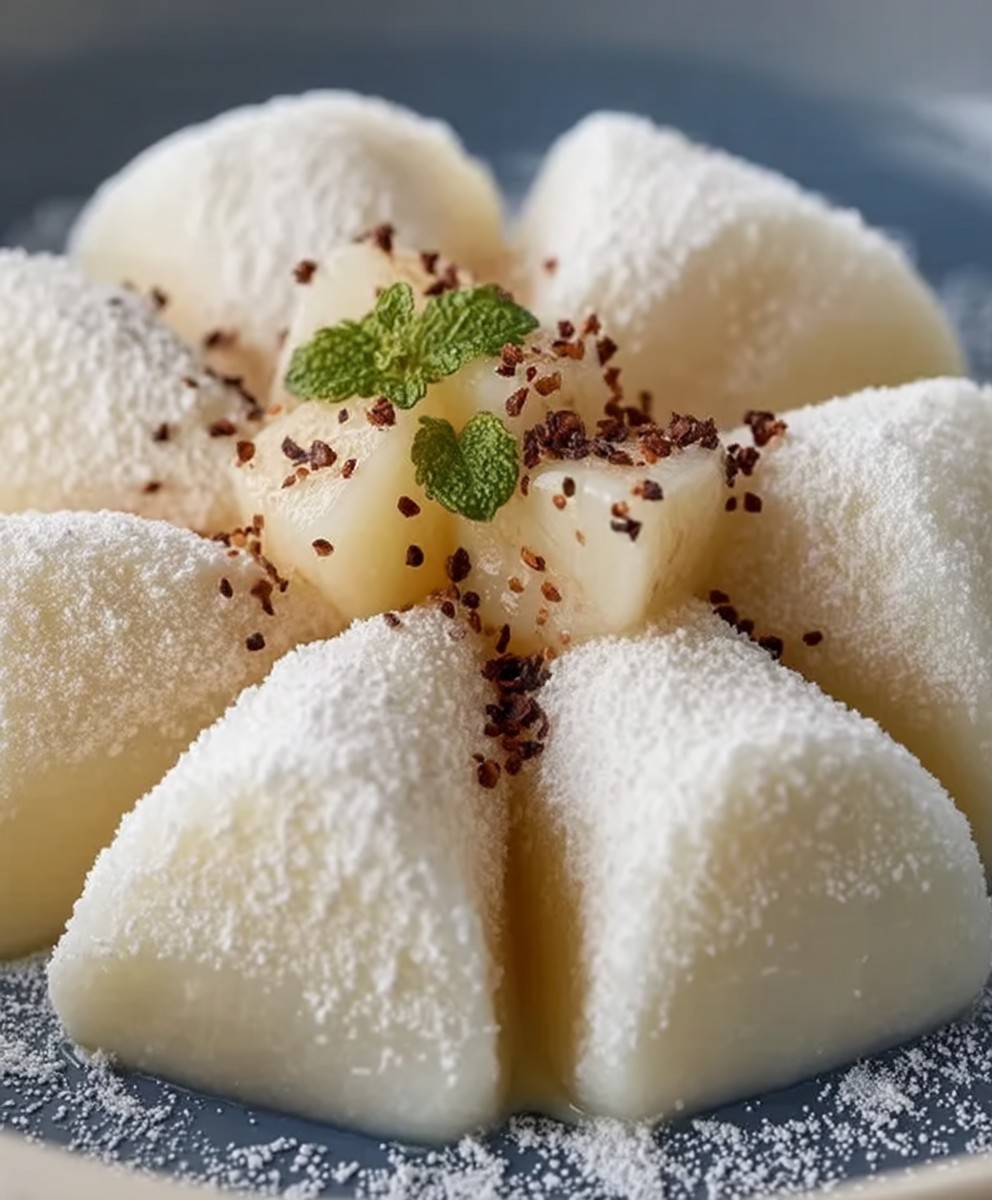
Milk Mochi: Prepare to be transported to a world of pillowy, sweet delight! Have you ever craved a dessert that’s both incredibly simple to make and utterly irresistible? Then look no further. This recipe unlocks the secrets to creating the most delightful Milk Mochi you’ve ever tasted, right in your own kitchen.
Mochi, with its origins deeply rooted in Japanese culture, has been enjoyed for centuries, often associated with celebrations and good fortune. While traditionally made with glutinous rice flour, this milk-infused version offers a wonderfully soft and chewy texture that’s uniquely its own. Its a delightful twist on a classic!
What makes this particular recipe so beloved? It’s the perfect combination of simplicity and satisfaction. The subtly sweet flavor, combined with the incredibly soft and bouncy texture, makes it a truly addictive treat. Plus, it requires minimal ingredients and comes together in minutes, making it ideal for those moments when you need a quick and satisfying dessert. Whether you’re looking for a fun activity to do with kids or a simple treat to impress your guests, this Milk Mochi recipe is guaranteed to be a winner. Get ready to experience a taste of pure joy!
Ingredients:
- 1 cup whole milk
- 1/2 cup granulated sugar
- 1 cup glutinous rice flour (also known as mochiko)
- 1/4 cup cornstarch, for dusting
- Optional toppings: kinako (roasted soybean flour), cocoa powder, matcha powder, fresh fruit, whipped cream, sweetened condensed milk
Preparing the Milk Mochi Batter
Alright, let’s get started! This milk mochi recipe is super simple, and the best part is you probably already have most of the ingredients in your pantry. First, we’re going to focus on creating the perfect, smooth batter. Don’t worry, it’s easier than you think!
- Combine Milk and Sugar: In a medium-sized, microwave-safe bowl, pour in the 1 cup of whole milk. Add the 1/2 cup of granulated sugar. Give it a good stir with a whisk or a spoon until the sugar is mostly dissolved. It doesn’t have to be perfectly dissolved at this stage, as the heat will help it along later.
- Whisk in the Glutinous Rice Flour: Now, this is where the magic happens! Gradually add the 1 cup of glutinous rice flour (mochiko) to the milk and sugar mixture. It’s crucial to add it slowly and whisk constantly to prevent any lumps from forming. Trust me, nobody wants lumpy mochi! Keep whisking until you have a smooth, creamy batter. It should resemble a thick pancake batter. If you do find a few stubborn lumps, you can try pressing them against the side of the bowl with your whisk or spoon to break them up.
- Check for Consistency: The consistency of the batter is key. It should be pourable but not too runny. If it seems too thick, you can add a tablespoon of milk at a time until you reach the desired consistency. If it’s too thin (unlikely, but possible depending on the flour), you can add a tablespoon of glutinous rice flour at a time. Just remember to whisk well after each addition.
Cooking the Milk Mochi
Now that our batter is ready, it’s time to cook it! We’re going to use the microwave for this recipe, which makes it incredibly quick and easy. But don’t underestimate the power of the microwave it can create perfectly chewy and delicious mochi!
- Microwave the Batter (First Round): Cover the bowl with microwave-safe plastic wrap. Make sure to leave a small vent for steam to escape. This is important to prevent the plastic wrap from exploding! Microwave on high for 2 minutes.
- Stir and Microwave Again (Second Round): Carefully remove the bowl from the microwave (it will be hot!). Remove the plastic wrap, being cautious of the steam. Give the batter a good stir. You’ll notice that it’s starting to thicken and become more translucent. Cover the bowl again with plastic wrap (vented) and microwave on high for another 1 minute.
- Stir and Microwave (Third Round – Optional): Remove the bowl from the microwave, remove the plastic wrap, and stir vigorously. At this point, the mochi should be very thick, sticky, and almost completely translucent. If it still looks a bit milky or opaque in the center, cover it again (vented) and microwave for another 30 seconds. The cooking time can vary slightly depending on your microwave, so keep a close eye on it.
- Achieving the Right Texture: The goal is to cook the mochi until it’s a thick, sticky, and translucent mass. It should pull away from the sides of the bowl when you stir it. Be careful not to overcook it, as it can become tough. If you’re unsure, it’s better to slightly undercook it rather than overcook it.
Shaping and Coating the Milk Mochi
Alright, the mochi is cooked! Now comes the fun part: shaping and coating it. This is where you can get creative and customize your mochi to your liking. We’ll be using cornstarch to prevent the mochi from sticking to everything, so make sure you have that ready.
- Prepare Your Work Surface: Generously sprinkle a clean work surface (like a cutting board or a large plate) with cornstarch. This will prevent the mochi from sticking and make it easier to handle. Also, sprinkle some cornstarch on your hands.
- Transfer the Mochi: Carefully transfer the hot mochi from the bowl onto the prepared work surface. Be careful, as it will be very sticky and hot! Sprinkle more cornstarch on top of the mochi to prevent it from sticking to itself.
- Shaping the Mochi: There are a few ways you can shape the mochi. You can let it cool slightly and then use your hands (coated in cornstarch) to roll it into a log and cut it into bite-sized pieces. Alternatively, you can use a spoon or a spatula to scoop out small portions of the mochi and drop them onto the cornstarch-covered surface.
- Coating the Mochi: Once you have your mochi pieces, roll them around in the cornstarch to coat them completely. This will prevent them from sticking together and give them a nice, smooth texture.
- Optional: Cutting into Squares: If you prefer square-shaped mochi, you can press the mochi into a cornstarch-lined square or rectangular container. Let it cool completely, then cut it into squares with a knife dusted with cornstarch.
Serving and Enjoying Your Milk Mochi
Congratulations! You’ve made your own milk mochi. Now it’s time to enjoy the fruits (or rather, the mochi) of your labor! This is where you can really let your creativity shine and add your favorite toppings.
- Choose Your Toppings: The possibilities are endless when it comes to toppings for milk mochi. Here are a few ideas to get you started:
- Kinako (Roasted Soybean Flour): This is a classic mochi topping that adds a nutty and slightly sweet flavor.
- Cocoa Powder: For a chocolatey twist, dust your mochi with cocoa powder.
- Matcha Powder: If you’re a fan of matcha, sprinkle some matcha powder on your mochi for a slightly bitter and earthy flavor.
- Fresh Fruit: Sliced strawberries, blueberries, raspberries, or mangoes all pair beautifully with the creamy mochi.
- Whipped Cream: A dollop of whipped cream adds a touch of indulgence.
- Sweetened Condensed Milk: Drizzle a little sweetened condensed milk over your mochi for extra sweetness.
- Nuts: Chopped nuts like peanuts, almonds, or walnuts add a nice crunch.
- Assemble and Serve: Arrange your mochi on a plate or in a bowl and sprinkle with your chosen toppings. Serve immediately for the best texture.
- Storage: Milk mochi is best enjoyed fresh. However, you can store leftovers in an airtight container in the refrigerator for up to 2 days. Keep in mind that the texture may change slightly as it sits. It might become a bit firmer. You can microwave it for a few seconds to soften it up before serving.
Tips and Tricks for Perfect Milk Mochi
Here are a few extra tips to help you make the best milk mochi possible:
- Use High-Quality Glutinous Rice Flour: The quality of your glutinous rice flour will affect the texture of your mochi. Look for a brand that is finely ground and has a good reputation.
- Don’t Overcook the Mochi: Overcooked mochi can become tough and rubbery. Keep a close eye on it while it’s microwaving and stop cooking it as soon as it’s thick, sticky, and translucent.
- Use Plenty of Cornstarch: Cornstarch is your best friend when working with mochi. Don’t be afraid to use a generous amount to prevent it from sticking.
- Experiment with Flavors: Once you’ve mastered the basic milk mochi recipe, feel free to experiment with different flavors. You can add extracts like vanilla or almond to the batter, or you can try using different types of milk, such as coconut milk or almond milk.
- Have Fun! Making mochi is a fun and rewarding experience. Don’t be afraid to get creative and try new things.

Conclusion:
And there you have it! This Milk Mochi recipe is truly a must-try for anyone craving a sweet, chewy, and utterly delightful treat. I know, I know, there are a million dessert recipes out there, but trust me on this one. The simplicity of the ingredients combined with the surprisingly sophisticated texture makes it a winner every single time. It’s the kind of dessert that disappears in minutes, leaving everyone wanting more.
What makes this Milk Mochi so special? It’s the perfect balance of flavors and textures. The subtle sweetness of the milk is complemented by the delicate chewiness of the mochi, creating a sensory experience that’s both comforting and exciting. Plus, it’s incredibly easy to make! You don’t need any fancy equipment or complicated techniques. Just a few simple ingredients and a little bit of patience, and you’ll be rewarded with a batch of these irresistible little bites.
But the best part? The versatility! While I personally love it dusted with kinako (roasted soybean flour), the possibilities are endless. For a richer flavor, try coating them in cocoa powder or even a mixture of cinnamon and sugar. If you’re feeling adventurous, you could even drizzle them with a bit of melted chocolate or caramel sauce. And for a truly decadent experience, serve them with a scoop of vanilla ice cream or a dollop of whipped cream.
Speaking of serving suggestions, these Milk Mochi are perfect for any occasion. They make a delightful afternoon snack, a satisfying dessert after dinner, or even a unique addition to a party platter. They’re also a great option for those with dietary restrictions, as they’re naturally gluten-free and can easily be made dairy-free by using plant-based milk. Imagine serving these at your next gathering your guests will be so impressed!
Don’t be afraid to experiment with different flavors and toppings to create your own signature Milk Mochi. Perhaps a sprinkle of matcha powder for a vibrant green hue and earthy flavor? Or maybe a dusting of crushed nuts for added texture and richness? The only limit is your imagination!
I truly believe that this recipe is a game-changer. It’s simple, delicious, and endlessly customizable. It’s the kind of recipe that you’ll find yourself making again and again, and sharing with all your friends and family.
So, what are you waiting for? Head to your kitchen, gather your ingredients, and get ready to experience the magic of Milk Mochi. I promise you won’t be disappointed.
And once you’ve tried it, I’d love to hear about your experience! Share your photos and comments on social media using [Your Hashtag Here] or leave a comment below. I’m always eager to see how you’ve made this recipe your own and what variations you’ve come up with. Happy cooking (and eating)! I can’t wait to hear all about your Milk Mochi adventures!
Milk Mochi: The Ultimate Guide to Making This Delicious Dessert
Quick microwave milk mochi! Chewy, sweet, and ready in minutes with just a few ingredients. Customize with your favorite toppings for a delightful dessert.
Ingredients
- 1 cup whole milk
- 1/2 cup granulated sugar
- 1 cup glutinous rice flour (mochiko)
- 1/4 cup cornstarch, for dusting
- Optional toppings: kinako (roasted soybean flour)
- Optional toppings: cocoa powder
- Optional toppings: matcha powder
- Optional toppings: fresh fruit
- Optional toppings: whipped cream
- Optional toppings: sweetened condensed milk
- Optional toppings: nuts
Instructions
- Combine Milk and Sugar: In a medium-sized, microwave-safe bowl, pour in the milk. Add the sugar. Stir until the sugar is mostly dissolved.
- Whisk in the Glutinous Rice Flour: Gradually add the glutinous rice flour (mochiko) to the milk and sugar mixture. Whisk constantly to prevent lumps. Keep whisking until you have a smooth, creamy batter. It should resemble a thick pancake batter.
- Check for Consistency: The consistency of the batter is key. It should be pourable but not too runny. If it seems too thick, you can add a tablespoon of milk at a time until you reach the desired consistency. If it’s too thin (unlikely, but possible depending on the flour), you can add a tablespoon of glutinous rice flour at a time. Just remember to whisk well after each addition.
- Microwave the Batter (First Round): Cover the bowl with microwave-safe plastic wrap. Make sure to leave a small vent for steam to escape. Microwave on high for 2 minutes.
- Stir and Microwave Again (Second Round): Carefully remove the bowl from the microwave (it will be hot!). Remove the plastic wrap, being cautious of the steam. Give the batter a good stir. You’ll notice that it’s starting to thicken and become more translucent. Cover the bowl again with plastic wrap (vented) and microwave on high for another 1 minute.
- Stir and Microwave (Third Round – Optional): Remove the bowl from the microwave, remove the plastic wrap, and stir vigorously. At this point, the mochi should be very thick, sticky, and almost completely translucent. If it still looks a bit milky or opaque in the center, cover it again (vented) and microwave for another 30 seconds. The cooking time can vary slightly depending on your microwave, so keep a close eye on it.
- Prepare Your Work Surface: Generously sprinkle a clean work surface (like a cutting board or a large plate) with cornstarch. This will prevent the mochi from sticking and make it easier to handle. Also, sprinkle some cornstarch on your hands.
- Transfer the Mochi: Carefully transfer the hot mochi from the bowl onto the prepared work surface. Be careful, as it will be very sticky and hot! Sprinkle more cornstarch on top of the mochi to prevent it from sticking to itself.
- Shaping the Mochi: There are a few ways you can shape the mochi. You can let it cool slightly and then use your hands (coated in cornstarch) to roll it into a log and cut it into bite-sized pieces. Alternatively, you can use a spoon or a spatula to scoop out small portions of the mochi and drop them onto the cornstarch-covered surface.
- Coating the Mochi: Once you have your mochi pieces, roll them around in the cornstarch to coat them completely. This will prevent them from sticking together and give them a nice, smooth texture.
- Choose Your Toppings: The possibilities are endless when it comes to toppings for milk mochi. Here are a few ideas to get you started:
- Kinako (Roasted Soybean Flour): This is a classic mochi topping that adds a nutty and slightly sweet flavor.
- Cocoa Powder: For a chocolatey twist, dust your mochi with cocoa powder.
- Matcha Powder: If you’re a fan of matcha, sprinkle some matcha powder on your mochi for a slightly bitter and earthy flavor.
- Fresh Fruit: Sliced strawberries, blueberries, raspberries, or mangoes all pair beautifully with the creamy mochi.
- Whipped Cream: A dollop of whipped cream adds a touch of indulgence.
- Sweetened Condensed Milk: Drizzle a little sweetened condensed milk over your mochi for extra sweetness.
- Nuts: Chopped nuts like peanuts, almonds, or walnuts add a nice crunch.
- Assemble and Serve: Arrange your mochi on a plate or in a bowl and sprinkle with your chosen toppings. Serve immediately for the best texture.
- Storage: Milk mochi is best enjoyed fresh. However, you can store leftovers in an airtight container in the refrigerator for up to 2 days. Keep in mind that the texture may change slightly as it sits. It might become a bit firmer. You can microwave it for a few seconds to soften it up before serving.
Notes
- Use high-quality glutinous rice flour for the best texture.
- Don’t overcook the mochi, as it can become tough.
- Use plenty of cornstarch to prevent sticking.
- Experiment with different flavors and toppings!
- The cooking time can vary slightly depending on your microwave, so keep a close eye on it.
- If you prefer square-shaped mochi, you can press the mochi into a cornstarch-lined square or rectangular container. Let it cool completely, then cut it into squares with a knife dusted with cornstarch.


Leave a Comment