
Cookies and Cream Ice Cream is a delightful treat that brings back fond memories of childhood summers spent enjoying sweet indulgences. This beloved flavor, which combines the rich creaminess of vanilla ice cream with the delightful crunch of chocolate sandwich cookies, has become a staple in ice cream parlors and home freezers alike. Originating in the United States, the combination of cookies and cream has captured the hearts of many, making it a favorite among ice cream enthusiasts of all ages.
What I love most about Cookies and Cream Ice Cream is its perfect balance of textures and flavors. The smooth, velvety ice cream contrasts beautifully with the crunchy cookie pieces, creating a delightful experience with every bite. Not only is it incredibly delicious, but its also a convenient dessert that can be whipped up in no time, making it an ideal choice for gatherings or a simple night in. Join me as we dive into this creamy, dreamy recipe that is sure to become a cherished favorite in your home!

Ingredients:
- 2 cups heavy cream
- 1 cup whole milk
- 3/4 cup granulated sugar
- 1 teaspoon pure vanilla extract
- 1/2 cup crushed chocolate sandwich cookies (like Oreos)
- 1/2 cup mini chocolate chips (optional)
- 1/4 teaspoon salt
Preparing the Ice Cream Base
1. **Combine the Dairy**: In a large mixing bowl, pour in 2 cups of heavy cream and 1 cup of whole milk. The combination of these two will give your ice cream that rich and creamy texture we all love. 2. **Add Sugar**: Next, add 3/4 cup of granulated sugar to the bowl. This will sweeten the ice cream and help create that delightful creamy consistency. 3. **Mix in Vanilla and Salt**: Add 1 teaspoon of pure vanilla extract for flavor and 1/4 teaspoon of salt to enhance the sweetness. Using a whisk, mix everything together until the sugar is fully dissolved. This usually takes about 2-3 minutes of whisking. 4. **Taste Test**: Heres a fun part! Take a small spoonful of the mixture and taste it. Adjust the sweetness if necessary by adding a little more sugar, but remember that the cookies will add some sweetness too.Chilling the Mixture
5. **Refrigerate**: Cover the bowl with plastic wrap or a lid and place it in the refrigerator for at least 2 hours. This step is crucial as it allows the flavors to meld together and the mixture to chill thoroughly, which is essential for a smooth ice cream texture.Churning the Ice Cream
6. **Prepare Your Ice Cream Maker**: If you have an ice cream maker, make sure its prepped according to the manufacturers instructions. Some machines require the bowl to be frozen for a certain amount of time before use, so check that ahead of time. 7. **Churn the Mixture**: Once the mixture is chilled, pour it into the ice cream maker. Turn it on and let it churn for about 20-25 minutes. Youll notice it starting to thicken and take on a soft-serve consistency. 8. **Add Cookies**: When the ice cream is almost done churning, slowly add in 1/2 cup of crushed chocolate sandwich cookies. If you like a little extra chocolatey goodness, you can also toss in 1/2 cup of mini chocolate chips at this stage. Let the machine churn for an additional 5 minutes to incorporate the cookies evenly.Freezing the Ice Cream
9. **Transfer to a Container**: Once the ice cream has reached a soft-serve consistency, its time to transfer it to a container. Use a spatula to scoop the ice cream into a freezer-safe container. Make sure to pack it down to eliminate any air pockets. 10. **Smooth the Top**: After transferring, smooth the top of the ice cream with the spatula. This helps to create a nice surface for when you cover it. 11. **Cover and Freeze**: Cover the container with a lid or plastic wrap. Place it in the freezer for at least 4 hours, or until its firm enough to scoop. If you can wait overnight, thats even better!Serving the Ice Cream
12. **Scoop and Serve**: Once your ice cream is fully frozen, its time to dig in! Use an ice cream scoop to serve the cookies and cream ice cream into bowls or cones. 13. **Garnish (Optional)**: For an extra touch, you can sprinkle some additional crushed cookies on top or drizzle with chocolate syrup. 14. **Enjoy**: Sit back, relax, and enjoy your homemade cookies and cream ice cream! Its perfect for a hot day or as a sweet treat after dinner.Storage Tips
15. **Store Leftovers**: If you have any leftovers (which is rare!), store the ice cream in the freezer. Make sure to keep it covered to prevent freezer burn. It should last for about 2-3 weeks, but trust me, it wont last that long! 16. **Reviving the Ice Cream**: If your ice cream becomes too hard after being in the freezer, let it sit at room temperature for about 5-10 minutes before scooping. This will make it easier to serve.Variations and Add-Ins
17. **Experiment with Flavors**: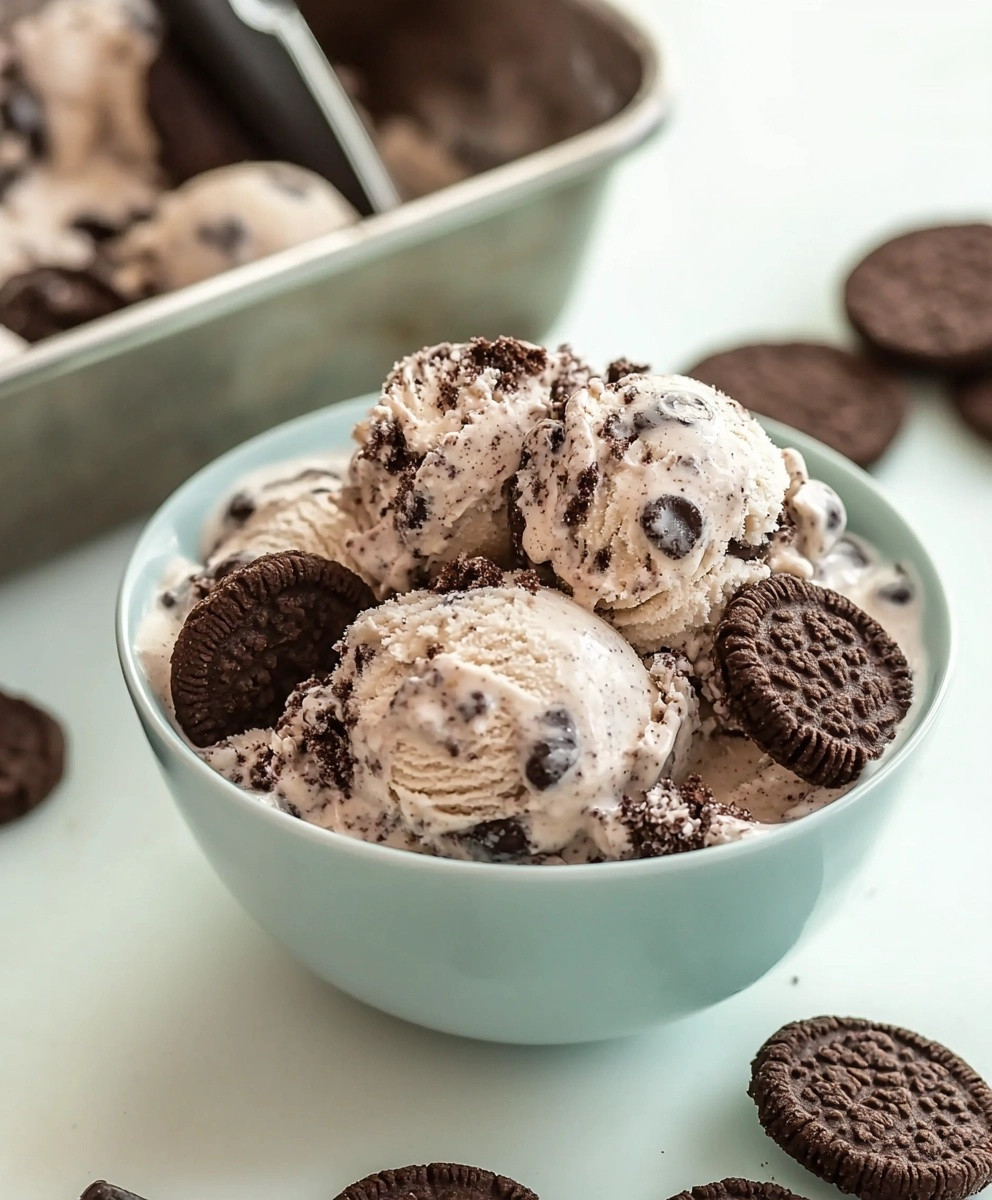
Conclusion:
In summary, this Cookies and Cream Ice Cream recipe is an absolute must-try for anyone who loves a delightful blend of creamy vanilla and crunchy cookie goodness. The rich, velvety texture combined with the satisfying crunch of chocolate cookies creates a dessert that is not only indulgent but also incredibly easy to make at home. Whether you’re enjoying it on a hot summer day or as a sweet treat after dinner, this ice cream is sure to impress your family and friends. For serving suggestions, consider topping your Cookies and Cream Ice Cream with a drizzle of chocolate syrup, a sprinkle of crushed cookies, or even a dollop of whipped cream for an extra special touch. You can also experiment with variations by adding in other mix-ins like crushed candy bars or a swirl of fudge to create your own unique flavor combinations. I encourage you to give this recipe a try and experience the joy of homemade ice cream. Once you do, I would love to hear about your experience! Share your thoughts, any tweaks you made, or even a photo of your delicious creation. Let’s spread the love for this Cookies and Cream Ice Cream together! Print
Cookies and Cream Ice Cream: The Ultimate Guide to Making This Delicious Treat
- Total Time: 165 minutes
- Yield: 1.5 quarts 1x
Description
Enjoy the rich and creamy goodness of homemade Cookies and Cream Ice Cream, featuring a smooth vanilla base mixed with crushed chocolate sandwich cookies. Perfect for any dessert lover, this delightful treat is easy to make and sure to impress!
Ingredients
- 2 cups heavy cream
- 1 cup whole milk
- 3/4 cup granulated sugar
- 1 teaspoon pure vanilla extract
- 1/2 cup crushed chocolate sandwich cookies (like Oreos)
- 1/2 cup mini chocolate chips (optional)
- 1/4 teaspoon salt
Instructions
- In a large mixing bowl, pour in 2 cups of heavy cream and 1 cup of whole milk.
- Add 3/4 cup of granulated sugar to the bowl and mix until dissolved (about 2-3 minutes).
- Stir in 1 teaspoon of pure vanilla extract and 1/4 teaspoon of salt.
- Taste the mixture and adjust sweetness if necessary.
- Cover the bowl and refrigerate for at least 2 hours.
- Follow the manufacturer’s instructions for your ice cream maker.
- Pour the chilled mixture into the ice cream maker and churn for 20-25 minutes.
- When almost done, add 1/2 cup of crushed cookies and optional mini chocolate chips, and churn for an additional 5 minutes.
- Scoop the ice cream into a freezer-safe container, packing it down to eliminate air pockets.
- Use a spatula to smooth the top of the ice cream.
- Cover the container and freeze for at least 4 hours, or overnight for best results.
- Once frozen, scoop the ice cream into bowls or cones.
- Top with additional crushed cookies or chocolate syrup if desired.
- Relish your homemade cookies and cream ice cream!
Notes
- Storage Tips: Store leftovers in the freezer, covered to prevent freezer burn. It lasts about 2-3 weeks.
- Reviving the Ice Cream: If too hard, let it sit at room temperature for 5-10 minutes before scooping.
- Variations: Feel free to experiment with different cookie flavors or add-ins!
- Prep Time: 15 minutes
- Cook Time: 30 minutes


Leave a Comment