
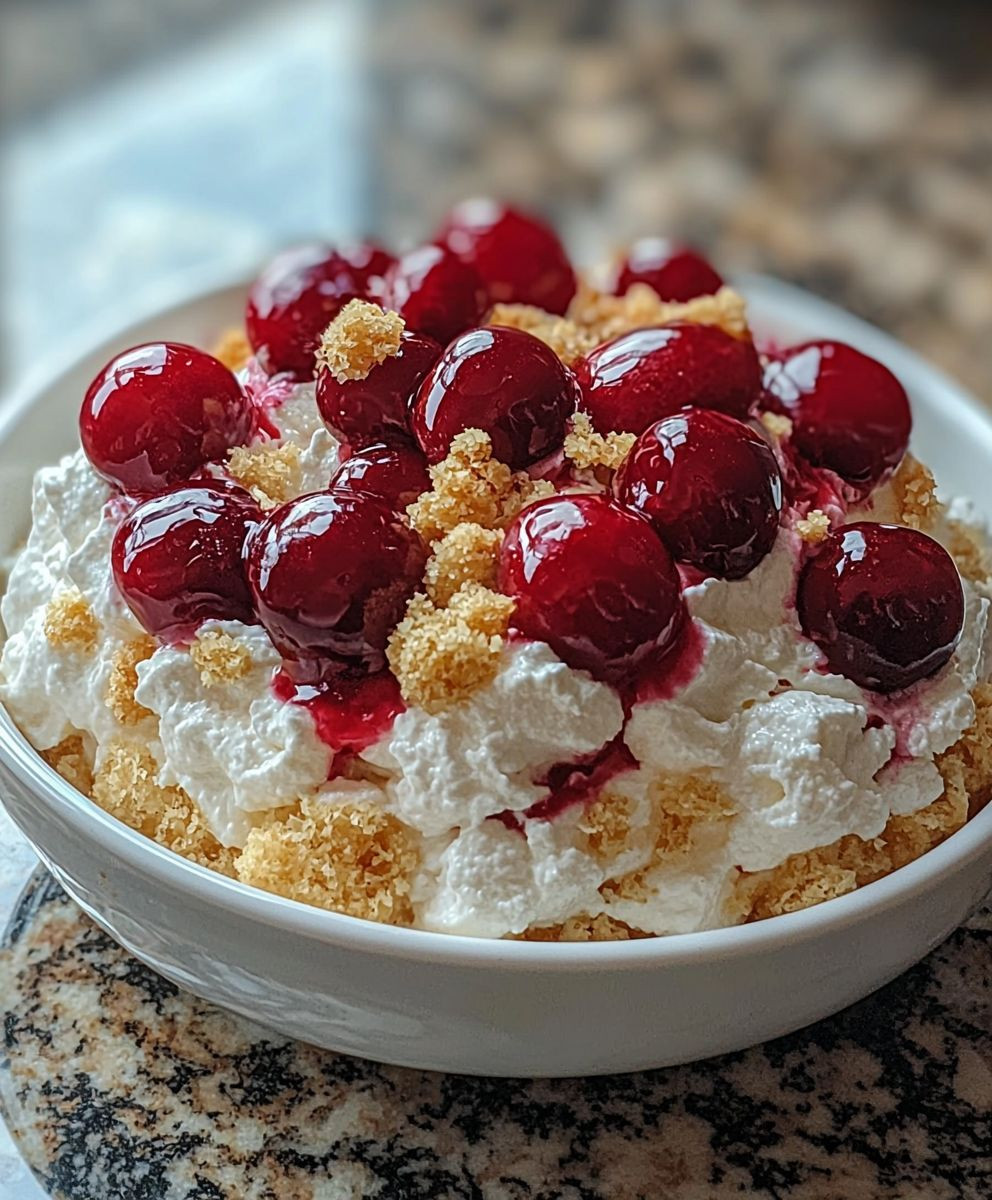
Cherry Cheesecake Fluff: Prepare to be transported to dessert heaven with this incredibly easy and utterly irresistible treat! Imagine the creamy, tangy delight of cheesecake, but lightened up with a cloud-like texture and bursting with the sweet-tart flavor of cherries. This isn’t just a dessert; it’s a nostalgic trip back to potlucks and family gatherings, where simple pleasures reigned supreme.
While the exact origins of “fluff” desserts are a bit hazy, they gained immense popularity in the mid-20th century, becoming a staple in American households. They represent a time when convenience and deliciousness went hand-in-hand. This Cherry Cheesecake Fluff recipe perfectly embodies that spirit, offering a no-bake option that’s ready in minutes.
What makes this dish so beloved? It’s the perfect combination of textures the smooth, airy fluff, the creamy cheesecake base, and the juicy burst of cherries in every bite. Plus, its incredibly versatile! Serve it as a light dessert after a heavy meal, bring it to a party, or simply enjoy a spoonful (or two!) as a sweet pick-me-up. The delightful taste and effortless preparation make this Cherry Cheesecake Fluff a guaranteed crowd-pleaser, no matter the occasion. Get ready to experience a dessert that’s both comforting and completely addictive!

Ingredients:
- 1 (8 ounce) package cream cheese, softened
- 1 (14 ounce) can sweetened condensed milk
- 1 teaspoon vanilla extract
- 1 (20 ounce) can crushed pineapple, drained well
- 1 (21 ounce) can cherry pie filling
- 1 (8 ounce) container frozen whipped topping, thawed
- 1/2 cup chopped pecans or walnuts (optional)
- Graham crackers or vanilla wafers, for serving (optional)
Preparing the Cream Cheese Base
Alright, let’s get started with the heart of our Cherry Cheesecake Fluff the creamy, dreamy base! This is where we lay the foundation for all that deliciousness to come. Trust me, taking your time here will make a world of difference in the final texture.
- Soften the Cream Cheese: This is crucial! You absolutely need your cream cheese to be softened to room temperature. If it’s even slightly cold, you’ll end up with lumps, and nobody wants lumpy fluff. I usually take mine out of the fridge at least an hour before I plan to start. You can speed things up by cutting it into smaller cubes, but patience is key here.
- Beat the Cream Cheese: Now, grab your electric mixer (a stand mixer or a hand mixer works perfectly). In a large bowl, beat the softened cream cheese until it’s completely smooth and creamy. This might take a few minutes, so don’t rush it. You want it to be light and airy, almost like whipped cream. Scrape down the sides of the bowl occasionally to make sure everything is getting incorporated evenly.
- Add Sweetened Condensed Milk: Pour in the entire can of sweetened condensed milk. This is what gives our fluff that signature sweetness and richness. Start mixing on low speed to avoid splattering (trust me, it’s sticky stuff!). Gradually increase the speed to medium and beat until the sweetened condensed milk is fully incorporated into the cream cheese. The mixture should be smooth and glossy.
- Incorporate Vanilla Extract: Add the vanilla extract. This little touch of vanilla enhances all the other flavors and adds a lovely warmth to the fluff. Mix it in until it’s evenly distributed.
Adding the Fruit and Whipped Topping
Now for the fun part adding all the fruity goodness and that light, airy whipped topping! This is where the Cherry Cheesecake Fluff really starts to come together and transform into something truly special.
- Drain the Crushed Pineapple: This is super important! You want to make sure the crushed pineapple is drained really, really well. Excess liquid will make your fluff watery, and we definitely don’t want that. I usually drain it in a fine-mesh sieve, pressing down gently to remove as much liquid as possible. You can even use a paper towel to blot it dry.
- Gently Fold in the Pineapple: Add the drained crushed pineapple to the cream cheese mixture. Now, this is where we switch from using the electric mixer to a more gentle approach. We want to fold in the pineapple, not beat it in. Use a rubber spatula and gently fold the pineapple into the cream cheese mixture until it’s evenly distributed. Be careful not to overmix, as this can deflate the mixture.
- Add the Cherry Pie Filling: Next, add the cherry pie filling. I like to use the whole can, but you can adjust the amount to your liking. If you prefer a less cherry-intense flavor, you can use a little less. Again, gently fold the cherry pie filling into the mixture until it’s evenly distributed. Be careful not to break up the cherries too much.
- Fold in the Whipped Topping: This is the final step in creating the fluff! Gently fold in the thawed whipped topping. This is what gives the fluff its light and airy texture. Be very careful not to overmix, as this will deflate the whipped topping and make the fluff less fluffy. Fold it in until it’s just combined. You should still see some streaks of whipped topping throughout the mixture.
- Add Nuts (Optional): If you’re using nuts, now’s the time to add them. Gently fold in the chopped pecans or walnuts until they’re evenly distributed.
Chilling and Serving
Almost there! Now comes the hardest part waiting for the Cherry Cheesecake Fluff to chill and set. But trust me, it’s worth the wait! Chilling allows the flavors to meld together and the fluff to thicken up to the perfect consistency.
- Cover and Chill: Cover the bowl with plastic wrap and refrigerate for at least 2 hours, or preferably overnight. This will allow the flavors to meld together and the fluff to thicken up.
- Serve: Once the fluff is chilled, it’s ready to serve! You can serve it in individual bowls or in a large serving dish. I like to garnish it with a few extra cherries or a sprinkle of chopped nuts.
- Serving Suggestions: This Cherry Cheesecake Fluff is delicious on its own, but it’s also great served with graham crackers or vanilla wafers for dipping. You can also use it as a topping for angel food cake or pound cake. Or, get creative and use it as a filling for crepes or waffles!
Tips and Variations:
Adjusting Sweetness:
If you find the fluff too sweet, you can reduce the amount of sweetened condensed milk or use a sugar-free whipped topping.
Fruit Variations:
Feel free to experiment with other fruits! You can use blueberry pie filling, strawberry pie filling, or even a combination of different fruits.
Adding Texture:
For extra crunch, you can add crushed graham crackers or chopped pretzels to the fluff.
Making it Ahead:
This Cherry Cheesecake Fluff can be made up to 2 days in advance. Just store it in an airtight container in the refrigerator.
Storage:
Store leftover Cherry Cheesecake Fluff in an airtight container in the refrigerator for up to 3 days.
Conclusion:
Okay, friends, let’s be honest: you’ve made it this far, and that means you’re seriously considering whipping up this Cherry Cheesecake Fluff. And trust me, you absolutely should! This isn’t just another dessert recipe; it’s a guaranteed crowd-pleaser, a delightful burst of flavor, and ridiculously easy to make. Think about it: creamy cheesecake, sweet cherries, and a light, airy texture all combined into one irresistible bowl. What’s not to love?
I know, I know, you might be thinking, “Another fluff recipe? What makes this one so special?” Well, it’s the perfect balance of tartness from the cherries and the richness of the cheesecake. It’s not overly sweet, which makes it incredibly addictive (in the best way possible, of course!). Plus, it’s so versatile! You can serve it as a light dessert after a heavy meal, bring it to a potluck, or even enjoy it as a midday treat. It’s a total win-win situation.
But the real magic lies in its simplicity. Seriously, you can throw this together in under 15 minutes, which makes it perfect for those last-minute gatherings or when you just need a little something sweet without spending hours in the kitchen. And the best part? You probably already have most of the ingredients in your pantry and fridge!
Now, let’s talk serving suggestions and variations, because that’s where the fun really begins. You can serve this Cherry Cheesecake Fluff in individual parfait glasses for an elegant presentation, or simply pile it high in a large bowl for a more casual gathering. For an extra touch of decadence, try topping it with a sprinkle of graham cracker crumbs or a drizzle of melted white chocolate.
Feeling adventurous? Here are a few variations to try:
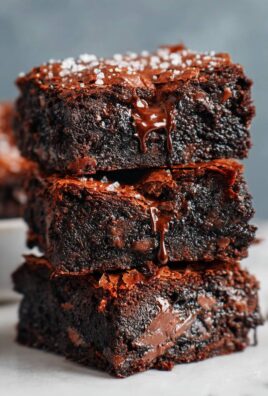
- Chocolate Cherry Cheesecake Fluff: Add a tablespoon or two of cocoa powder to the mixture for a chocolatey twist.
- Almond Cherry Cheesecake Fluff: Add a teaspoon of almond extract for a nutty flavor.
- Pina Colada Cherry Cheesecake Fluff: Substitute the cherry pie filling with crushed pineapple and a splash of coconut rum extract.
- Berry Blast Cheesecake Fluff: Mix in other berries like blueberries, raspberries, or strawberries for a mixed berry sensation.
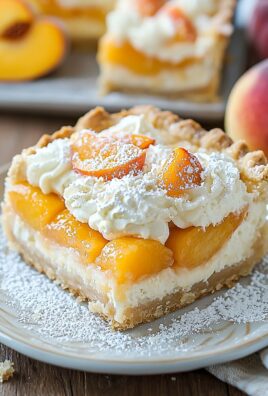
The possibilities are endless! Don’t be afraid to experiment and create your own unique version of this delightful dessert. You can even use different flavors of pie filling to customize it to your liking. Peach, blueberry, or even apple pie filling would work beautifully.
But seriously, enough reading! It’s time to get in the kitchen and make some magic happen. I promise you won’t regret it. This Cherry Cheesecake Fluff is a guaranteed hit, and I can’t wait to hear what you think. So, go ahead, give it a try, and then come back and share your experience in the comments below. Did you make any variations? What did your family and friends think? I’m all ears!
Happy fluffing, and happy eating! I’m confident that this recipe will become a staple in your dessert rotation. Enjoy!
Print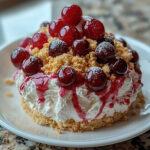
Cherry Cheesecake Fluff: A Deliciously Easy Dessert Recipe
- Total Time: 135 minutes
- Yield: 8–10 servings 1x
Description
Light and fluffy dessert with cream cheese, sweetened condensed milk, crushed pineapple, cherry pie filling, and whipped topping. Easy to make and perfect for potlucks!
Ingredients
- 1 (8 ounce) package cream cheese, softened
- 1 (14 ounce) can sweetened condensed milk
- 1 teaspoon vanilla extract
- 1 (20 ounce) can crushed pineapple, drained well
- 1 (21 ounce) can cherry pie filling
- 1 (8 ounce) container frozen whipped topping, thawed
- 1/2 cup chopped pecans or walnuts (optional)
- Graham crackers or vanilla wafers, for serving (optional)
Instructions
- Soften the Cream Cheese: Ensure cream cheese is softened to room temperature to avoid lumps.
- Beat the Cream Cheese: In a large bowl, beat the softened cream cheese with an electric mixer until smooth and creamy. Scrape down the sides of the bowl as needed.
- Add Sweetened Condensed Milk: Pour in the sweetened condensed milk. Mix on low speed initially, then increase to medium until fully incorporated.
- Incorporate Vanilla Extract: Add the vanilla extract and mix until evenly distributed.
- Drain the Crushed Pineapple: Drain the crushed pineapple very well using a fine-mesh sieve or paper towels to remove excess liquid.
- Gently Fold in the Pineapple: Fold the drained pineapple into the cream cheese mixture using a rubber spatula until evenly distributed.
- Add the Cherry Pie Filling: Gently fold in the cherry pie filling until evenly distributed, being careful not to break up the cherries too much.
- Fold in the Whipped Topping: Gently fold in the thawed whipped topping until just combined. Avoid overmixing.
- Add Nuts (Optional): If using, gently fold in the chopped pecans or walnuts.
- Cover and Chill: Cover the bowl with plastic wrap and refrigerate for at least 2 hours, or preferably overnight.
- Serve: Serve chilled in individual bowls or a large serving dish. Garnish with extra cherries or chopped nuts if desired. Serve with graham crackers or vanilla wafers for dipping, or as a topping for cake.
Notes
- Adjusting Sweetness: Reduce sweetened condensed milk or use sugar-free whipped topping if too sweet.
- Fruit Variations: Experiment with blueberry or strawberry pie filling.
- Adding Texture: Add crushed graham crackers or chopped pretzels for extra crunch.
- Making it Ahead: Can be made up to 2 days in advance. Store in an airtight container in the refrigerator.
- Storage: Store leftovers in an airtight container in the refrigerator for up to 3 days.
- Prep Time: 15 minutes
- Cook Time: 0 minutes
Leave a Comment