
Brownies from Scratch: Is there anything more comforting than the fudgy, chocolatey goodness of a homemade brownie? I think not! Forget the boxed mixes; we’re diving headfirst into creating the ultimate brownie experience, starting with the purest ingredients and ending with a pan of irresistible squares that will have everyone begging for more.
The history of brownies is a delightful tale of culinary serendipity. Legend has it that the brownie was born from a baking mishap a forgotten ingredient or a slightly off recipe. Whatever the origin, this American classic quickly captured hearts (and stomachs!) with its unique texture and intense chocolate flavor. While variations abound, the core appeal remains the same: a dense, chewy, and deeply satisfying treat.
What is it about brownies from scratch that makes them so universally loved? Perhaps it’s the rich, decadent flavor that satisfies even the most intense chocolate cravings. Or maybe it’s the perfect balance of a slightly crisp top and a gooey, fudgy center. For me, it’s the sheer joy of creating something so delicious from simple ingredients. Plus, let’s be honest, the aroma of baking brownies is pure happiness in a pan! This recipe is designed to be easy to follow, even for beginner bakers, so you can enjoy the magic of homemade brownies anytime you like. Get ready to experience brownie perfection!

Ingredients:
- 1 cup (2 sticks) unsalted butter, melted
- 2 cups granulated sugar
- 4 large eggs
- 1 tablespoon vanilla extract
- 1 cup all-purpose flour
- ¾ cup unsweetened cocoa powder
- ½ teaspoon baking powder
- ¼ teaspoon salt
- 1 cup chocolate chips (optional, but highly recommended!)
Preparing the Brownie Batter
- Melt the Butter: First things first, let’s melt that butter! You can do this in a saucepan over low heat, stirring constantly to prevent burning. Alternatively, you can use a microwave-safe bowl and melt it in 30-second intervals, stirring in between, until completely melted. Be careful not to overheat it! Once melted, set it aside to cool slightly. This is important because you don’t want to cook the eggs when you add them later.
- Combine Butter and Sugar: In a large mixing bowl, pour in the melted butter and add the granulated sugar. Using a whisk or an electric mixer, cream together the butter and sugar until the mixture is smooth and well combined. This step is crucial for creating a fudgy texture. Don’t rush it; take your time to ensure the sugar is fully incorporated into the butter.
- Incorporate the Eggs: Now, it’s time to add the eggs. Crack the eggs one at a time into the butter and sugar mixture, mixing well after each addition. Make sure each egg is fully incorporated before adding the next. This helps to create a stable emulsion and prevents the batter from separating. After all the eggs are in, add the vanilla extract and mix until everything is evenly combined. The batter should look glossy and smooth at this point.
- Dry Ingredients: In a separate bowl, whisk together the all-purpose flour, unsweetened cocoa powder, baking powder, and salt. Whisking ensures that the dry ingredients are evenly distributed, which is important for a consistent texture. This also helps to break up any lumps in the cocoa powder.
- Combine Wet and Dry Ingredients: Gradually add the dry ingredients to the wet ingredients, mixing on low speed or by hand until just combined. Be careful not to overmix the batter. Overmixing can develop the gluten in the flour, resulting in tough brownies. Stop mixing as soon as you no longer see streaks of flour. A few small lumps are okay!
- Add Chocolate Chips (Optional): If you’re using chocolate chips (and I highly recommend you do!), gently fold them into the batter until they are evenly distributed. You can use any kind of chocolate chips you like milk chocolate, dark chocolate, or even a mix of both!
Baking the Brownies
- Prepare the Baking Pan: Preheat your oven to 350°F (175°C). While the oven is preheating, grease and flour an 8×8 inch baking pan. You can also line the pan with parchment paper, leaving an overhang on the sides. This makes it super easy to lift the brownies out of the pan after they’ve cooled. If you don’t have parchment paper, greasing and flouring the pan will prevent the brownies from sticking.
- Pour Batter into Pan: Pour the brownie batter into the prepared baking pan and spread it evenly with a spatula. Make sure the batter reaches all the corners of the pan.
- Bake the Brownies: Place the baking pan in the preheated oven and bake for 25-30 minutes, or until a toothpick inserted into the center comes out with moist crumbs attached. The baking time may vary depending on your oven, so keep an eye on the brownies. Don’t overbake them, or they will be dry. You want them to be fudgy and moist in the center.
- Cooling Time: Once the brownies are done, remove the baking pan from the oven and let them cool completely in the pan before cutting. This is the hardest part, I know! But trust me, it’s worth the wait. Cooling allows the brownies to set properly and makes them easier to cut. If you used parchment paper, you can lift the brownies out of the pan and place them on a cutting board to cool.
Cutting and Serving
- Cutting the Brownies: Once the brownies are completely cool, use a sharp knife to cut them into squares. For clean cuts, you can run the knife under hot water and wipe it dry between each cut. The size of the squares is up to you!
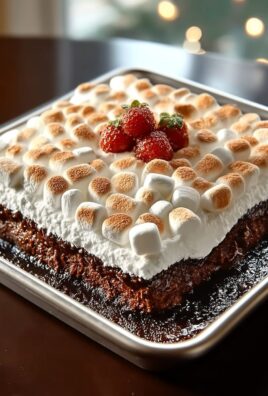
- Serving Suggestions: Now for the best part serving and enjoying your homemade brownies! These brownies are delicious on their own, but you can also serve them with a scoop of vanilla ice cream, a drizzle of chocolate sauce, or a sprinkle of powdered sugar. They’re also great with a cup of coffee or a glass of milk.
Tips and Tricks for Perfect Brownies
- Use High-Quality Ingredients: The quality of your ingredients will directly impact the taste of your brownies. Use good-quality butter, sugar, cocoa powder, and chocolate chips for the best results.
- Don’t Overmix the Batter: Overmixing the batter can develop the gluten in the flour, resulting in tough brownies. Mix until just combined.
- Don’t Overbake the Brownies: Overbaking will result in dry brownies. Bake until a toothpick inserted into the center comes out with moist crumbs attached.
- Let the Brownies Cool Completely: Cooling allows the brownies to set properly and makes them easier to cut.
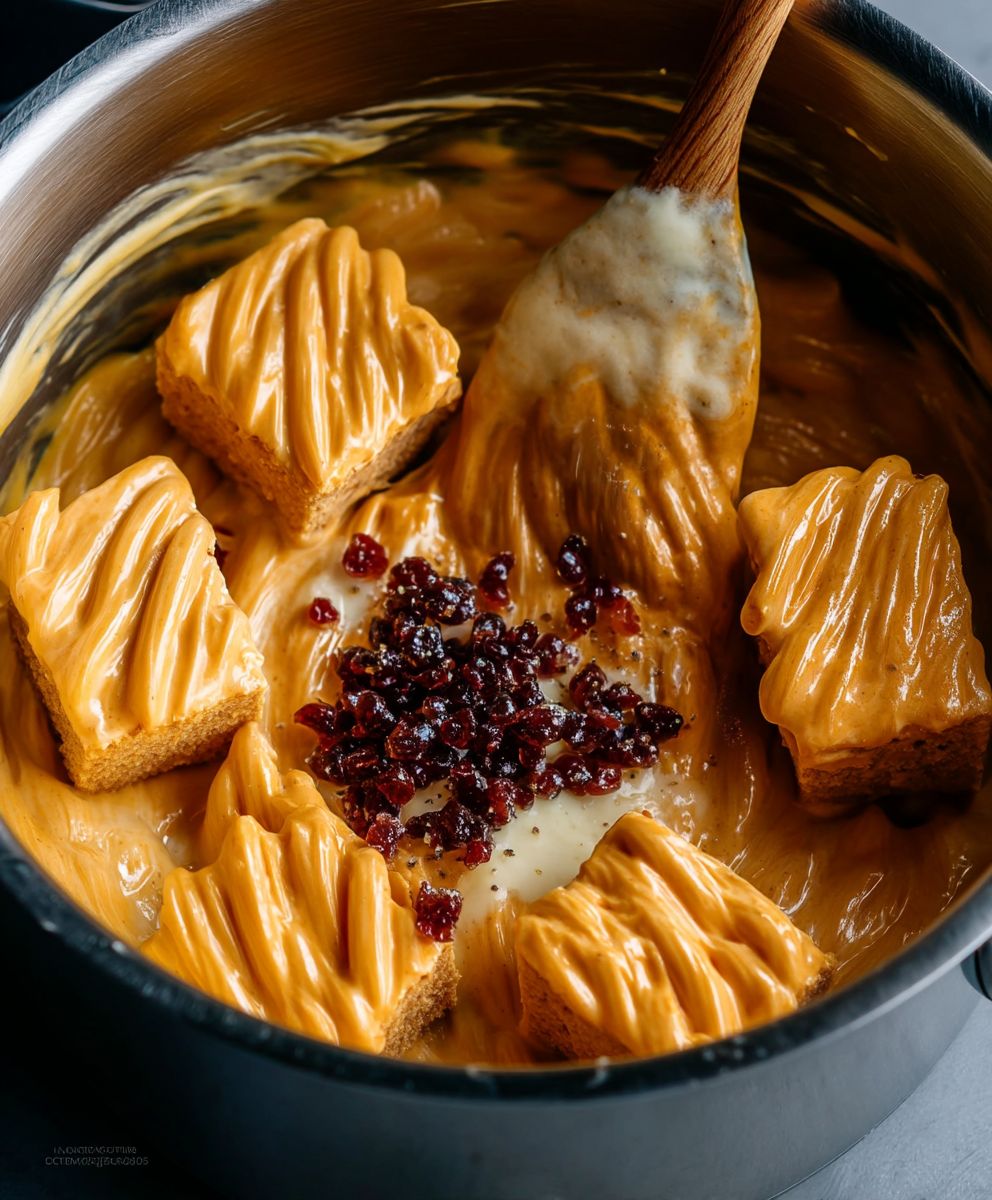
- Add-Ins: Feel free to experiment with different add-ins, such as nuts, peanut butter chips, or even a swirl of caramel.
- Storage: Store leftover brownies in an airtight container at room temperature for up to 3 days, or in the refrigerator for up to a week. You can also freeze them for longer storage.
Troubleshooting
- Brownies are too dry: You may have overbaked them. Next time, reduce the baking time by a few minutes.
- Brownies are too gooey: You may have underbaked them. Next time, increase the baking time by a few minutes.
- Brownies are tough: You may have overmixed the batter. Next time, mix until just combined.
- Brownies are not rising: Make sure your baking powder is fresh.
Variations
- Peanut Butter Brownies: Swirl peanut butter into the batter before baking.
- Cream Cheese Brownies: Swirl cream cheese mixture into the batter before baking.
- Mint Chocolate Brownies: Add mint extract to the batter and top with mint chocolate chips.
- Espresso Brownies: Add a teaspoon of instant espresso powder to the dry ingredients.
Detailed Explanation of Key Steps
Why Melted Butter?
Using melted butter is key to achieving that signature fudgy texture in these brownies. Melted butter creates a denser, chewier brownie compared to using softened butter, which would result in a cakier texture. The melted butter also helps to create a smooth and glossy batter.
The Importance of Not Overmixing
Overmixing brownie batter is a common mistake that can lead to tough, less-than-desirable brownies. When you overmix, you develop the gluten in the flour, which creates a more elastic and chewy texture. While chewiness is desirable in some baked goods, it’s not what we’re going for in a fudgy brownie. Mix until just combined to avoid this.
The Right Baking Time
Finding the perfect baking time is crucial for achieving the ideal brownie texture. Overbaking will result in dry, crumbly brownies, while underbaking will leave you with a gooey, undercooked mess. The toothpick test is your best friend here. Insert a toothpick into the center of the brownies; it should come out with moist crumbs attached, not completely clean. Remember that the brownies will continue to set as they cool, so it’s better to err on the side of slightly underbaked.
Cooling is Key
Resist the urge to cut into those warm, tempting brownies! Cooling them completely is essential for several reasons. First, it allows the brownies to set properly, making them easier to cut into clean squares. Second, it enhances the fudgy texture. As the brownies cool, the chocolate and butter solidify, creating a richer, more decadent flavor. Patience is a virtue, especially when it comes to brownies!
Conclusion:
So there you have it! These brownies from scratch are truly something special, and I genuinely believe they’re a must-try for any brownie lover. Forget the boxed mixes once you taste the rich, fudgy goodness of these homemade delights, you’ll never go back. The deep chocolate flavor, the perfectly chewy edges, and the soft, melt-in-your-mouth center it’s a symphony of textures and tastes that will leave you craving more.
But why are these brownies so irresistible? It’s the combination of high-quality ingredients and the simple, straightforward method. We’re not talking about complicated techniques or hard-to-find items. Just pure, unadulterated brownie bliss, made with love and a few pantry staples. Plus, the aroma that fills your kitchen while they’re baking is an experience in itself a warm, comforting invitation to indulge.
And the best part? These brownies are incredibly versatile! Serve them warm with a scoop of vanilla ice cream for a classic dessert that’s always a crowd-pleaser. Or, drizzle them with salted caramel sauce for an extra touch of decadence. For a more sophisticated twist, try pairing them with a dollop of whipped cream and a sprinkle of sea salt.
Looking for variations? Go wild! Add chopped walnuts or pecans for a nutty crunch. Swirl in some peanut butter for a Reese’s-inspired treat. Fold in chocolate chips (milk, dark, or white the choice is yours!) for an extra dose of chocolatey goodness. Or, for a truly unique flavor, try adding a pinch of cayenne pepper for a subtle kick. You can even top them with a cream cheese frosting for a red velvet brownie vibe! The possibilities are endless, so feel free to experiment and create your own signature brownie masterpiece.
These brownies from scratch are also perfect for any occasion. Whether you’re baking for a birthday party, a holiday gathering, or simply a cozy night in, they’re guaranteed to be a hit. They’re also a thoughtful homemade gift for friends and family. Imagine the joy on their faces when they receive a batch of these warm, fudgy brownies it’s a gift that’s sure to be appreciated.
I’m so excited for you to try this recipe and experience the magic of homemade brownies for yourself. Don’t be intimidated by the thought of baking from scratch this recipe is designed to be easy and accessible for bakers of all skill levels. Just follow the instructions carefully, and you’ll be rewarded with the most delicious brownies you’ve ever tasted.
So, what are you waiting for? Preheat your oven, gather your ingredients, and get ready to bake! I promise you won’t regret it. And once you’ve made these brownies, I’d love to hear about your experience. Share your photos, your variations, and your thoughts in the comments below. Let’s create a community of brownie lovers and share our passion for this classic dessert. Happy baking! I can’t wait to see what you create with these incredible brownies from scratch!
Brownies From Scratch: The Ultimate Guide to Perfect Homemade Brownies
Fudgy, decadent homemade brownies with a rich chocolate flavor. Easy to make and perfect for any occasion!
Ingredients
- 1 cup (2 sticks) unsalted butter, melted
- 2 cups granulated sugar
- 4 large eggs
- 1 tablespoon vanilla extract
- 1 cup all-purpose flour
- ¾ cup unsweetened cocoa powder
- ½ teaspoon baking powder
- ¼ teaspoon salt
- 1 cup chocolate chips (optional, but highly recommended!)
Instructions
- Melt the Butter: Melt butter in a saucepan over low heat or in the microwave in 30-second intervals, stirring until melted. Let cool slightly.
- Combine Butter and Sugar: In a large bowl, cream together melted butter and sugar until smooth.
- Incorporate the Eggs: Add eggs one at a time, mixing well after each addition. Stir in vanilla extract.
- Dry Ingredients: In a separate bowl, whisk together flour, cocoa powder, baking powder, and salt.
- Combine Wet and Dry Ingredients: Gradually add dry ingredients to wet ingredients, mixing until just combined. Do not overmix.
- Add Chocolate Chips (Optional): Fold in chocolate chips.
- Prepare the Baking Pan: Preheat oven to 350°F (175°C). Grease and flour an 8×8 inch baking pan (or line with parchment paper).
- Pour Batter into Pan: Pour batter into the prepared pan and spread evenly.
- Bake the Brownies: Bake for 25-30 minutes, or until a toothpick inserted into the center comes out with moist crumbs attached.
- Cooling Time: Let cool completely in the pan before cutting.
- Cutting the Brownies: Cut into squares with a sharp knife.
- Serving Suggestions: Serve plain, with ice cream, chocolate sauce, or powdered sugar.
Notes
- Use high-quality ingredients for the best flavor.
- Don’t overmix the batter to avoid tough brownies.
- Don’t overbake the brownies to avoid dry brownies.
- Cool completely before cutting for clean squares.
- Experiment with add-ins like nuts, peanut butter chips, or caramel.
- Store leftover brownies in an airtight container at room temperature for up to 3 days, or in the refrigerator for up to a week. You can also freeze them for longer storage.
- For clean cuts, run the knife under hot water and wipe it dry between each cut.


Leave a Comment