
Boneless chicken tenders are a beloved dish that brings comfort and joy to dinner tables across the globe. As a versatile and easy-to-prepare option, these tender morsels have become a staple in many households, making them a go-to choice for busy weeknights or casual gatherings. The history of chicken tenders dates back to the 1970s in the United States, where they quickly gained popularity for their crispy exterior and juicy interior. What I love most about boneless chicken tenders is their incredible ability to absorb flavors, making them perfect for a variety of marinades and sauces. Whether youre serving them with a side of fries or tossing them into a salad, the delightful taste and satisfying texture of boneless chicken tenders never fail to impress. Plus, they are incredibly convenient to prepare, allowing you to whip up a delicious meal in no time!

Ingredients:
- 1 pound boneless, skinless chicken breasts
- 1 cup buttermilk
- 1 teaspoon garlic powder
- 1 teaspoon onion powder
- 1 teaspoon paprika
- 1 teaspoon salt
- 1/2 teaspoon black pepper
- 1 cup all-purpose flour
- 1/2 cup breadcrumbs (panko or regular)
- 1 teaspoon dried oregano
- 1 teaspoon dried thyme
- 1/2 teaspoon cayenne pepper (optional, for heat)
- Vegetable oil (for frying)
Preparing the Chicken
1. **Trim the Chicken**: Start by trimming any excess fat from the boneless chicken breasts. I like to cut them into strips about 1 inch wide to create tenders. This helps them cook evenly and makes them easier to handle. 2. **Marinate the Chicken**: In a large bowl, combine the buttermilk, garlic powder, onion powder, paprika, salt, and black pepper. Whisk everything together until well mixed. Add the chicken strips to the bowl, ensuring they are fully submerged in the marinade. Cover the bowl with plastic wrap and refrigerate for at least 1 hour, or up to overnight. This step is crucial as it tenderizes the chicken and infuses it with flavor.Preparing the Breading
3. **Set Up Your Breading Station**: While the chicken is marinating, I like to prepare my breading station. In one shallow dish, add the all-purpose flour. In another shallow dish, combine the breadcrumbs, dried oregano, dried thyme, and cayenne pepper (if using). Mix well to ensure the spices are evenly distributed. 4. **Prepare for Breading**: Take the marinated chicken out of the refrigerator. Let it sit for a few minutes at room temperature. This helps the chicken cook more evenly.Breading the Chicken Tenders
5. **Coat the Chicken**: Take each chicken strip out of the buttermilk marinade, allowing any excess to drip off. First, dredge it in the flour, making sure to coat it completely. Shake off any excess flour. 6. **Dip in Breadcrumbs**: Next, transfer the floured chicken strip to the breadcrumb mixture. Press the breadcrumbs onto the chicken to ensure a good coating. Repeat this process for all the chicken strips, placing them on a plate or baking sheet as you go.Cooking the Chicken Tenders
7. **Heat the Oil**: In a large skillet, pour enough vegetable oil to cover the bottom of the pan by about 1/4 inch. Heat the oil over medium-high heat until it shimmers. You can test if the oil is ready by dropping a small piece of bread into the oil; if it sizzles, youre good to go. 8. **Fry the Chicken Tenders**: Carefully add the breaded chicken strips to the hot oil, making sure not to overcrowd the pan. I usually fry them in batches of 4-5, depending on the size of my skillet. Cook for about 3-4 minutes on each side, or until they are golden brown and cooked through. The internal temperature should reach 165°F (75°C). 9. **Drain the Chicken**: Once cooked, use tongs to remove the chicken tenders from the skillet and place them on a plate lined with paper towels to drain any excess oil. This keeps them crispy and not greasy.Serving the Chicken Tenders
10. **Serve Hot**: I love serving these chicken tenders hot, straight from the skillet. They pair wonderfully with a variety of dipping sauces like honey mustard, barbecue sauce, or ranch dressing. You can also serve them alongside a fresh salad or some crispy fries for a complete meal. 11. **Garnish (Optional)**: For a little extra flair, you can garnish the chicken tenders with fresh herbs like parsley or cilantro. This adds a pop of color and freshness to your dish.Storing Leftovers
12. **Store Leftovers**: If you have any leftovers (which is rare in my house!), let the chicken tenders cool completely. Store them in an airtight container in the refrigerator for up to 3 days. To reheat, I recommend using an oven or air fryer to maintain their crispiness. Preheat the oven to 375°F (190°C) and bake for about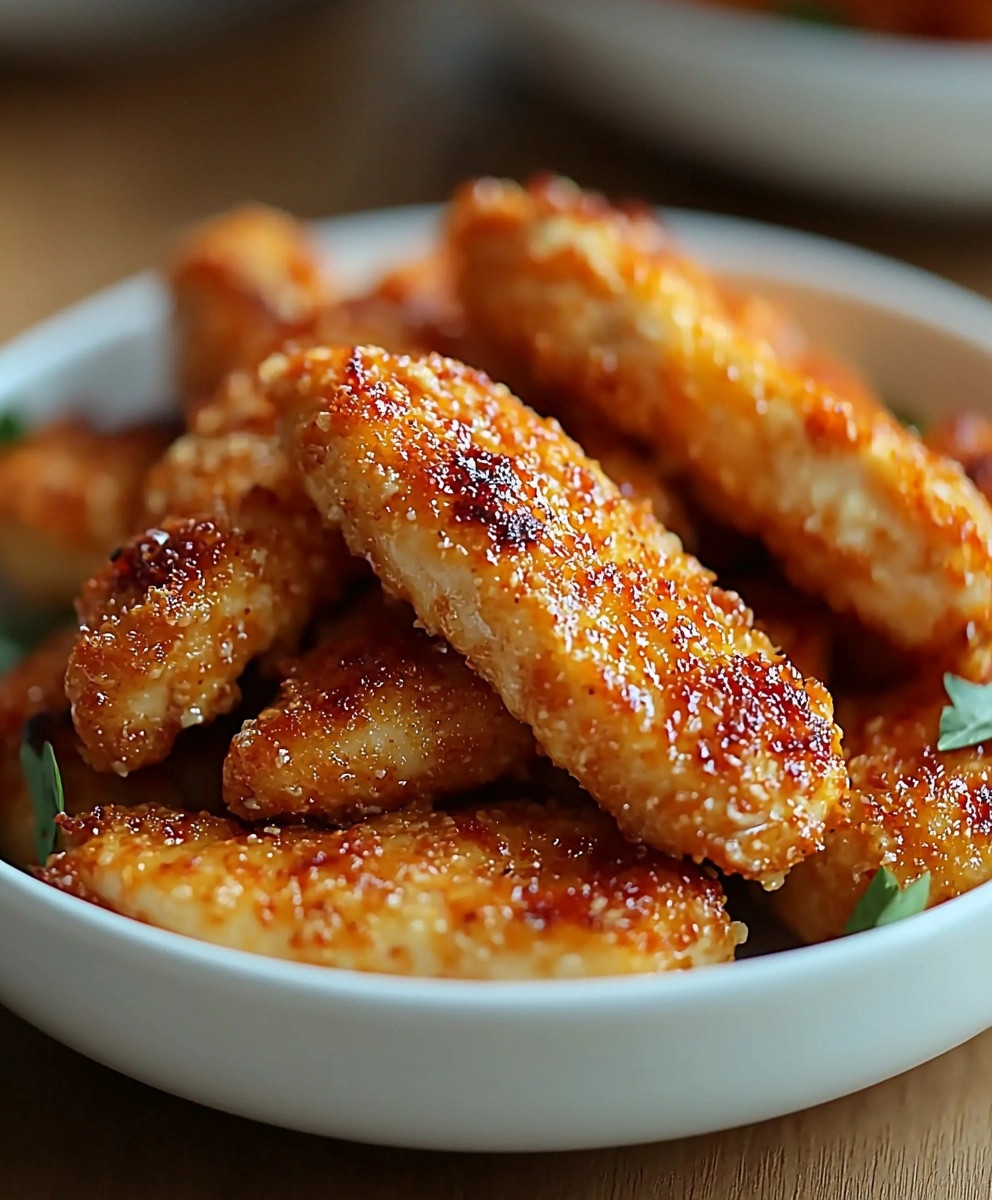
Conclusion:
In summary, this boneless chicken tenders recipe is an absolute must-try for anyone looking to whip up a delicious and satisfying meal. The tender, juicy chicken paired with a crispy coating makes for a delightful dish that can please even the pickiest eaters. Whether you serve them with a side of homemade dipping sauce, a fresh salad, or even tucked into a warm tortilla for a tasty wrap, the possibilities are endless. You can also experiment with different seasonings or marinades to give your chicken tenders a unique twistthink spicy buffalo, zesty lemon pepper, or even a sweet honey glaze. I encourage you to give this recipe a go and make it your own! Once youve tried it, Id love to hear about your experience. Did you add your own special touch? What sides did you pair with your boneless chicken tenders? Sharing your culinary adventures not only inspires others but also creates a wonderful community of food lovers. So, roll up your sleeves, gather your ingredients, and dive into this delightful recipe. Trust me, you wont regret it! Print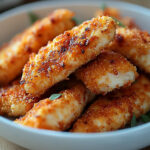
Boneless Chicken Tenders: The Ultimate Guide to Perfectly Crispy and Juicy Recipes
- Total Time: 75 minutes
- Yield: 4 servings 1x
Description
Crispy homemade chicken tenders marinated in buttermilk and coated with a flavorful breadcrumb mixture. Perfect for dipping and loved by all!
Ingredients
- 1 pound boneless, skinless chicken breasts
- 1 cup buttermilk
- 1 teaspoon garlic powder
- 1 teaspoon onion powder
- 1 teaspoon paprika
- 1 teaspoon salt
- 1/2 teaspoon black pepper
- 1 cup all-purpose flour
- 1/2 cup breadcrumbs (panko or regular)
- 1 teaspoon dried oregano
- 1 teaspoon dried thyme
- 1/2 teaspoon cayenne pepper (optional, for heat)
- Vegetable oil (for frying)
Instructions
- Trim any excess fat from the chicken breasts and cut them into strips about 1 inch wide.
- In a large bowl, whisk together buttermilk, garlic powder, onion powder, paprika, salt, and black pepper. Add chicken strips, ensuring they are fully submerged. Cover and refrigerate for at least 1 hour or overnight.
- In one shallow dish, add flour. In another, combine breadcrumbs, oregano, thyme, and cayenne pepper. Mix well.
- Remove marinated chicken from the refrigerator and let it sit for a few minutes at room temperature.
- Take each chicken strip from the buttermilk, allowing excess to drip off. Dredge in flour, shaking off excess.
- Transfer the floured chicken to the breadcrumb mixture, pressing to ensure a good coating. Repeat for all strips.
- In a large skillet, pour enough vegetable oil to cover the bottom by about 1/4 inch. Heat over medium-high until shimmering.
- Carefully add chicken strips to the hot oil, frying in batches of 4-5. Cook for 3-4 minutes on each side until golden brown and cooked through (internal temperature should reach 165°F/75°C).
- Use tongs to remove cooked tenders and place them on a plate lined with paper towels to drain excess oil.
- Serve immediately with dipping sauces like honey mustard, barbecue sauce, or ranch dressing. Pair with a fresh salad or crispy fries.
- Garnish with fresh herbs like parsley or cilantro for added color and freshness.
- Let any leftovers cool completely, then store in an airtight container in the refrigerator for up to 3 days. Reheat in an oven or air fryer at 375°F (190°C) for best results.
Notes
- For extra flavor, consider adding more spices to the breadcrumb mixture or experimenting with different dipping sauces.
- Ensure the oil is hot enough before frying to achieve a crispy texture.
- Prep Time: 60 minutes
- Cook Time: 15 minutes
Leave a Comment