
Jewish Apple Cake is a delightful dessert that has been cherished in Jewish households for generations. This moist and flavorful cake, often enjoyed during Rosh Hashanah and other festive occasions, brings a touch of tradition to any gathering. The combination of sweet apples, warm spices, and a tender crumb creates a comforting treat that is hard to resist. I love how this cake not only satisfies my sweet tooth but also evokes memories of family gatherings and celebrations. The rich history behind Jewish Apple Cake, with its roots in Eastern European Jewish culture, adds to its charm, making it a beloved dish that transcends time. Whether served with a dollop of whipped cream or enjoyed on its own, Jewish Apple Cake is a perfect blend of taste and nostalgia that everyone can appreciate.

Ingredients:
- 4 large apples (I prefer Granny Smith for their tartness)
- 1 tablespoon lemon juice
- 3 cups all-purpose flour
- 2 cups granulated sugar
- 1 cup vegetable oil
- 4 large eggs
- 1 teaspoon vanilla extract
- 1 teaspoon baking powder
- 1 teaspoon baking soda
- 1 teaspoon ground cinnamon
- ½ teaspoon salt
- ½ cup chopped walnuts or pecans (optional)
- Powdered sugar for dusting (optional)
Preparing the Apples
1. Start by preheating your oven to 350°F (175°C). This will ensure that your cake bakes evenly. 2. While the oven is heating, peel, core, and slice the apples into thin wedges. I usually aim for about 1/4-inch thick slices to ensure they cook through nicely. 3. In a large bowl, toss the apple slices with the lemon juice. This not only adds flavor but also helps prevent the apples from browning.Preparing the Batter
4. In another large mixing bowl, combine the flour, sugar, baking powder, baking soda, cinnamon, and salt. Whisk these dry ingredients together until they are well mixed. 5. In a separate bowl, beat the eggs, then add the vegetable oil and vanilla extract. Mix until everything is well combined. 6. Gradually add the wet ingredients to the dry ingredients, stirring gently until just combined. Be careful not to overmix; a few lumps are perfectly fine. 7. If youre using nuts, fold them into the batter at this stage. I love the added crunch they provide, but feel free to skip them if you prefer a nut-free cake.Combining Apples and Batter
8. Now, its time to incorporate the apples into the batter. I like to reserve a few apple slices to place on top of the cake for a beautiful presentation, but you can mix all the apples in if you prefer. 9. Gently fold the apple slices into the batter, ensuring they are evenly distributed. The batter will be thick, so take your time to mix it well without overworking it.Baking the Cake
10. Grease and flour a 10-inch bundt pan or a 9×13-inch baking dish. This step is crucial to ensure that your cake comes out easily after baking. 11. Pour the batter into the prepared pan, smoothing the top with a spatula. If you reserved some apple slices, now is the time to arrange them on top of the batter for that extra touch. 12. Place the pan in the preheated oven and bake for 50-60 minutes, or until a toothpick inserted into the center comes out clean. Keep an eye on it towards the end of the baking time, as ovens can vary.Cooling and Serving
13. Once the cake is done, remove it from the oven and let it cool in the pan for about 15-20 minutes. This allows it to set and makes it easier to remove from the pan. 14. After cooling, carefully invert the cake onto a wire rack to cool completely. If you used a bundt pan, gently tap the sides to help release the cake. 15. Once the cake is completely cool, you can dust it with powdered sugar for a lovely finish. This step is optional, but it adds a nice touch and a bit of sweetness.Storing the Cake
16. If you have any leftovers (which is rare because its so delicious!), store the cake in an airtight container at room temperature for up to 3 days. You can also refrigerate it for up to a week, but I recommend bringing it back to room temperature before serving for the best flavor and texture.Enjoying Your Jewish Apple Cake
17. Slice the cake into generous pieces and serve it as a delightful dessert or even for breakfast with a cup of coffee or tea. The combination of sweet apples and warm spices is simply irresistible. 18. If you want to elevate your serving, consider pairing it with a scoop of vanilla ice cream or a dollop of whipped cream. The contrast of warm cake and cold toppings is heavenly! This Jewish Apple Cake is not just a recipe; its a tradition that brings warmth and comfort to any gathering. I hope you enjoy making it as much as I do! Happy baking!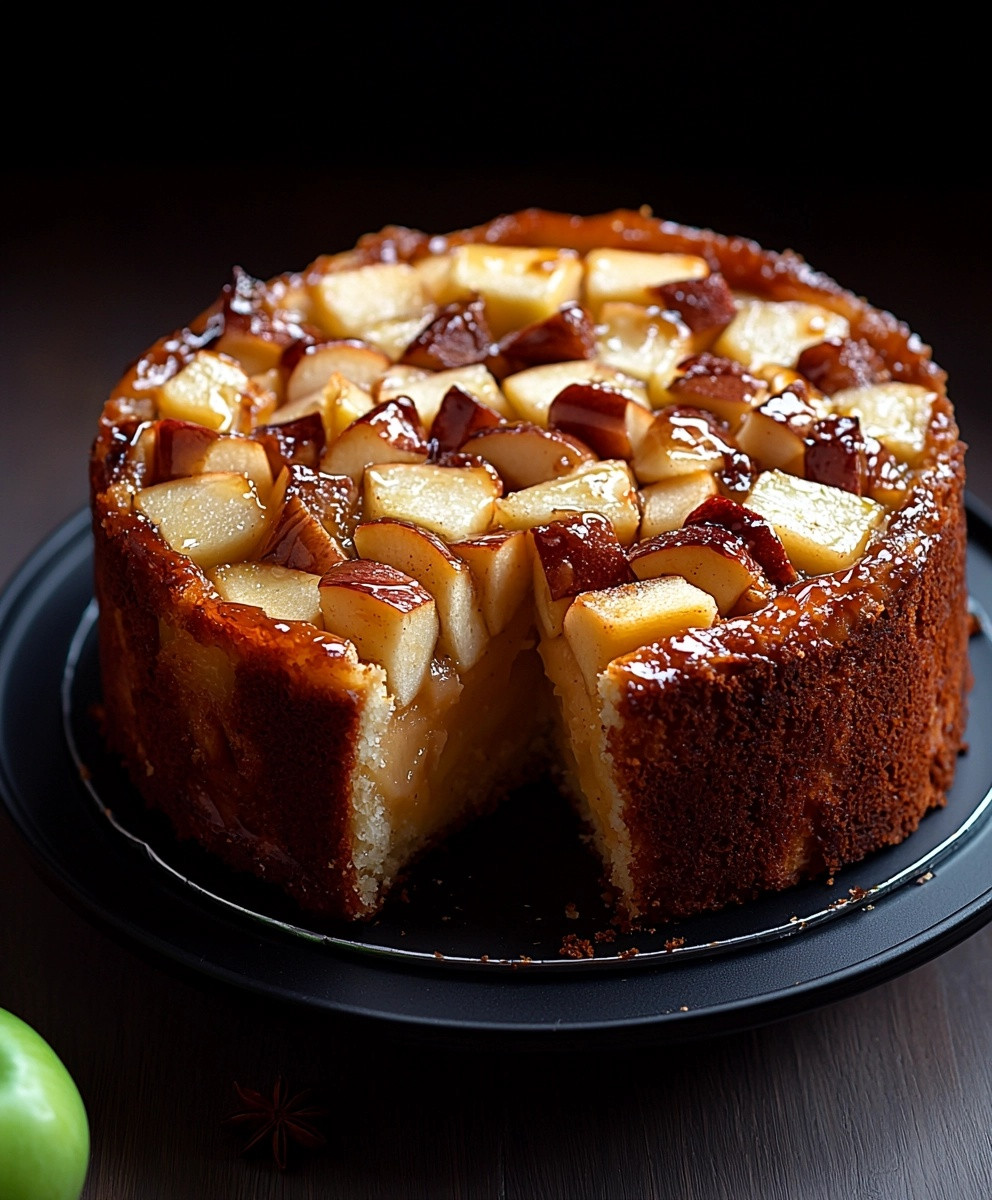
Conclusion:
In summary, this Jewish Apple Cake is a must-try for anyone looking to indulge in a delightful blend of flavors and textures. The moist, tender cake paired with the sweet and tart apples creates a comforting dessert that is perfect for any occasion, whether it’s a family gathering, a holiday celebration, or simply a cozy night in. For serving suggestions, I love to enjoy this cake warm, perhaps with a scoop of vanilla ice cream or a dollop of whipped cream on the side. You can also sprinkle some powdered sugar on top for an elegant touch. If you’re feeling adventurous, consider adding a handful of walnuts or raisins to the batter for an extra layer of flavor and texture. I encourage you to give this Jewish Apple Cake a try and experience the joy it brings to your table. Once youve baked it, Id love to hear about your experience! Share your thoughts, any variations you tried, or even a photo of your creation. Lets celebrate the deliciousness of this cake together! Happy baking! Print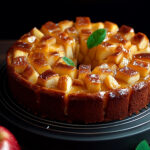
Jewish Apple Cake: A Delicious Recipe for a Traditional Dessert
- Total Time: 70 minutes
- Yield: 12 servings 1x
Description
This Jewish Apple Cake features a moist, spiced batter filled with tart apples, making it a comforting dessert perfect for any occasion. Ideal for gatherings or a cozy breakfast, its a delightful treat thats sure to become a family favorite.
Ingredients
- 4 large apples (preferably Granny Smith)
- 1 tablespoon lemon juice
- 3 cups all-purpose flour
- 2 cups granulated sugar
- 1 cup vegetable oil
- 4 large eggs
- 1 teaspoon vanilla extract
- 1 teaspoon baking powder
- 1 teaspoon baking soda
- 1 teaspoon ground cinnamon
- ½ teaspoon salt
- ½ cup chopped walnuts or pecans (optional)
- Powdered sugar for dusting (optional)
Instructions
- Preheat your oven to 350°F (175°C).
- Peel, core, and slice the apples into thin wedges (about 1/4-inch thick). Toss the apple slices with lemon juice in a large bowl.
- In another large mixing bowl, whisk together the flour, sugar, baking powder, baking soda, cinnamon, and salt until well mixed.
- In a separate bowl, beat the eggs, then add the vegetable oil and vanilla extract. Mix until well combined.
- Gradually add the wet ingredients to the dry ingredients, stirring gently until just combined. Avoid overmixing; a few lumps are fine.
- If using nuts, fold them into the batter.
- Gently fold the apple slices into the batter, reserving a few for topping if desired.
- Grease and flour a 10-inch bundt pan or a 9×13-inch baking dish.
- Pour the batter into the prepared pan, smoothing the top. Arrange reserved apple slices on top if using.
- Bake in the preheated oven for 50-60 minutes, or until a toothpick inserted into the center comes out clean.
- Remove from the oven and let cool in the pan for 15-20 minutes.
- Invert the cake onto a wire rack to cool completely. Tap the sides of the bundt pan gently to help release the cake.
- Dust with powdered sugar before serving, if desired.
Notes
- Store leftovers in an airtight container at room temperature for up to 3 days or refrigerate for up to a week. Bring to room temperature before serving for the best flavor and texture.
- This cake pairs wonderfully with vanilla ice cream or whipped cream for an elevated dessert experience.
- Prep Time: 20 minutes
- Cook Time: 50-60 minutes

Leave a Comment