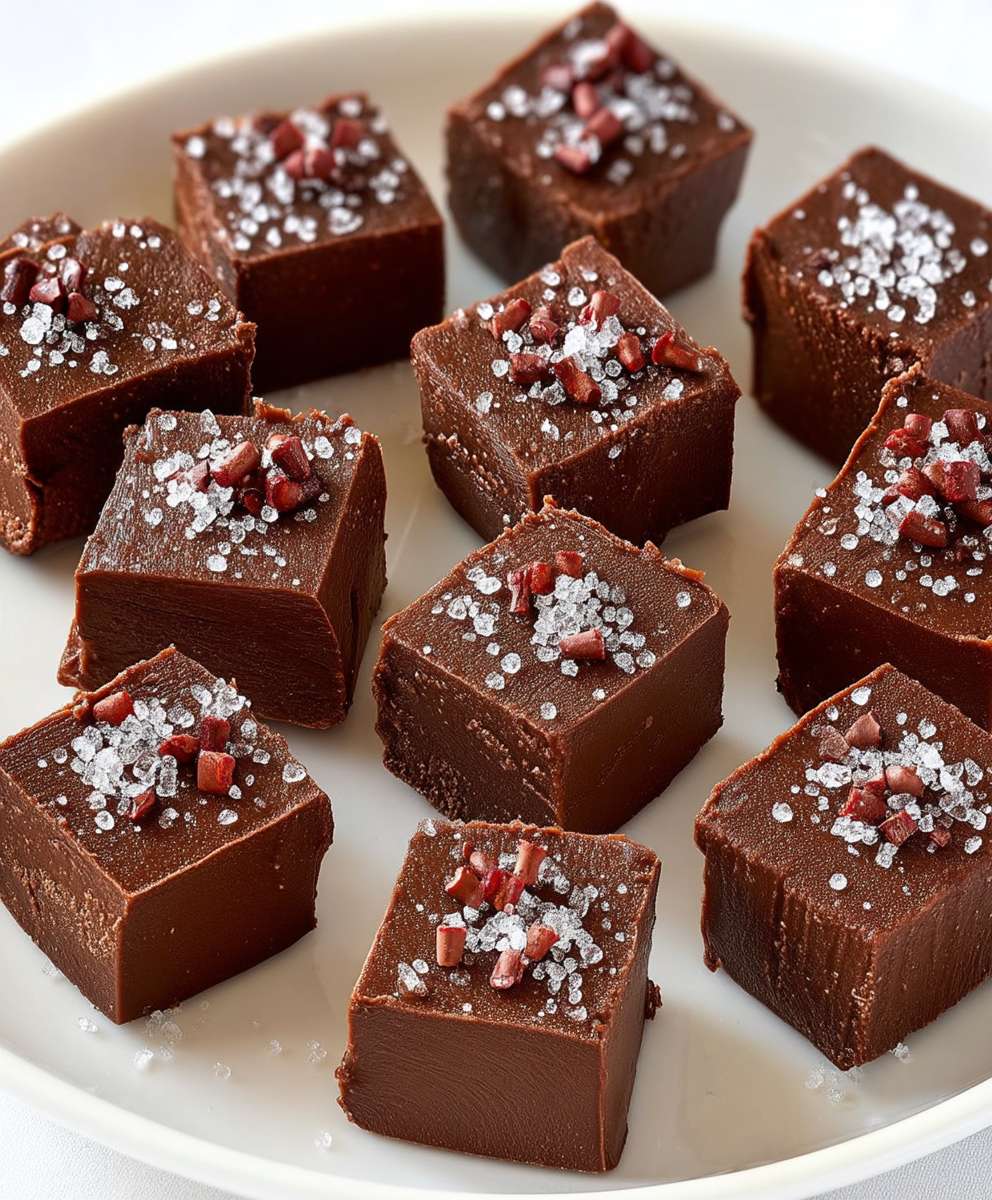
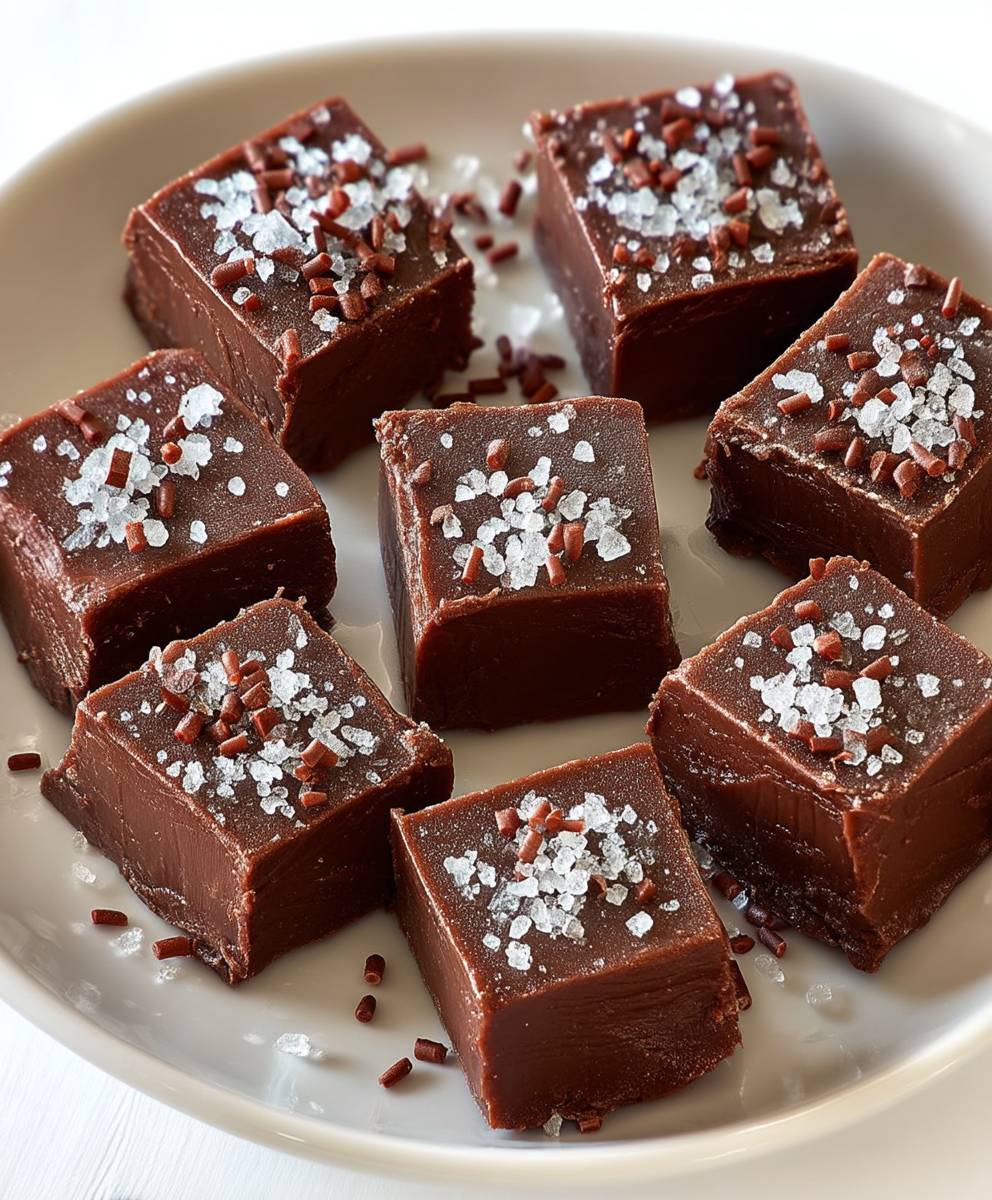
Chocolate Fudge, that rich, decadent treat that has the power to transport you back to childhood memories with just one bite. Have you ever wondered how this seemingly simple confection became such a beloved dessert? Legend has it that fudge was born from a happy accident in the late 19th century, a “fudged” batch of caramels that turned out to be something even more extraordinary.
While its exact origins remain a sweet mystery, one thing is certain: Chocolate Fudge quickly captured hearts (and taste buds!) across the nation. Its creamy, melt-in-your-mouth texture, combined with the intense chocolate flavor, makes it utterly irresistible. But it’s not just the taste; it’s the versatility too! Whether you enjoy it plain, studded with nuts, swirled with peanut butter, or even infused with a hint of sea salt, fudge offers endless possibilities for customization.
Today, I’m thrilled to share my foolproof recipe for homemade chocolate fudge. It’s surprisingly easy to make, requiring just a few simple ingredients and minimal effort. Get ready to impress your friends and family with this classic confection that’s perfect for holidays, special occasions, or simply satisfying your sweet tooth. Let’s dive in and create some fudge magic!
Ingredients:
- 1 cup (2 sticks) unsalted butter, plus more for greasing the pan
- 3 cups granulated sugar
- 3/4 cup unsweetened cocoa powder
- 1/2 teaspoon salt
- 1 cup evaporated milk
- 1 teaspoon vanilla extract
- 1 cup chopped walnuts or pecans (optional)
- 1 (12-ounce) package semi-sweet chocolate chips
- 1 (7-ounce) jar marshmallow creme
Preparing the Fudge Base
Alright, let’s get started on this decadent chocolate fudge! First things first, we need to prep our pan. Trust me, this step is crucial for easy removal later. Generously grease an 8×8 inch baking pan with butter. You can also line it with parchment paper, leaving an overhang on two sides to create a sling for lifting the fudge out later. This is my preferred method, as it guarantees a clean release. Set the pan aside for now.
- Combine Dry Ingredients: In a large, heavy-bottomed saucepan, whisk together the granulated sugar, cocoa powder, and salt. Make sure there are no lumps of cocoa powder lurking around we want a smooth and even fudge!
- Add Wet Ingredients: Pour in the evaporated milk. Now, this is where the magic starts to happen. Stir everything together until the mixture is well combined and there are no dry spots.
The Cooking Process
Now comes the part where we need to pay close attention. Cooking the fudge base correctly is key to achieving that perfect, creamy texture. We’re aiming for the “soft ball” stage, which sounds intimidating, but I’ll guide you through it!
- Bring to a Boil: Place the saucepan over medium heat and bring the mixture to a full rolling boil, stirring constantly. A “full rolling boil” means the mixture is bubbling vigorously all over the surface and the bubbles don’t stop even when you stir.
- Cook to Soft Ball Stage: Once it’s boiling, reduce the heat slightly to maintain a steady boil, but continue stirring constantly. This is super important! If you stop stirring, the fudge will likely scorch on the bottom, and nobody wants burnt fudge. Cook for about 10-12 minutes, or until the mixture reaches the soft ball stage.
Testing for Soft Ball Stage
Okay, so how do we know when it’s reached the soft ball stage? There are a couple of ways to test this. The most accurate method is to use a candy thermometer. Clip it to the side of the saucepan, making sure the bulb is submerged in the fudge mixture but not touching the bottom of the pan. The soft ball stage is between 235-240°F (113-116°C).
If you don’t have a candy thermometer (no worries!), you can use the cold water test. Fill a small bowl with very cold water. Carefully drop a small spoonful of the fudge mixture into the cold water. Let it sit for a few seconds. Then, try to form the mixture into a ball with your fingers. If it forms a soft, pliable ball that doesn’t dissolve in the water, you’ve reached the soft ball stage. If it’s still too runny, continue cooking for a minute or two and test again.
Finishing the Fudge
Almost there! Now for the final touches that will transform this cooked base into glorious fudge.
- Remove from Heat: Once the mixture reaches the soft ball stage, immediately remove the saucepan from the heat.
- Add Butter and Chocolate Chips: Add the butter and chocolate chips to the hot fudge mixture. Let them sit for a minute or two to soften.
- Stir Until Smooth: Stir the mixture until the butter and chocolate chips are completely melted and the fudge is smooth and glossy. This might take a little elbow grease, but keep stirring!
- Add Vanilla and Marshmallow Creme: Stir in the vanilla extract and marshmallow creme until everything is fully incorporated and the mixture is smooth and creamy. Don’t overmix at this stage, just stir until it’s combined.
- Add Nuts (Optional): If you’re using nuts, gently fold them into the fudge mixture.
Setting the Fudge
Patience is a virtue, especially when it comes to fudge! We need to let it cool and set properly to achieve that perfect sliceable consistency.
- Pour into Prepared Pan: Pour the fudge mixture into the prepared baking pan. Spread it evenly with a spatula.
- Cool and Set: Let the fudge cool completely at room temperature. This will take at least 2-3 hours, or even longer. I often let it sit overnight for best results. If you’re in a hurry, you can place it in the refrigerator to speed up the process, but be aware that it might affect the texture slightly.
Cutting and Serving
The moment we’ve all been waiting for! Time to cut and enjoy our homemade chocolate fudge.
- Cut into Squares: Once the fudge is completely set, use a sharp knife to cut it into squares. If you lined the pan with parchment paper, you can lift the fudge out using the overhang and then cut it on a cutting board.
- Enjoy! Store the fudge in an airtight container at room temperature for up to a week, or in the refrigerator for longer storage.
And there you have it! Delicious, homemade chocolate fudge that’s sure to impress. Enjoy!

Conclusion:
And there you have it! This chocolate fudge recipe is truly a must-try, and I’m not just saying that because I created it (though, admittedly, I am a little biased!). The rich, decadent flavor, the smooth, melt-in-your-mouth texture, and the sheer simplicity of the process make it a winner every single time. It’s the kind of treat that elevates any occasion, from a casual weeknight dessert to a sophisticated holiday gathering.
But beyond the deliciousness, what I really love about this fudge is its versatility. It’s a blank canvas for your culinary creativity! Feeling nutty? Stir in a cup of chopped walnuts, pecans, or even macadamia nuts for a delightful crunch. Craving something a little more adventurous? A pinch of sea salt or a dash of cayenne pepper will add a surprising and delightful twist. For the coffee lovers out there, a tablespoon or two of instant espresso powder will amplify the chocolate flavor and give it a mocha-like edge. And if you’re looking for a festive touch, consider swirling in some peppermint extract and crushed candy canes during the holiday season. The possibilities are truly endless!
Serving this fudge is just as fun as making it. Of course, it’s perfectly delightful on its own, enjoyed in small, satisfying squares. But it also pairs beautifully with other desserts. Try serving it alongside a scoop of vanilla ice cream for a classic combination, or crumble it over a warm brownie for an extra layer of chocolate indulgence. It’s also a fantastic addition to a dessert platter, adding a touch of elegance and richness to the spread. And let’s not forget the gifting potential! Homemade fudge makes a thoughtful and appreciated present for friends, family, and colleagues. Package it in a pretty box or tin, and you’ve got a gift that’s sure to impress.
I truly believe that everyone should have a reliable fudge recipe in their repertoire, and this one is my absolute go-to. It’s foolproof, adaptable, and always a crowd-pleaser. So, what are you waiting for? Gather your ingredients, put on some music, and get ready to create some chocolate magic. I promise you won’t regret it!
But don’t just take my word for it. I encourage you to try this recipe for yourself and experience the joy of homemade chocolate fudge. And when you do, please, please, please share your experience with me! I’d love to hear about your variations, your serving suggestions, and, most importantly, how much you enjoyed it. Leave a comment below, tag me in your photos on social media, or send me an email. I’m always eager to connect with fellow food lovers and hear about their culinary adventures. Happy fudging! I am confident that this recipe will become a staple in your kitchen, just as it has in mine. The simplicity and the satisfying result will keep you coming back for more, and you’ll find yourself experimenting with different flavors and textures to create your own signature fudge. So go ahead, embrace your inner chocolatier, and let the fudging begin!
Chocolate Fudge: The Ultimate Guide to Making Perfect Fudge
Decadent, creamy chocolate fudge made with evaporated milk, marshmallow creme, and optional nuts. Perfect for holidays or any time you crave a sweet treat!
Ingredients
- 1 cup (2 sticks) unsalted butter, plus more for greasing the pan
- 3 cups granulated sugar
- 3/4 cup unsweetened cocoa powder
- 1/2 teaspoon salt
- 1 cup evaporated milk
- 1 teaspoon vanilla extract
- 1 cup chopped walnuts or pecans (optional)
- 1 (12-ounce) package semi-sweet chocolate chips
- 1 (7-ounce) jar marshmallow creme
Instructions
- Prepare the Pan: Grease an 8×8 inch baking pan with butter. Alternatively, line the pan with parchment paper, leaving an overhang on two sides to create a sling for lifting the fudge out later. Set aside.
- Combine Dry Ingredients: In a large, heavy-bottomed saucepan, whisk together the granulated sugar, cocoa powder, and salt.
- Add Wet Ingredients: Pour in the evaporated milk. Stir until well combined and there are no dry spots.
- Bring to a Boil: Place the saucepan over medium heat and bring the mixture to a full rolling boil, stirring constantly.
- Cook to Soft Ball Stage: Reduce the heat slightly to maintain a steady boil, but continue stirring *constantly*. Cook for about 10-12 minutes, or until the mixture reaches the soft ball stage (235-240°F or 113-116°C on a candy thermometer).
- Test for Soft Ball Stage (Without Thermometer): Fill a small bowl with very cold water. Carefully drop a small spoonful of the fudge mixture into the cold water. Let it sit for a few seconds. Try to form the mixture into a ball with your fingers. If it forms a soft, pliable ball that doesn’t dissolve, you’ve reached the soft ball stage. If it’s still too runny, continue cooking for a minute or two and test again.
- Remove from Heat: Once the mixture reaches the soft ball stage, immediately remove the saucepan from the heat.
- Add Butter and Chocolate Chips: Add the butter and chocolate chips to the hot fudge mixture. Let them sit for a minute or two to soften.
- Stir Until Smooth: Stir the mixture until the butter and chocolate chips are completely melted and the fudge is smooth and glossy.
- Add Vanilla and Marshmallow Creme: Stir in the vanilla extract and marshmallow creme until everything is fully incorporated and the mixture is smooth and creamy. Don’t overmix.
- Add Nuts (Optional): If using nuts, gently fold them into the fudge mixture.
- Pour into Prepared Pan: Pour the fudge mixture into the prepared baking pan. Spread it evenly with a spatula.
- Cool and Set: Let the fudge cool completely at room temperature for at least 2-3 hours, or overnight for best results. You can refrigerate to speed up the process, but it might affect the texture.
- Cut into Squares: Once the fudge is completely set, use a sharp knife to cut it into squares. If you lined the pan with parchment paper, lift the fudge out using the overhang and then cut it on a cutting board.
- Enjoy! Store the fudge in an airtight container at room temperature for up to a week, or in the refrigerator for longer storage.
Notes
- Stirring constantly while cooking is crucial to prevent scorching.
- The soft ball stage is essential for the right fudge texture. Use a candy thermometer for the most accurate results.
- If you don’t have a candy thermometer, the cold water test is a good alternative.
- Letting the butter and chocolate chips sit for a minute or two before stirring helps them melt more easily.
- Don’t overmix after adding the marshmallow creme.
- Cooling the fudge completely is important for it to set properly.


Leave a Comment