
Chocolate Syrup Homemade: Forget the store-bought stuff! Are you ready to unlock a world of rich, decadent flavor with a recipe that’s surprisingly simple? I’m talking about crafting your very own, luscious chocolate syrup homemade, and trust me, once you taste the difference, you’ll never go back.
Chocolate syrup has a fascinating history, evolving from medicinal concoctions to the sweet treat we know and love today. Its popularity soared in the early 20th century, becoming a staple in soda fountains and homes alike. But while commercial syrups offer convenience, they often compromise on quality and flavor. That’s where this recipe shines!
People adore chocolate syrup for its versatility and irresistible taste. It’s the perfect topping for ice cream sundaes, a delightful addition to milkshakes, and a secret ingredient for enhancing coffee or hot chocolate. The smooth, velvety texture and intense chocolate flavor are simply irresistible. Plus, making it at home allows you to control the ingredients, ensuring a pure and delicious experience. So, let’s dive in and create a batch of homemade chocolatey goodness that will elevate all your favorite treats!

Ingredients:
- 1 cup granulated sugar
- ½ cup unsweetened cocoa powder
- ½ cup water
- ¼ teaspoon salt
- 1 teaspoon vanilla extract
Making the Chocolate Syrup: Step-by-Step
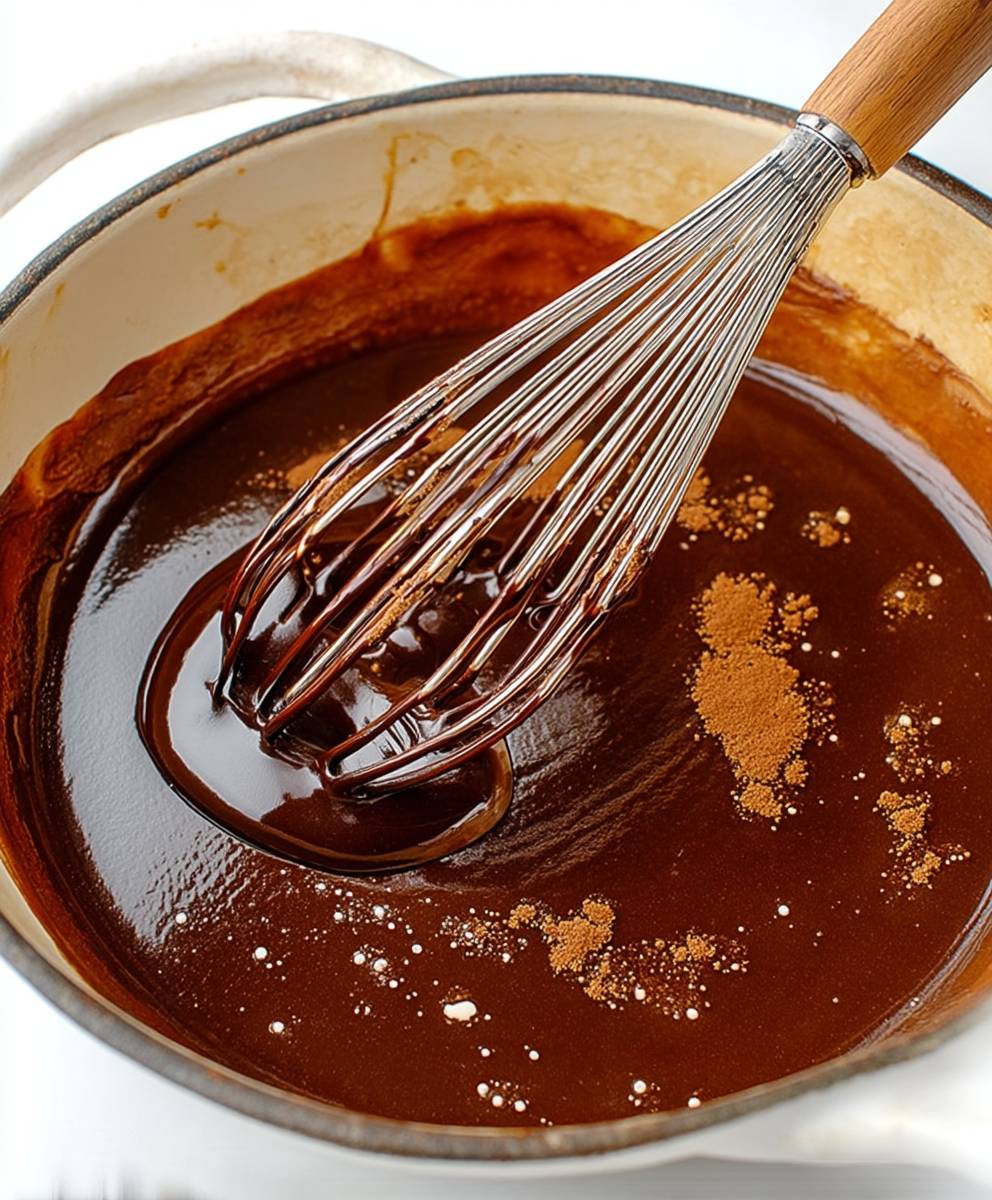
- Combine the dry ingredients. In a medium saucepan, whisk together the granulated sugar, cocoa powder, and salt. Make sure there are no lumps of cocoa powder remaining. This is crucial for a smooth syrup. I like to use a whisk for this step to really break everything up.
- Add the water. Pour the water into the saucepan with the dry ingredients.
- Heat and stir. Place the saucepan over medium heat. Stir constantly with a whisk until the sugar is completely dissolved and the mixture comes to a gentle simmer. It’s important to stir constantly to prevent the sugar from burning and sticking to the bottom of the pan. This usually takes about 5-7 minutes.
- Simmer for thickness. Once the mixture is simmering, reduce the heat to low and continue to simmer, stirring occasionally, for about 5-10 minutes, or until the syrup has thickened slightly. The longer you simmer, the thicker the syrup will become. Keep in mind that the syrup will thicken further as it cools. I usually aim for a consistency that’s slightly thinner than I want the final product to be.
- Remove from heat and add vanilla. Take the saucepan off the heat and stir in the vanilla extract. The vanilla adds a wonderful depth of flavor to the chocolate syrup.
- Cool completely. Allow the chocolate syrup to cool completely in the saucepan. As it cools, it will thicken to its final consistency. This usually takes about 30-45 minutes. Don’t be tempted to skip this step! The cooling process is essential for achieving the right texture.
- Transfer to a jar or bottle. Once the syrup is completely cool, transfer it to a clean jar or bottle with a tight-fitting lid. I prefer using a glass jar, but any airtight container will work.
- Store properly. Store the homemade chocolate syrup in the refrigerator for up to 2-3 weeks. It’s best to use it within this timeframe for optimal flavor and quality.
Tips and Tricks for Perfect Chocolate Syrup
Here are some extra tips and tricks I’ve learned over the years to make the best homemade chocolate syrup:
- Use high-quality cocoa powder. The quality of your cocoa powder will directly impact the flavor of your syrup. I recommend using a Dutch-processed cocoa powder for a richer, smoother flavor.
- Adjust the sweetness. If you prefer a less sweet syrup, you can reduce the amount of sugar slightly. Start by reducing it by 1/4 cup and taste the syrup after it has cooled. You can always add more sugar if needed.
- Add a pinch of espresso powder. For a deeper, more complex chocolate flavor, try adding a pinch (about 1/8 teaspoon) of espresso powder to the saucepan along with the other dry ingredients. This will enhance the chocolate flavor without making the syrup taste like coffee.
- Experiment with extracts. While vanilla extract is the classic choice, you can experiment with other extracts, such as almond extract or peppermint extract, to create different flavor variations. Just be sure to use extracts sparingly, as they can be quite potent.
- Prevent crystallization. Sometimes, sugar crystals can form in the syrup, especially if it’s stored for a long time. To prevent this, you can add a tablespoon of corn syrup to the saucepan along with the other ingredients. The corn syrup will help to prevent the sugar from crystallizing.
- Thinning the syrup. If your syrup becomes too thick after cooling, you can thin it out by adding a tablespoon or two of water and stirring until it reaches your desired consistency.
- Warming before use. If you’ve stored your syrup in the refrigerator, it may become quite thick. You can warm it slightly in the microwave or in a saucepan over low heat to make it easier to pour.
- Cleaning the saucepan. After making the syrup, the saucepan can be a bit sticky. To make cleaning easier, fill the saucepan with hot, soapy water and let it soak for a few minutes before scrubbing.
Serving Suggestions
Homemade chocolate syrup is incredibly versatile and can be used in a variety of ways. Here are some of my favorite serving suggestions:
- Ice cream topping. Drizzle it over your favorite ice cream for a classic treat.
- Chocolate milk. Stir it into cold milk for a delicious and refreshing chocolate milk. You can also use it to make hot chocolate by stirring it into warm milk.
- Pancakes and waffles. Use it as a topping for pancakes, waffles, or French toast.
- Dessert sauce. Drizzle it over cakes, brownies, or other desserts.
- Coffee flavoring. Add a spoonful to your coffee for a mocha-flavored treat.
- Milkshakes and smoothies. Blend it into milkshakes or smoothies for a chocolatey boost.
- Cocktail ingredient. Use it as an ingredient in chocolate-flavored cocktails.
- Dipping sauce. Serve it as a dipping sauce for fruit, pretzels, or marshmallows.
Troubleshooting
Sometimes, things don’t go exactly as planned. Here are some common problems you might encounter when making homemade chocolate syrup and how to fix them:
- Syrup is too thin. If your syrup is too thin after cooling, it means it wasn’t simmered long enough. You can return the syrup to the saucepan and simmer it for a few more minutes, stirring constantly, until it reaches your desired consistency.
- Syrup is too thick. If your syrup is too thick after cooling, you can thin it out by adding a tablespoon or two of water and stirring until it reaches your desired consistency.
- Syrup is grainy. If your syrup is grainy, it means that sugar crystals have formed. This can happen if the sugar wasn’t completely dissolved during the cooking process. To fix this, you can try adding a tablespoon of corn syrup to the saucepan and simmering the syrup for a few more minutes, stirring constantly.
- Syrup is burnt. If your syrup is burnt, there’s unfortunately not much you can do to fix it. The best thing to do is to start over with fresh ingredients and be more careful to prevent the syrup from burning. Make sure to stir constantly and keep the heat on low.
- Syrup has lumps. If your syrup has lumps, it means that the cocoa powder wasn’t properly whisked in at the beginning. You can try straining the syrup through a fine-mesh sieve to remove the lumps.
Variations
Once you’ve mastered the basic recipe, you can start experimenting with different variations to create your own unique chocolate syrup. Here are a few ideas to get you started:
- Spicy chocolate syrup. Add a pinch of cayenne pepper or chili powder to the saucepan along with the other dry ingredients for a spicy kick.
- Mint chocolate syrup. Add a few drops of peppermint extract to the syrup after it has been removed from the heat.
- Salted caramel chocolate syrup. Add a pinch of sea salt to the syrup after it has been removed from the heat. You can also add a tablespoon of caramel sauce for an even richer flavor.
- Dark chocolate syrup. Use dark cocoa powder instead of regular cocoa powder for a richer, more intense chocolate flavor.
- Mexican chocolate syrup. Add a pinch of cinnamon and a pinch of cayenne pepper to the saucepan along with the other dry ingredients for a warm and spicy flavor.
Why Make Your Own?
You might be wondering, why bother making your own chocolate syrup when you can easily buy it at the store? Well, there are several good reasons:
- Better flavor. Homemade chocolate syrup simply tastes better than store-bought syrup. It’s richer, more flavorful, and doesn’t contain any artificial ingredients or preservatives.
- Control over ingredients. When you make your own chocolate syrup, you have complete control over the ingredients. You can use high-quality cocoa powder, adjust the sweetness to your liking, and avoid any ingredients that you’re allergic to or prefer to avoid.
- Cost-effective. Making your own chocolate syrup is often cheaper than buying it at the store, especially if you buy your ingredients in bulk.
- Fun and rewarding. Making your own chocolate syrup is a fun and rewarding experience. It’s a great way to impress your friends and family with your culinary skills.
Enjoy your homemade chocolate syrup!
Conclusion:
So, there you have it! Making your own chocolate syrup homemade is not only incredibly easy, but it also unlocks a world of flavor possibilities that you just can’t get from store-bought versions. Forget those overly sweet, artificial-tasting syrups this recipe delivers a rich, decadent chocolate experience that will elevate everything it touches.
Why is this a must-try? Because it’s better. It’s better in flavor, better in ingredients (you control exactly what goes in!), and honestly, better for your wallet in the long run. Plus, the satisfaction of creating something so delicious from scratch is simply unmatched. Imagine the look on your family’s faces when you tell them you made the chocolate syrup yourself! It’s a small act of culinary magic that makes a big impact.
But the fun doesn’t stop there! This chocolate syrup homemade is incredibly versatile. Of course, it’s fantastic drizzled over ice cream think classic sundaes with whipped cream, nuts, and cherries. But don’t limit yourself! Stir it into cold milk for a truly indulgent chocolate milk, or add a spoonful to your morning coffee for a mocha that rivals your favorite coffee shop.
For a truly decadent treat, try using it in a chocolate milkshake. Blend it with ice cream, milk, and maybe even a little peanut butter for an unforgettable flavor combination. And if you’re feeling adventurous, drizzle it over pancakes, waffles, or even French toast for a chocolatey breakfast that will start your day off right.
Looking for variations? Absolutely! For a richer, more intense flavor, use dark chocolate cocoa powder. If you prefer a sweeter syrup, simply add a little more sugar to the recipe. You can also experiment with different extracts a touch of vanilla extract enhances the chocolate flavor beautifully, while a hint of peppermint extract creates a festive, holiday-inspired syrup. A dash of cinnamon or even a pinch of chili powder can add a surprising and delicious twist.
And don’t forget about gifting! Homemade chocolate syrup makes a wonderful and thoughtful present for friends and family. Package it in a pretty jar with a ribbon and a handwritten tag, and you’ve got a gift that’s sure to be appreciated.
I truly believe that once you try this recipe, you’ll never go back to store-bought syrup again. It’s that good! The depth of flavor, the control over ingredients, and the sheer satisfaction of making it yourself make it a winner every time.
So, what are you waiting for? Gather your ingredients, put on your apron, and get ready to create some chocolate magic! I’m confident that you’ll love this recipe as much as I do.
And most importantly, I want to hear about your experience! Did you try the recipe? What variations did you make? How did you use your homemade chocolate syrup? Share your photos and stories in the comments below. I can’t wait to see what you create! Let’s spread the chocolatey goodness and inspire others to try this simple yet rewarding recipe. Happy syrup-making!
Chocolate Syrup Homemade: The Ultimate Guide to Delicious DIY Syrup
Easy homemade chocolate syrup made with cocoa powder, sugar, and vanilla. Perfect for ice cream, chocolate milk, and more!
Ingredients
- 1 cup granulated sugar
- ½ cup unsweetened cocoa powder
- ½ cup water
- ¼ teaspoon salt
- 1 teaspoon vanilla extract
Instructions
- Combine dry ingredients: In a medium saucepan, whisk together the granulated sugar, cocoa powder, and salt. Ensure no lumps of cocoa powder remain.
- Add water: Pour the water into the saucepan with the dry ingredients.
- Heat and stir: Place the saucepan over medium heat. Stir constantly with a whisk until the sugar is completely dissolved and the mixture comes to a gentle simmer (about 5-7 minutes).
- Simmer for thickness: Reduce the heat to low and continue to simmer, stirring occasionally, for about 5-10 minutes, or until the syrup has thickened slightly.
- Remove from heat and add vanilla: Take the saucepan off the heat and stir in the vanilla extract.
- Cool completely: Allow the chocolate syrup to cool completely in the saucepan (about 30-45 minutes).
- Transfer to a jar or bottle: Once the syrup is completely cool, transfer it to a clean jar or bottle with a tight-fitting lid.
- Store properly: Store the homemade chocolate syrup in the refrigerator for up to 2-3 weeks.
Notes
- Use high-quality cocoa powder (Dutch-processed recommended).
- Adjust sweetness by reducing sugar slightly (start with 1/4 cup less).
- Add a pinch (1/8 tsp) of espresso powder for a deeper chocolate flavor.
- Experiment with other extracts like almond or peppermint.
- Add 1 tbsp corn syrup to prevent crystallization.
- Thin the syrup with water if it becomes too thick.
- Warm the syrup before use if stored in the refrigerator.
- Serve over ice cream, in chocolate milk, on pancakes, as a dessert sauce, in coffee, milkshakes, cocktails, or as a dipping sauce.
- If the syrup is too thin, simmer longer. If too thick, add water. If grainy, add corn syrup and simmer. If burnt, start over. If lumpy, strain.
- Variations: Spicy (cayenne/chili powder), Mint (peppermint extract), Salted Caramel (sea salt/caramel sauce), Dark Chocolate (dark cocoa powder), Mexican (cinnamon/cayenne).


Leave a Comment