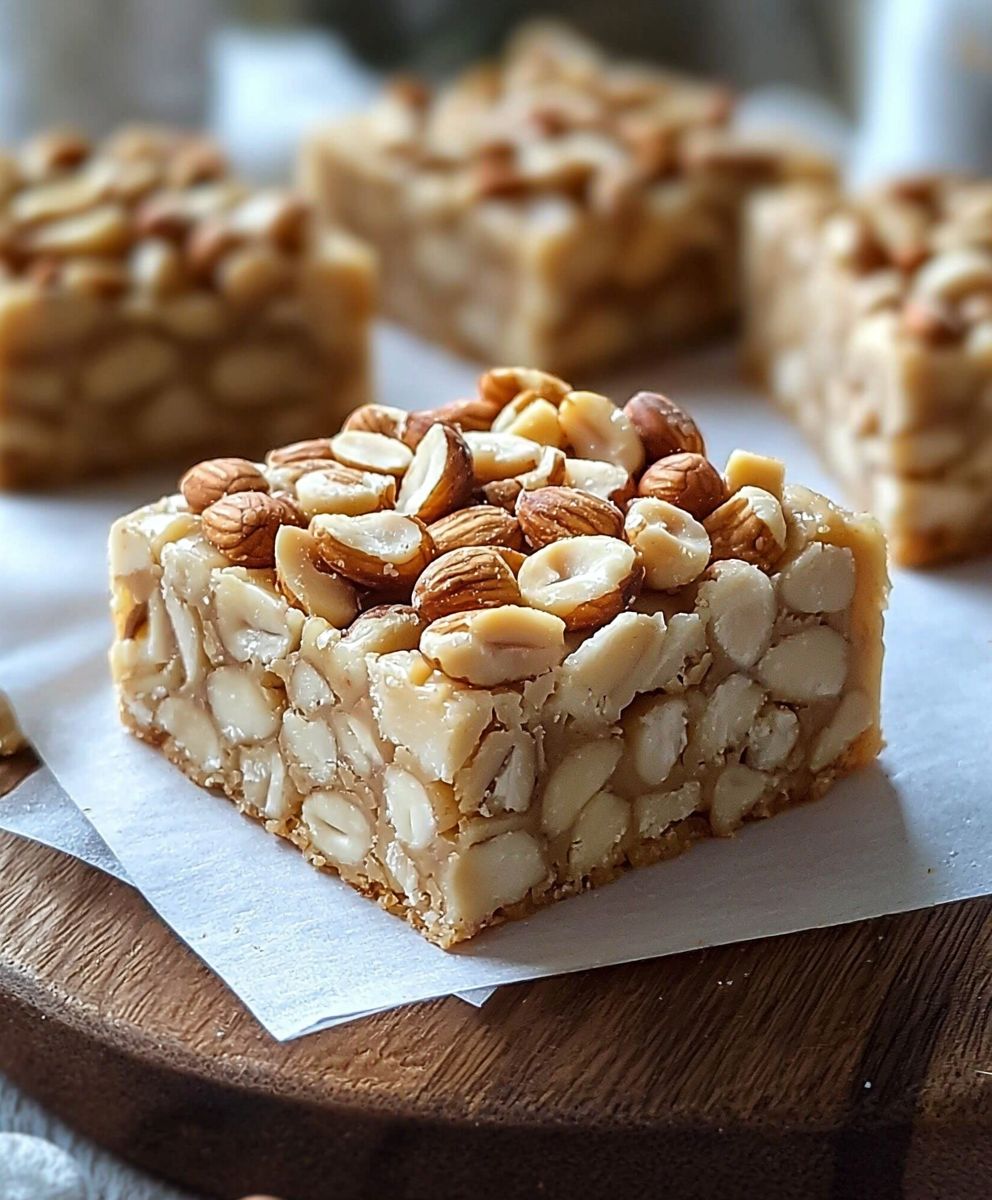
No-Bake Nut Squares are a delightful treat that combines the rich flavors of nuts with a hint of sweetness, making them an irresistible snack for any occasion. As someone who has always appreciated the simplicity and convenience of no-bake recipes, I find that these squares not only satisfy my sweet tooth but also offer a satisfying crunch that keeps me coming back for more. Historically, nut-based desserts have been cherished in various cultures, often symbolizing prosperity and celebration. This recipe is a perfect example of how a few wholesome ingredients can come together to create something truly special.
People love No-Bake Nut Squares for their incredible taste and texture. The combination of creamy nut butter, crunchy nuts, and a touch of sweetness creates a harmonious balance that is both indulgent and nutritious. Plus, the fact that they require no baking means you can whip them up in no time, making them an ideal choice for busy days or last-minute gatherings. Join me as we explore this delightful recipe that is sure to become a favorite in your home!
Ingredients:
- 2 cups rolled oats
- 1 cup almond butter (or peanut butter)
- 1/2 cup honey or maple syrup
- 1/2 cup unsweetened cocoa powder
- 1/2 cup shredded coconut (unsweetened)
- 1/2 cup chopped nuts (walnuts, almonds, or pecans)
- 1/2 cup mini chocolate chips (optional)
- 1 teaspoon vanilla extract
- 1/4 teaspoon salt
Preparing the Mixture
Lets get started on these delicious no-bake nut squares! First, we need to prepare our mixture. Follow these steps:
- In a large mixing bowl, combine the rolled oats, shredded coconut, and chopped nuts. Stir them together until they are evenly mixed. This will be the base of our nut squares.
- In a separate bowl, mix the almond butter and honey (or maple syrup). If your almond butter is a bit thick, you can microwave it for about 15-20 seconds to make it easier to mix. Just be careful not to overheat it!
- Add the unsweetened cocoa powder, vanilla extract, and salt to the almond butter and honey mixture. Stir until everything is well combined and smooth. This chocolatey mixture will add a rich flavor to our squares.
- Pour the wet mixture into the bowl with the dry ingredients. Using a spatula or wooden spoon, mix everything together until all the oats and nuts are coated with the chocolate mixture. It might take a bit of elbow grease, but keep mixing until its well combined.
- If youre using mini chocolate chips, fold them into the mixture now. This step is optional, but who doesnt love a little extra chocolate?
Setting the Mixture
Now that we have our mixture ready, its time to set it into a pan. Heres how to do it:
- Line an 8×8 inch (or 9×9 inch) square baking dish with parchment paper. Make sure to leave some overhang on the sides, as this will help you lift the squares out later.
- Transfer the mixture into the lined baking dish. Using your hands or a spatula, press the mixture down firmly and evenly into the pan. Its important to pack it tightly so that the squares hold together once theyre set.
- Once the mixture is evenly spread and packed, you can smooth the top with the back of a spatula or your hands. This will give your nut squares a nice, finished look.
Chilling the Squares
Now that our mixture is in the pan, its time to chill it so it can set properly:
- Cover the baking dish with plastic wrap or aluminum foil. This will help keep the moisture in while they chill.
- Place the baking dish in the refrigerator for at least 2 hours. If you have the time, letting them chill overnight will make them even firmer and easier to cut.
Cutting and Serving
Once the squares have chilled and set, its time to cut and serve them:
- Remove the baking dish from the refrigerator. Using the overhanging parchment paper, lift the entire block of nut squares out of the dish.
- Place the block on a cutting board. Using a sharp knife, cut the block into squares or rectangles, depending on your preference. I usually aim for about 16 squares, but you can make them larger or smaller as you like.
- Once cut, you can serve them immediately or store them in an airtight container. They can be kept in the refrigerator for up to a week, or you can freeze them for longer storage.
Tips and Variations
Here are some tips and variations to customize your no-bake nut squares:
- Nut Butter Variations: Feel free to swap out almond butter for peanut butter, cashew butter, or any nut butter of your choice. Each will give a different flavor profile.
- Sweetener Options:
Conclusion:
In summary, these No-Bake Nut Squares are an absolute must-try for anyone looking to indulge in a deliciously satisfying treat without the hassle of baking. The combination of crunchy nuts, sweet dates, and a hint of chocolate creates a delightful flavor profile that is both wholesome and decadent. Plus, they are incredibly easy to whip up, making them perfect for busy days or last-minute gatherings. For serving suggestions, I love to pair these squares with a cup of herbal tea or a glass of almond milk for a delightful afternoon snack. You can also get creative with variationstry adding dried fruits like cranberries or apricots for a burst of flavor, or sprinkle some sea salt on top for a sweet and salty twist. If you’re feeling adventurous, consider swapping out the nuts for your favorites, whether it’s pecans, walnuts, or even a mix of seeds for a nut-free version. I encourage you to give this No-Bake Nut Squares recipe a try and experience the joy of making a treat that is not only delicious but also packed with nutrients. Once youve made them, Id love to hear about your experience! Share your thoughts, any variations you tried, or even a photo of your creation. Lets spread the love for these delightful squares together! Print
No-Bake Nut Squares: Easy and Delicious Recipes for a Healthy Snack
- Total Time: 30 minutes
- Yield: 12 squares 1x
Description
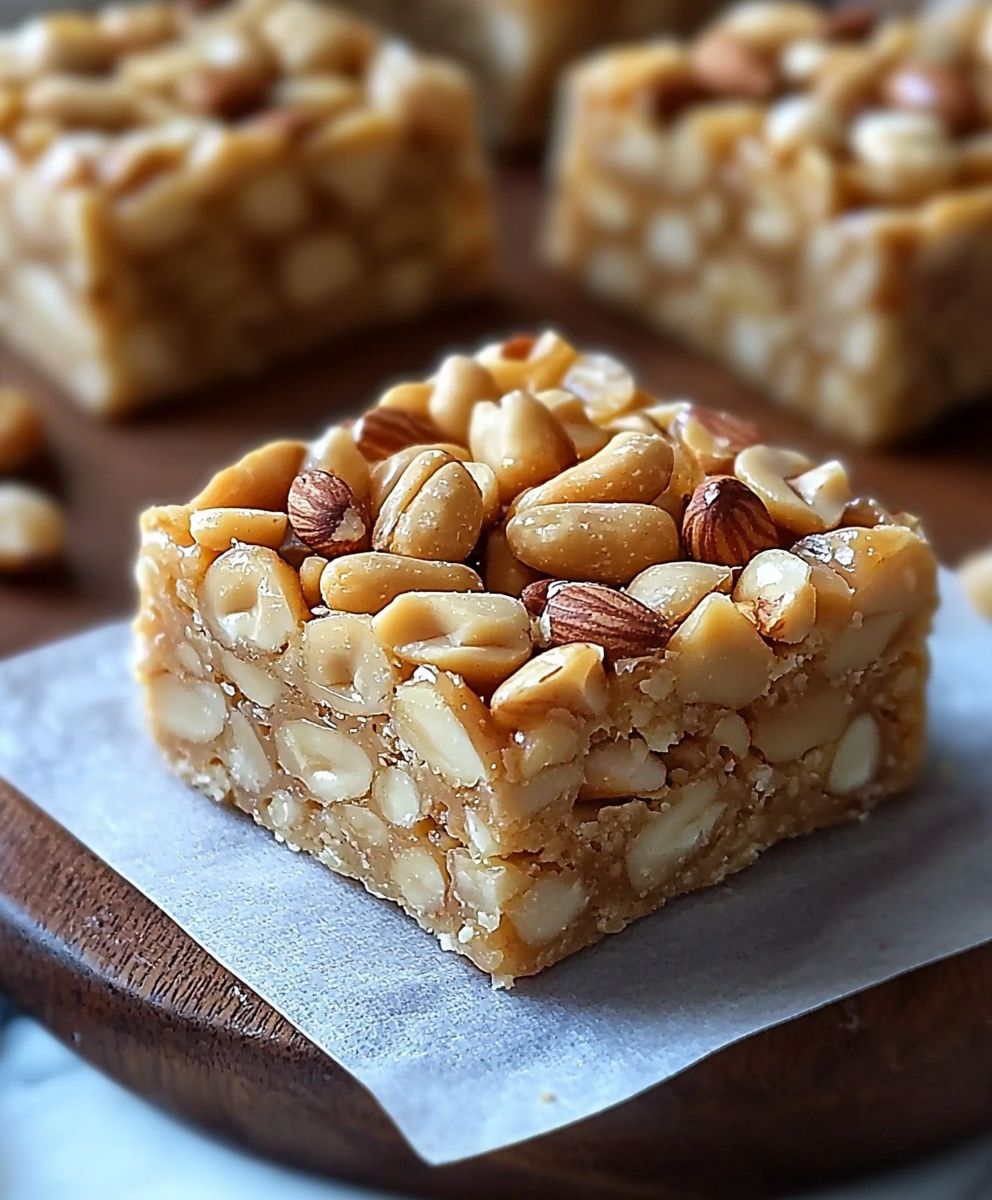
These No-Bake Nut Squares are a delicious and easy treat made with a mix of your favorite nuts, sweetened condensed milk, and a hint of vanilla. Perfect for satisfying your sweet tooth without turning on the oven, these squares are chewy, crunchy, and packed with flavor. Enjoy them as a quick snack or a delightful dessert!
Ingredients
- 1 cup rolled oats
- 1/2 cup peanut butter
- 1/4 cup honey
- 1/2 cup chocolate chips
- 1/4 cup chopped nuts (e.g., almonds, walnuts)
- 1/4 cup shredded coconut (optional)
Instructions
- In einer großen Schüssel die Haferflocken, Nüsse und Kokosraspeln vermengen.
- In einem kleinen Topf Honig und Erdnussbutter erhitzen, bis sie gut vermischt sind.
- Die Honig-Erdnussbutter-Mischung über die trockenen Zutaten gießen und gut umrühren.
- Die Mischung in eine gefettete Backform drücken und gleichmäßig verteilen.
- Im Kühlschrank für mindestens 2 Stunden fest werden lassen.
- In Quadrate schneiden und servieren.
Notes
- Die Nüsse sollten frisch und ungesalzen sein für den besten Geschmack.
- Die Süße kann je nach Vorliebe angepasst werden, indem mehr oder weniger Honig oder Sirup verwendet wird.
- Die Masse kann in eine mit Backpapier ausgelegte Form gedrückt werden, um das Herausnehmen zu erleichtern.
- Die Riegel sollten vor dem Schneiden gut gekühlt werden, damit sie fester werden.
- Prep Time: 15 minutes
- Cook Time: 30 minutes


Leave a Comment